
One of the advantages of building a shouse is the ability to build it yourself without a contractor. You can purchase kits or materials and have them shipped to your building site. If you have some experience with construction projects and a few friends available, you should be able to pour the foundation and erect the frame. However, building a shouse involves many steps.
Before you attempt to build a shouse yourself, you should understand what you are getting into. Here is what you should know before you start construction.
Page Contents
How To Build A Shouse
1. Prepare the Site

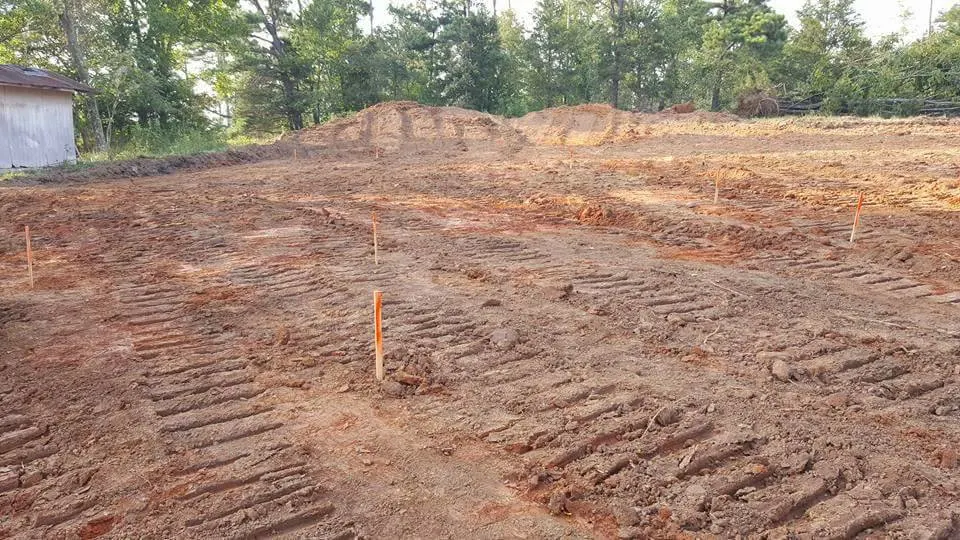
The first step for building a shouse is to prepare the land. Site preparation is the process of clearing and leveling the land to provide a suitable surface for the foundation. Preparing the site may involve removing trees, vegetation, rocks, and other items. You may also need to tear down existing structures. For example, the land you buy may have an old barn or shed that needs removal.
After removing unwanted natural features, the land is typically leveled. Some regions may also require an inspector to inspect the quality of the soil. Before adding a foundation, you need to ensure that the soil possesses the right characteristics. For example, sand is often added to create a more stable base for the foundation.
The average cost of site preparation is about $2700. You can expect to pay around $1.25 to $2 per square foot. The amount of vegetation and the presence of other structures may increase the cost.
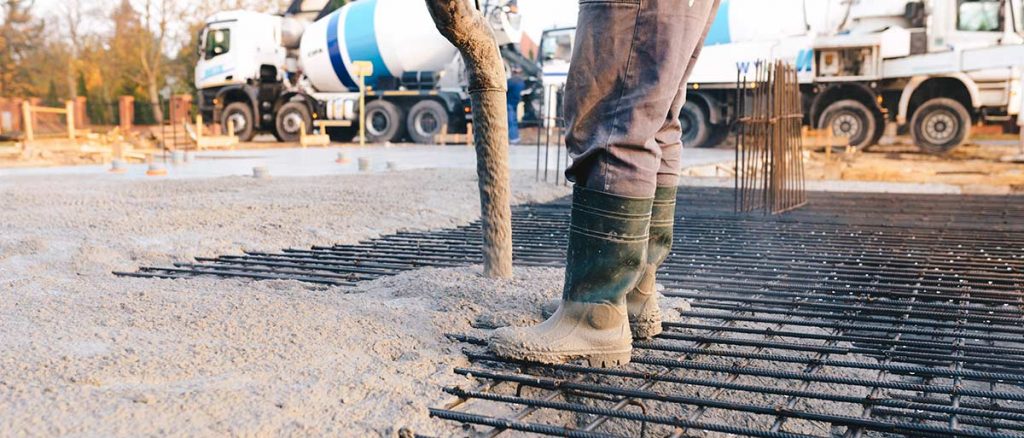
2. Pour the Foundation
Shouses are often built on top of slab foundations. A slab foundation is typically a rectangular block of concrete measuring four to six inches thick.
Pipes are often buried in the foundation for the major mechanical and electrical systems. The subfloor is built directly on top of the foundation, which means that you have no space underneath for electrical work, plumbing, and ducts.
Along with slab foundations, shouses can be built on other types of foundations, including crawlspaces and full basements. Building a shouse on top of a crawlspace or full basement requires additional work. You may even need to enlist the help of an engineer to ensure that the frame is structurally secure.
A slab foundation is the most affordable type of foundation. Concrete slab foundations cost about $4 per square foot. Building a crawlspace may cost $7 per square foot while a full basement can cost up to $25 per square foot.

3. Erect the Frame
Most shouses are built using a type of construction called pole-framing or post-framing. Post-frame construction includes the use of large, solid posts to support the roof and the rest of the frame, instead of using wood studs.
The large posts and interlocking frame offer enhanced stability and durability compared to stud frames. Post-frame construction can also be completed with wood or metal. However, the frames for shouses are often completed using metal.
Metal increases the structural strength of the frame, but also requires greater precision. If you plan on building a metal frame, you may want to consider buying a shouse house kit. Kits include precut steel posts and parts to erect the frame and complete the shell of the shouse, eliminating the need to cut materials on site.
Choosing metal over wood improves the strength of your home, but also costs more. You may spend up to 20% more on a steel frame compared to a wood one.
In this article on how to build a shouse, whether you choose wood or metal, the posts are set deep in the ground around the sides of the foundation. The posts may also be anchored to the foundation for increased support, especially when building over a basement foundation instead of a slab foundation.
4. Finish the Rough Framing of the Shouse
Rough framing includes the installation of the outer walls, roof, and subfloors. The outer walls are added after completing the base frame. If you are building a metal shouse, you are likely to use preformed metal wall panels, which are also commonly used for commercial construction. The metal panels are bolted to the frame.
Metal panels are also often used for the roof. However, you have a variety of roofing options, including corrugated metal, metal tiles, and flat metal sheets. While people often think of metal as creating an industrial look, you can find metal siding and roofing in a wide range of colors and styles.
Windows, doors, and skylights are often installed after the outer walls and roof. However, you may also add oriented strand board (OSB) to the insides of the exterior walls and roof to support the frames.
5. Frame the Interior of the Shouse
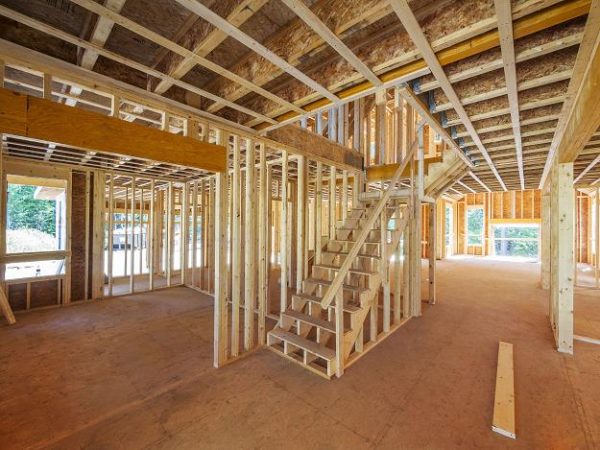
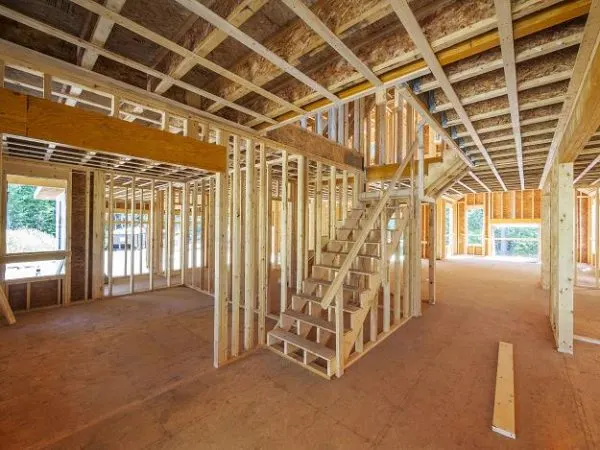
The next step on how to build a shouse is framing the interior using wood stud framing, as in a standard house. You typically start with the frame around the perimeter of the interior, which involves securing the frame to the outer metal walls. Adding a wood frame to the inside of the metal walls makes it easier to add insulation and hang the drywall.
After framing the perimeter of the inside of the house, you start framing the hallways and rooms. Builders often start at a corner and work their way around the interior. Closets and other small areas are typically framed last. If the design includes a second floor or a mezzanine area, a subfloor is installed on top of the interior framing.
6. Install Mechanical and Electrical Systems
The electrical and plumbing connections are typically installed after the shell and interior framing is completed. Installing the ductwork and pipes is often easier, as technicians and plumbers gain better access to the wall cavities and foundation.
The ductwork for the heating and cooling systems is often added before plumbing and electrical work. Installing the ductwork first gives technicians more space to ensure that your shouse is energy efficient. For example, if you install the electrical wires and plumbing first, technicians may need to work around the existing components.
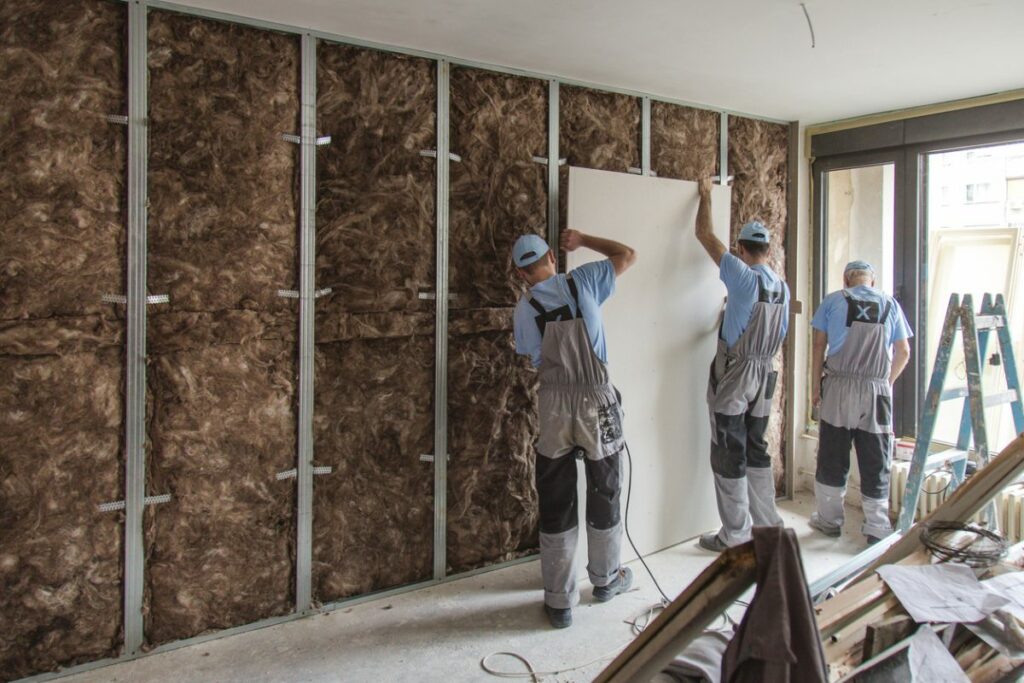
7. Add Insulation in the Roof and Wall Cavities
How to build a shouse depending on the product that you choose, insulation often is installed before you hang drywall, as the wall cavities and roof are still open and accessible.
The use of a metal frame creates deeper wall cavities compared to the typical wood stud frame. The deeper wall cavities allow you to install more insulation, which helps stabilize the building’s internal temperature, absorb sounds, and limit the risk of moisture.
The main insulation options for a shouse include:
- Blanket insulation
- Rigid foam board
- Loose-fill insulation
- Spray foam
Blanket insulation is the most common type of insulation. It comes in rolls of varying thickness. The rolls are easy to install but may not offer the best coverage. Rigid foam board offers increased insulating value compared to blanket insulation. However, the boards also cost more and require more work to install.
Loose-fill insulation and spray foam insulation need to be installed after you hang the drywall. The material is added inside the enclosed wall cavities using specialized equipment, which also means that you may need to hire a company to handle the installation process.
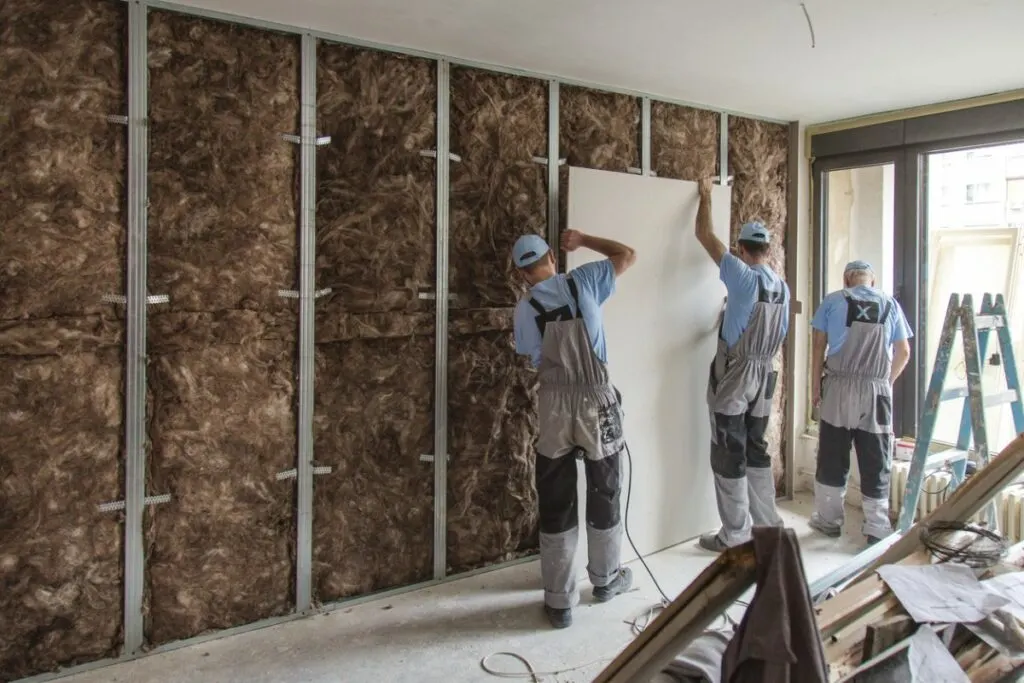
8. Hang Drywall and Install Flooring
Drywall is screwed to the wood framing inside the shouse to complete the rooms, hallways, and closets. Hang the drywall on the ceiling before starting the walls. The ceiling is often the hardest area to drywall, especially when building the shouse yourself.
If you do not have friends available to help with this project, you may need to rent or buy a drywall jack. The jack helps hold the drywall sheet in place until you can add the drywall screws.
After hanging drywall on the ceilings, hang drywall on the walls. Builders often hang the drywall horizontally in rows, starting with the top row. Screw the drywall into place at the top and bottom before starting the lower rows.
The bottom sheets will likely need to be cut to accommodate electrical boxes and plumbing. The drywall is then taped to hide the seams between the sheets. You may also choose to apply a layer of primer paint to the drywall at this stage.
You can now add the flooring on top of the subfloor. Common choices include hardwood, laminate, or vinyl flooring. You may also install carpeting.
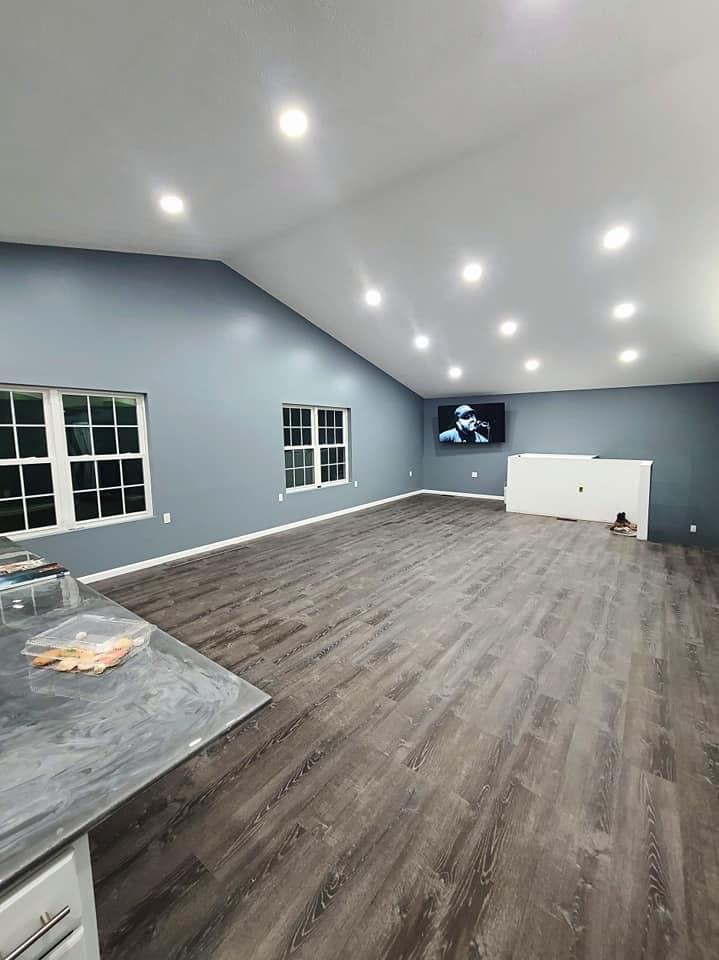
9. Paint the Interior
After finishing the flooring, painting the interior in the colors of your choosing is the next thing to do on how to build a shouse. Waiting until after you finish the flooring is often a smart choice. The process of installing flooring may lead to nicks and dents in the paint job on the walls. However, this is less of a concern when the walls only contain a layer of primer.
10. Install Light Fixtures and Final Touches
The last steps include installing light fixtures, cabinets, and other final touches. You may also wait until you finish the interior before working on the landscaping.

Conclusion
While building a shouse often involves less work compared to building a standard home, you still need to complete a lot of steps. Some of the choices that you make during the design phase may also impact the order that you complete certain stages of construction.
For example, if you choose to add loose-fill or spray foam insulation, you need to wait until you hang drywall to create an enclosed wall cavity. However, if you plan on adding blanket insulation or rigid boards, you need to install the insulation before hanging drywall.
In the end, you may want to consider working with an experienced contractor or hiring subcontractors for some of the steps that you have less experience with. Getting the job done right the first time reduces the need to go back and repair areas of the shouse.
You can find out more on how to build a shouse by browsing through our website informational guides.