
On this week’s update of our barndominium build, we get to talk about actually building the barndominium! For the last couple of weeks, our crew has been delivering materials, and working on the beginning stages of our structure. In the next couple of weeks, we will be totally finished with our metal siding, roof and have all of our doors and windows installed. It is truly amazing what a dedicated crew can accomplish in just about a month of work!
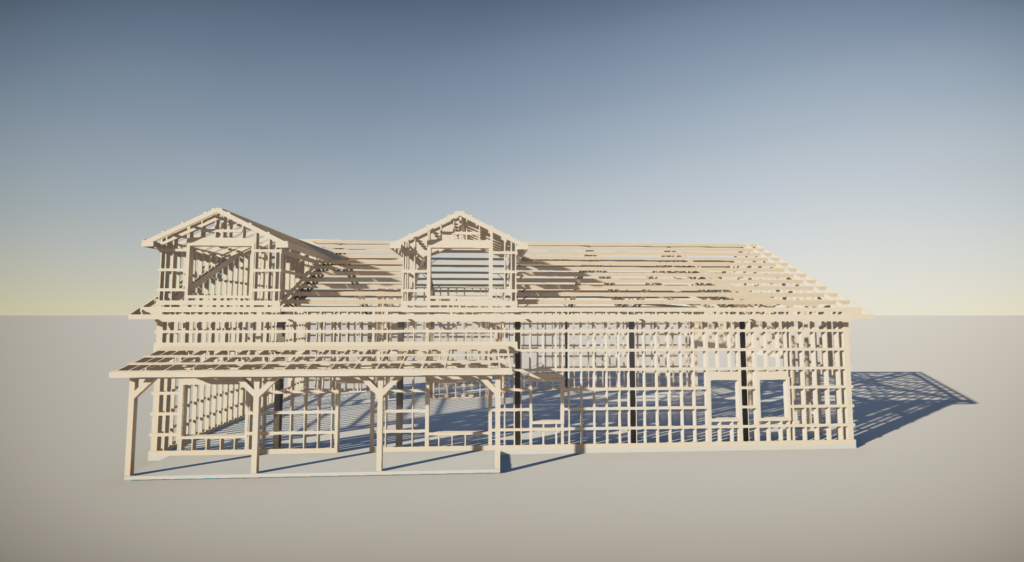
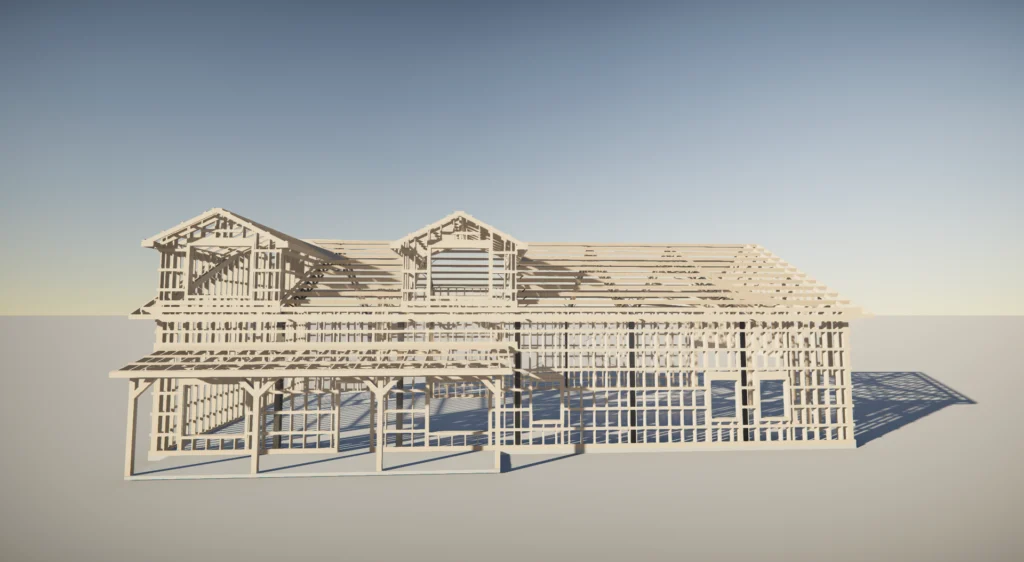
This image below is one of our renderings from the engineering of our plan with our metal building company that we are working with. I love this image because it shows the metal trusses, the purlins and the exterior framing.
Follow us on instagram @morgan.homebuild

Page Contents
Building the Barndominium: Delivering and Organizing
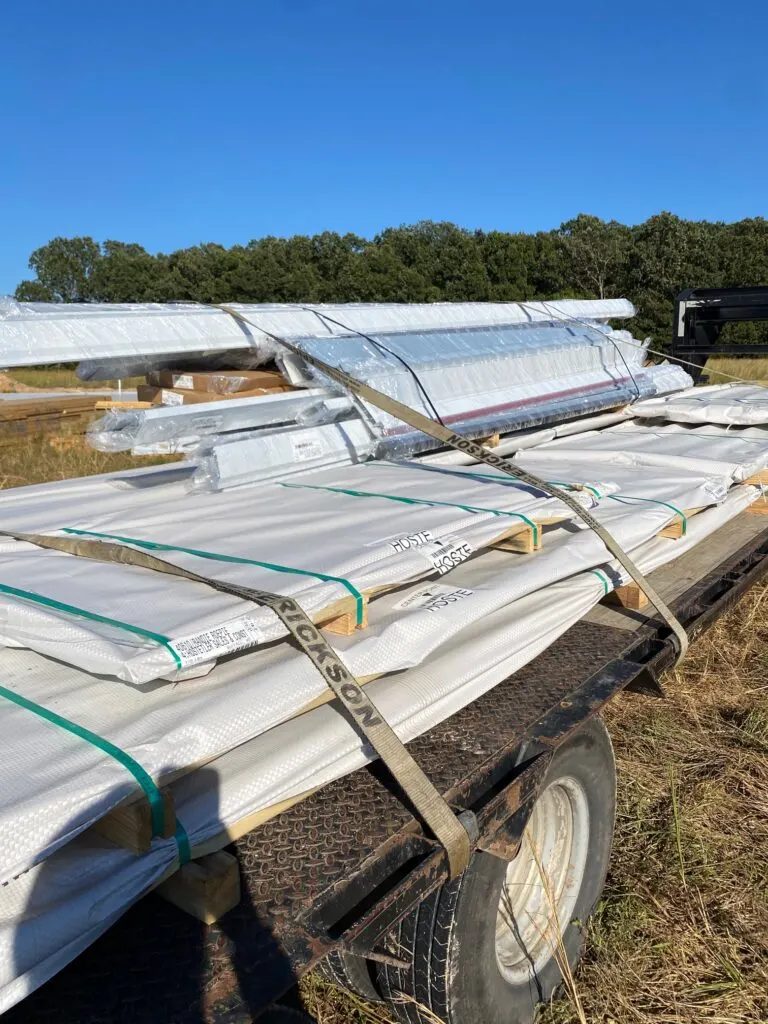
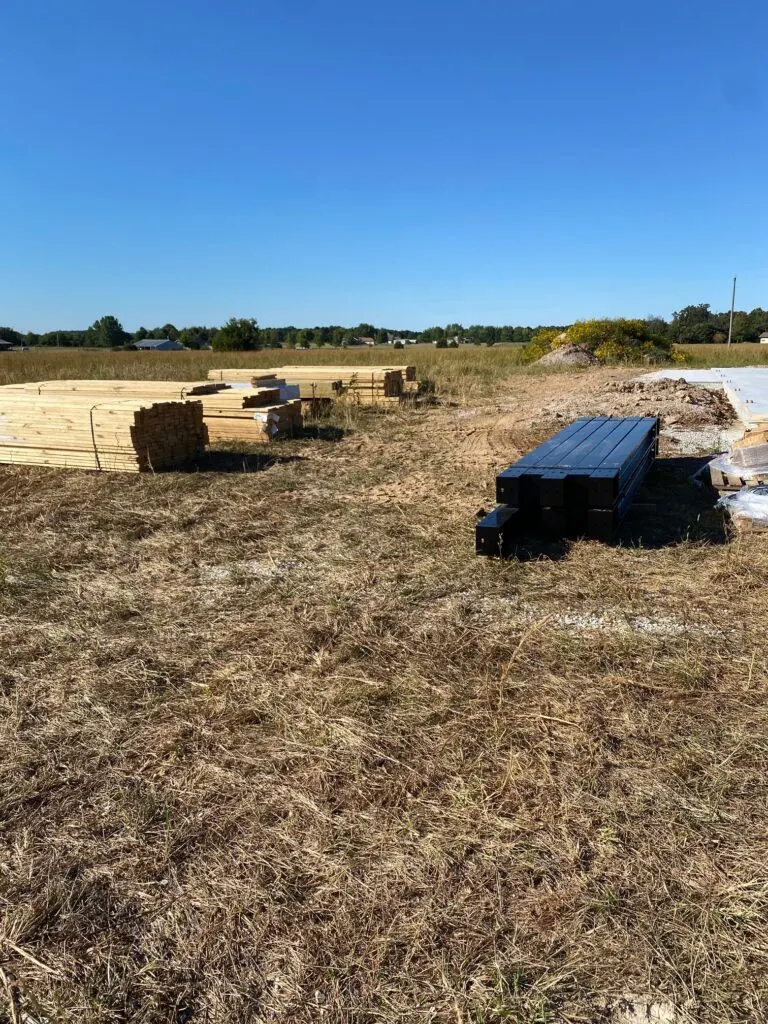
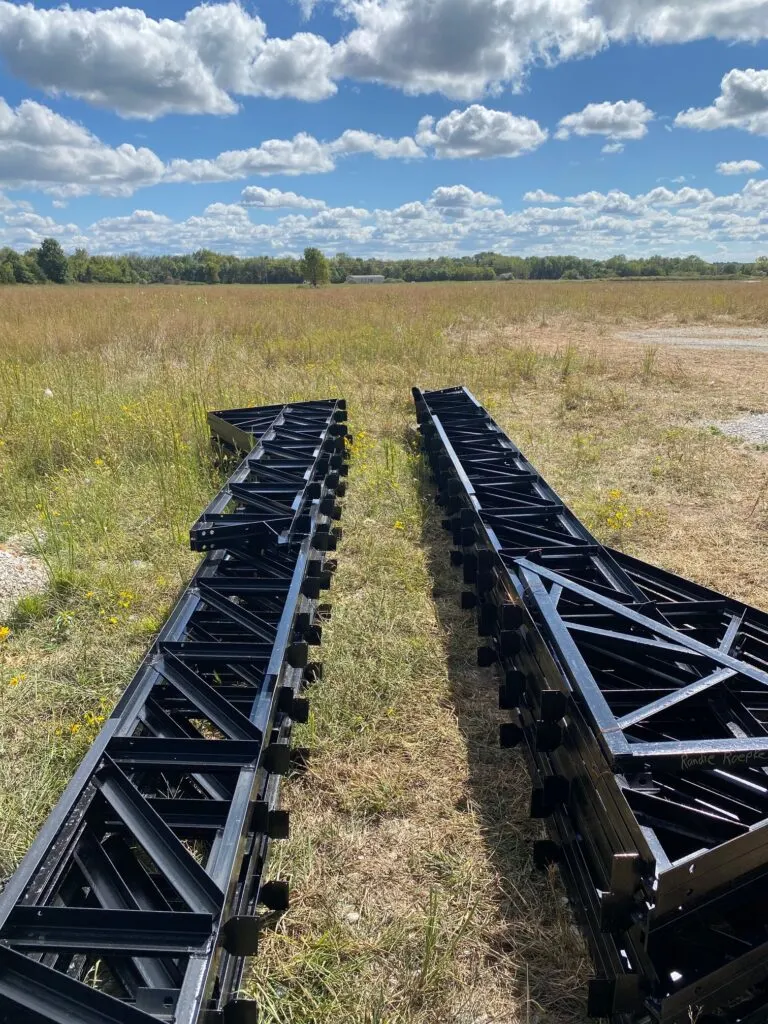
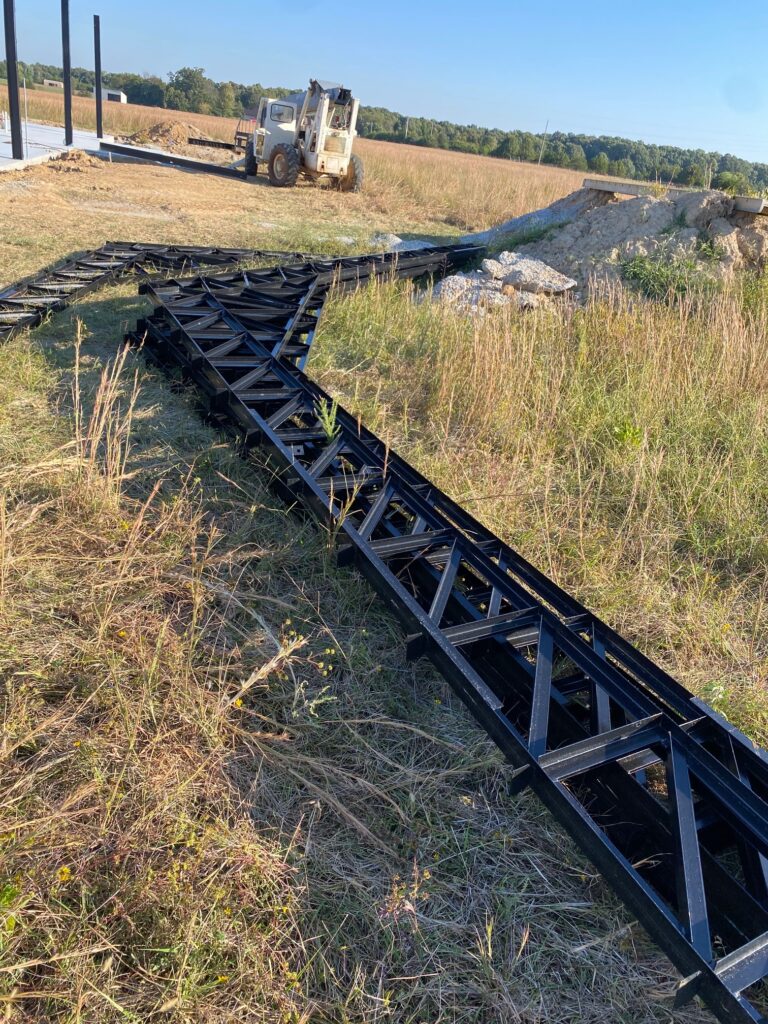
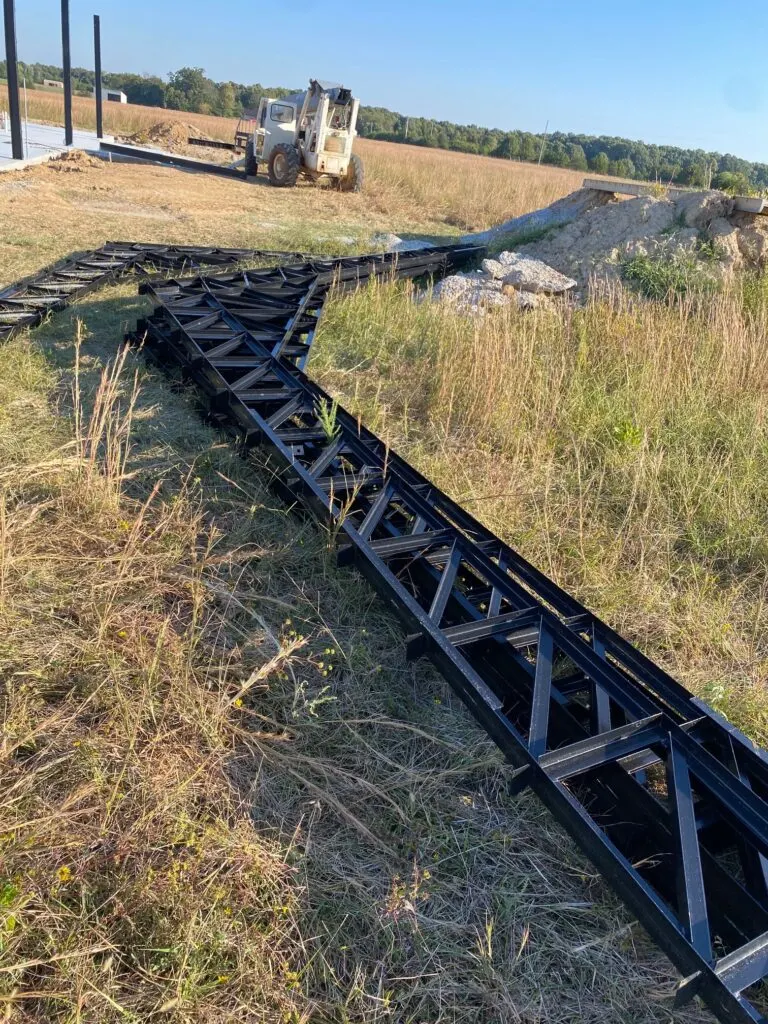
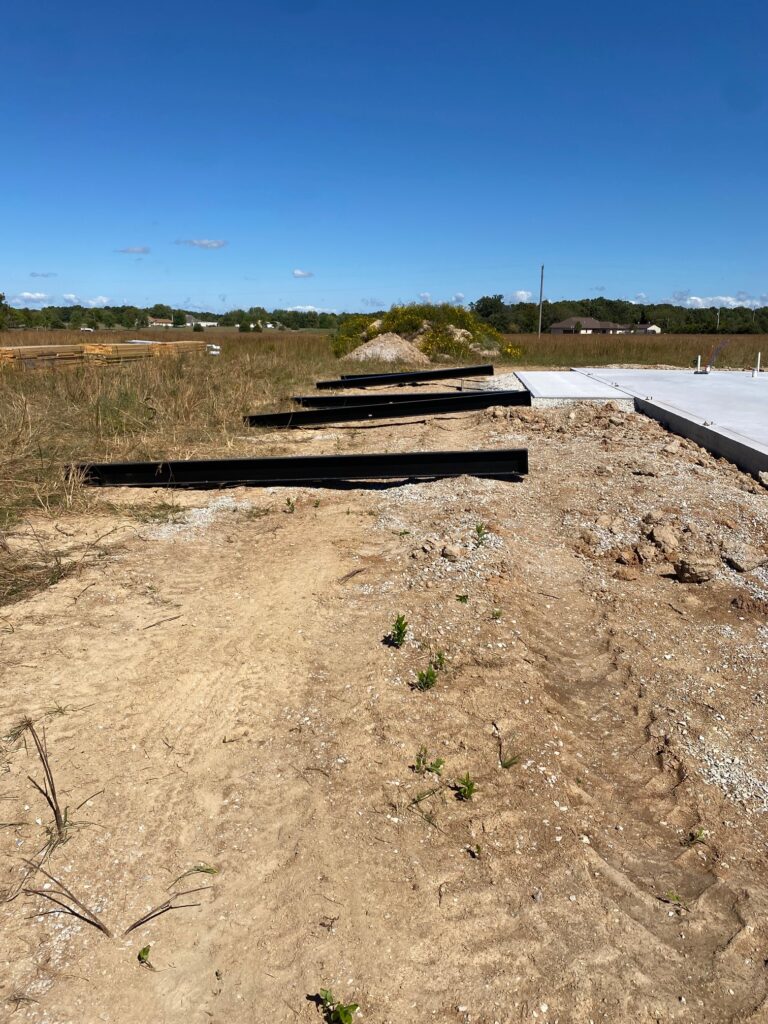
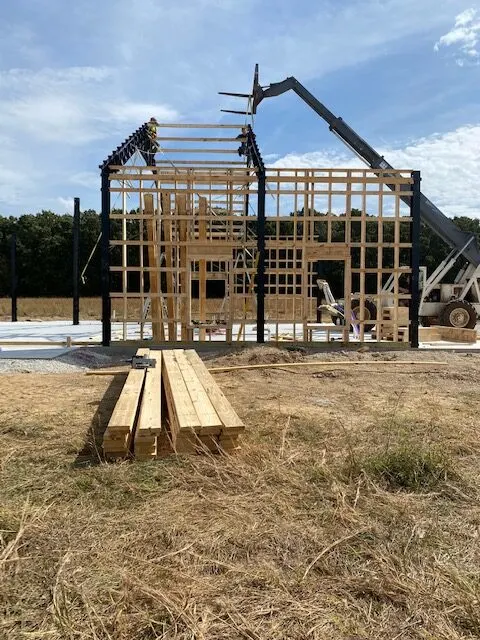
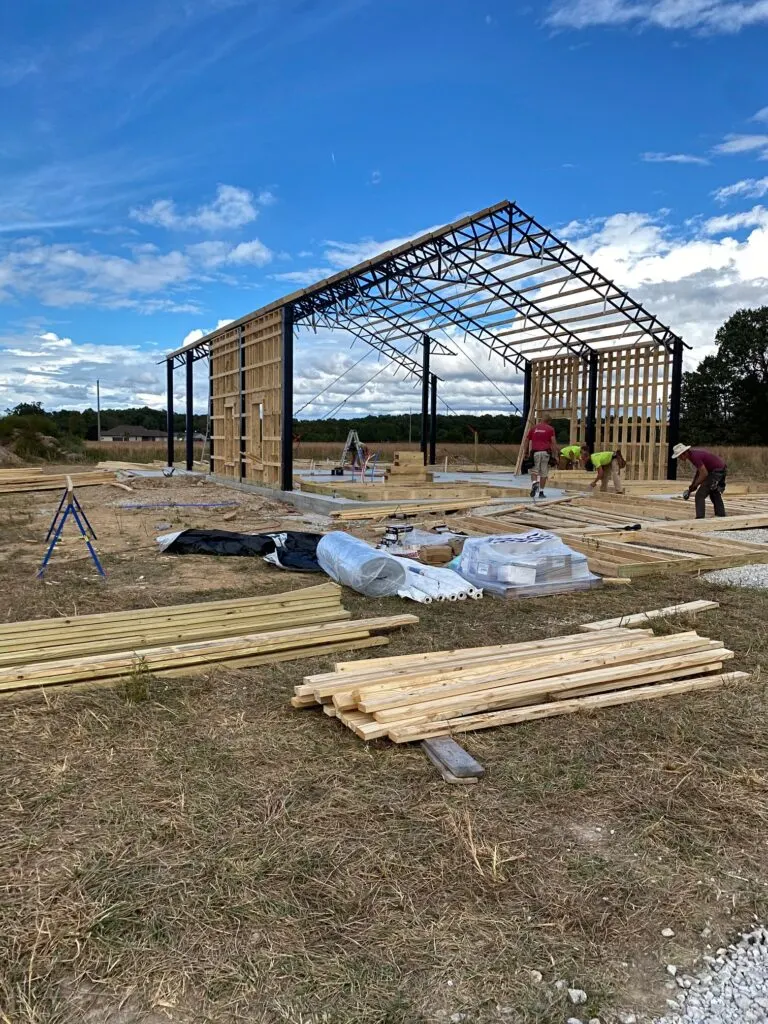
The first step for us after we finished our concrete slab was to have all of the metal and lumber for the shell delivered to our land. We also set up a dumpster for trash. After the materials we delivered, the crew came out and did quite a bit of organizing and constructing before beginning to build. The trusses were put together, the metal columns were set where they would be erected, and the the lumber was organized. A dumpster for trash and a port-a-potty were also delivered by our company in order to prepare for crew to arrive and begin work.


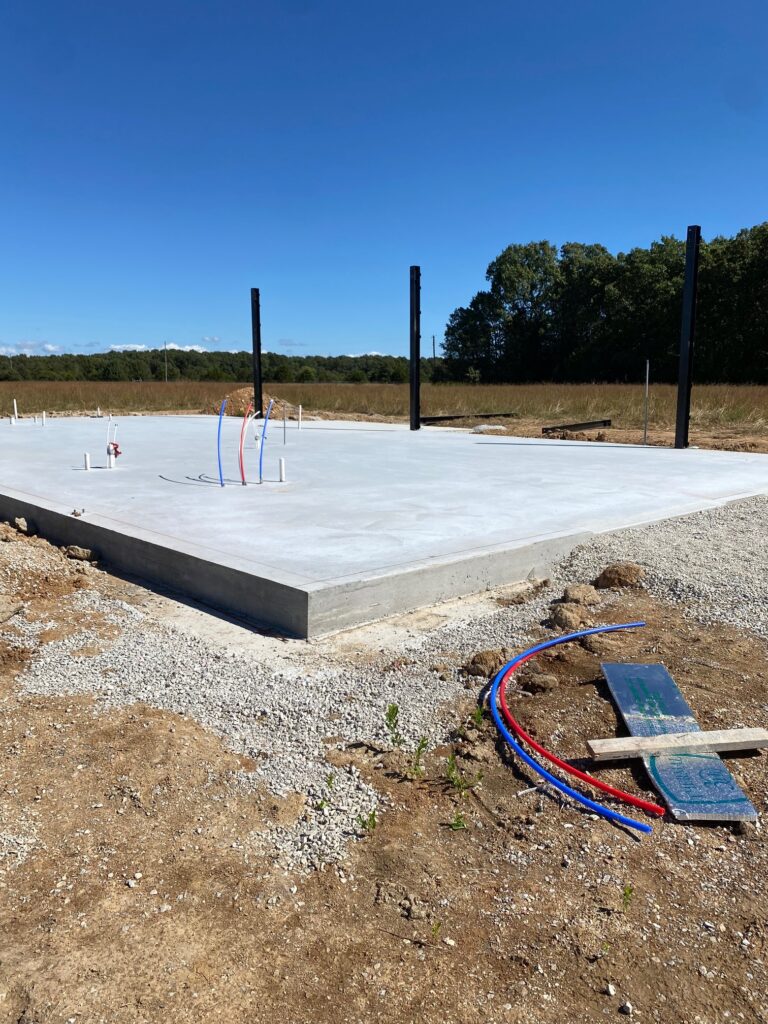
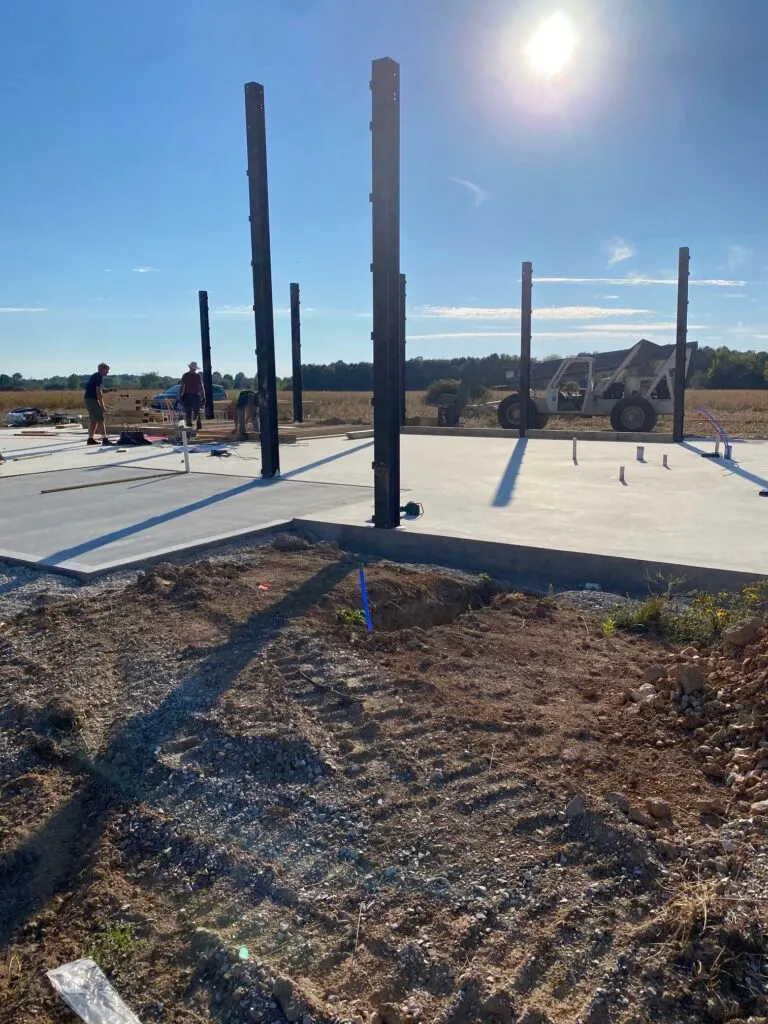
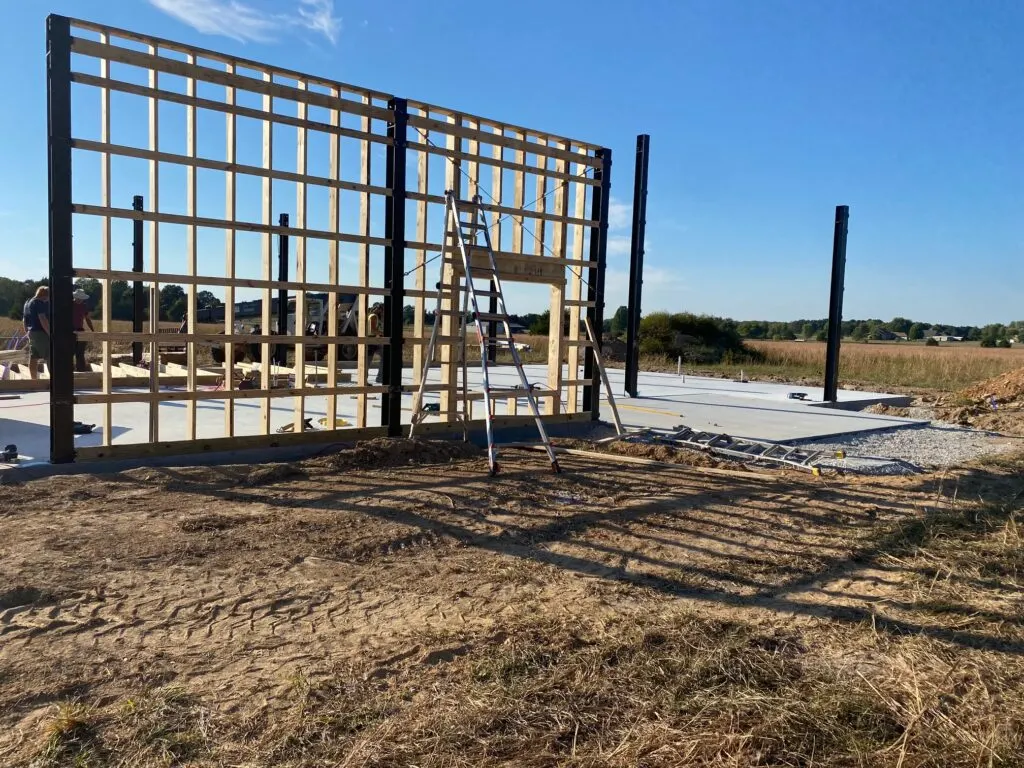
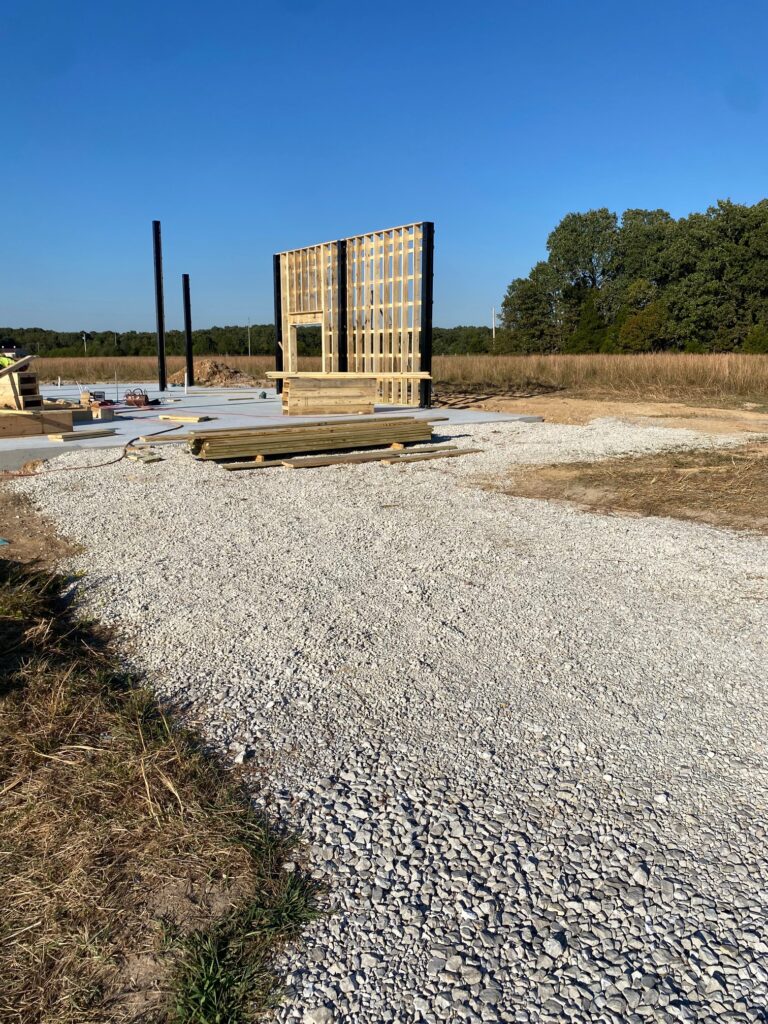
Building the Barndominium: Constructing the Columns
When discussing our plans, our team decided that the metal beams would be placed every 12 feet throughout our structure. These beams will be our load bearing walls that hold our metal trusses. They are 15 feet high. On one side of our house, where there is not a second floor above, the walls will be 15ft and peak to 18ft in the center of the structure. Designing the interior of the barndominium was a bit tricky when making sure that the beams didn’t interfere with windows or other design elements.
In fact, we actually discovered, after setting a couple of the metal beams, that our floor plans that we had drafted were not cohesive with the engineered drawings from the metal company because of these beams. This was a huge stress as we worked through a couple of days of trying to find the best solutions to our problem. However, we did come to a good compromise. We have been extremely thankful that we chose to work with really amazing people. With construction, there are always bumps in the road, but if you have the right people around you, everything seems to work itself out.


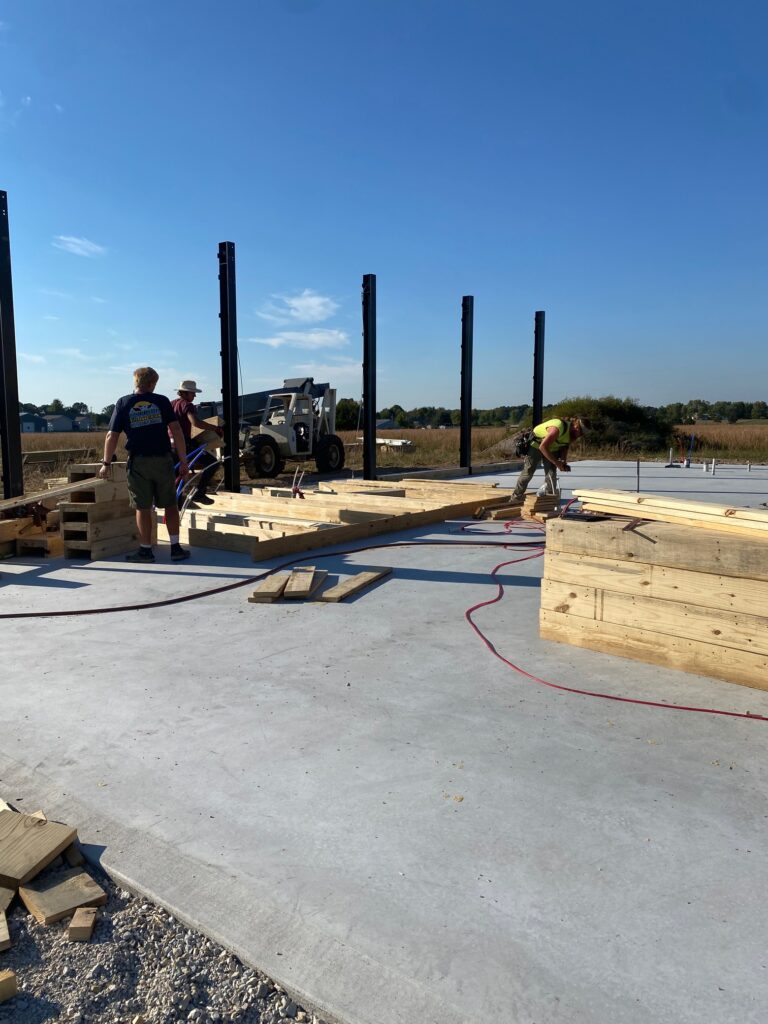

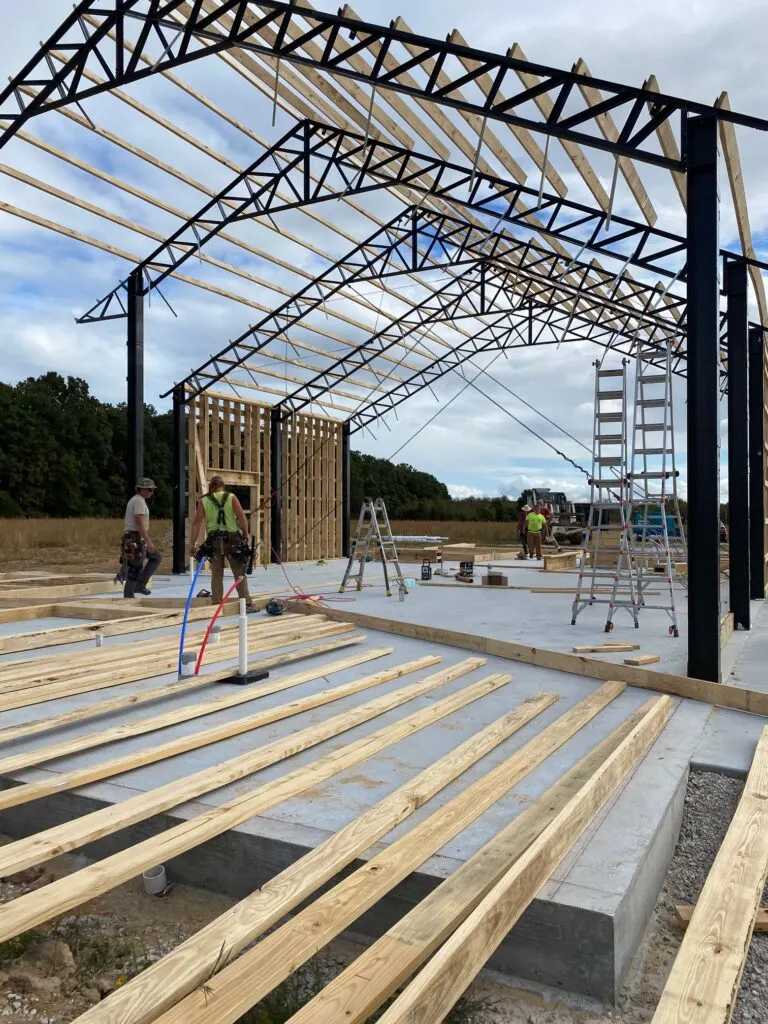
Building the Barndominium: Framing
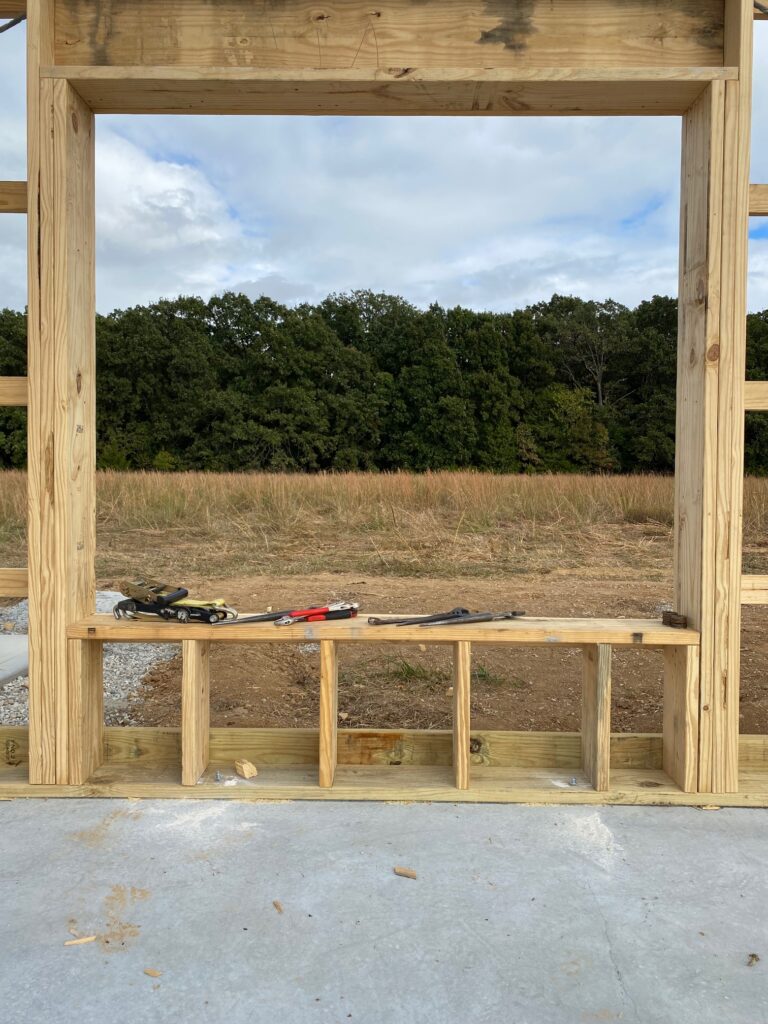
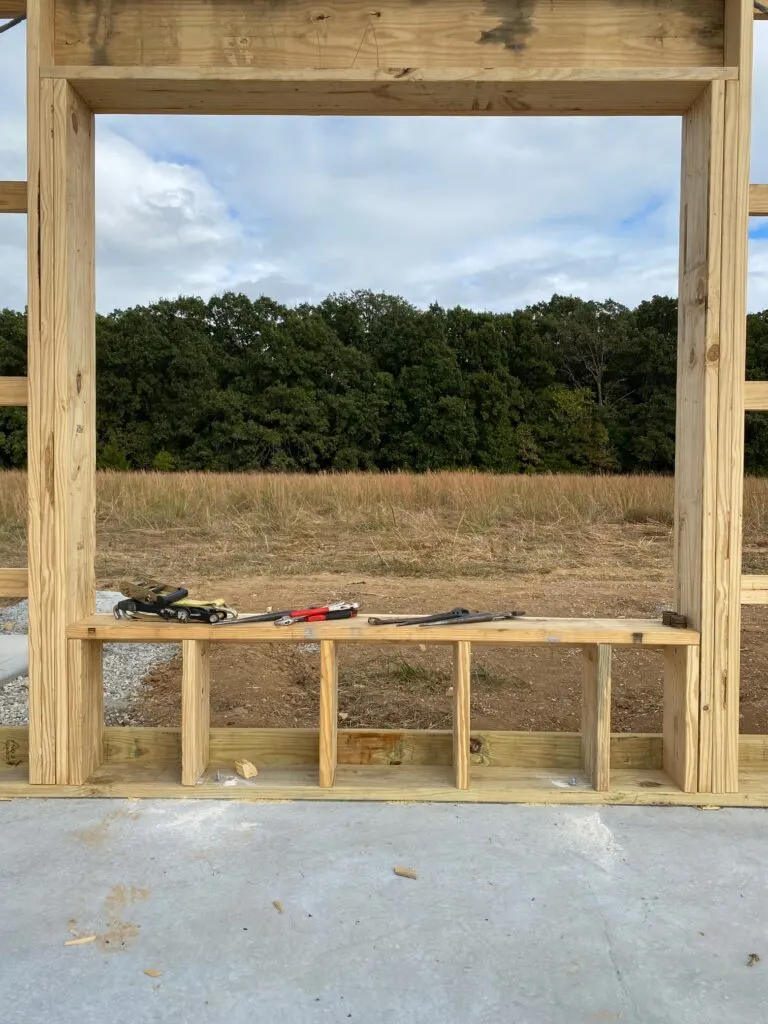
After most of the beams were placed, the crew began to frame between beams. This lumber will give them something to screw the metal siding into, and it will support our interior framing as well. It has been amazing to see some of our door and window openings come to life. We are particularly excited for our dining room window, which is a 3050 twin. In layman’s terms, this means that the opening will support two 3ftx5ft windows that are connected to form one large 6ftx5ft window. We have several other 3050 twin windows going into the structure, and we will see those openings in the framing coming up in the next couple of weeks!


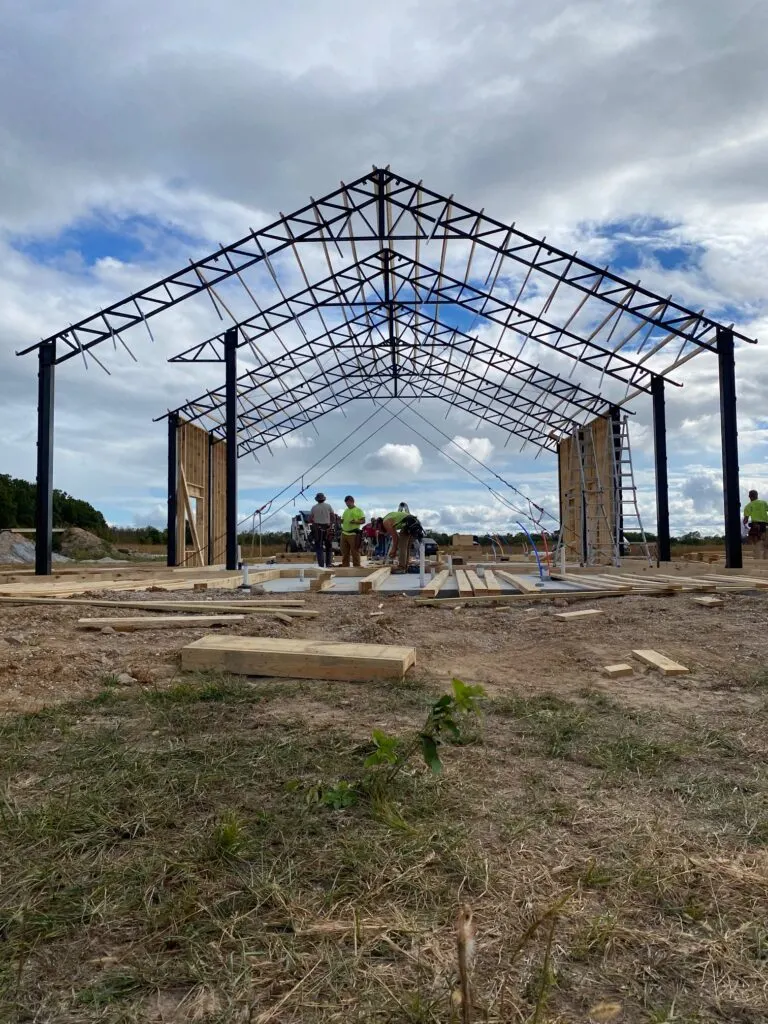
Building the Barndominium: Setting the Trusses
Each set of beams holds up the scissor trusses, which in our case, will be exposed in our kitchen and living areas. We wanted to expose the metal to create an industrial feel in our main spaces. We plan to pair the exposed trusses with exposed spiral HVAC ductwork, stained wood cabinetry, and red-colored brick accents. We love wide open spaces, which made a barndominium a good option for us!
At this stage, the crew is also placing purlins in between the trusses. Currently, the crew is finished with part of the wall on the front of the house. They have finished a similar section on the back of the house. They are about to finish framing the garage door wall as well. As you can see in some of the final pictures, we are finishing up framing the rest of the walls and putting up the final trusses. The section of the home behind the front porch is easily the most complicated to build due to the dormers hanging above the front door.


Coming up next
Next up in our build is finishing framing out the dormers and trusses, and wrapping the structure in metal siding and installing the roof! Once our dormers start to take shape, the front of the house will really come to life. Another element that we are excited to see is the front and back porches. They will have 8×8 wooden posts. We can’t wait to show you our finished structure in the next article!
Check out our other most recent updates in the series:
Part 3: Finding the Best Floor Plans