
The last two weeks have been an explosion of building progress, after months and months of planning, all with one goal in mind: pouring the slab foundation. This step is HUGE for many reasons, one of which being that it is so final. There is no crawlspace to get into to rework the plumbing if something is placed incorrectly. It is quite literally set in stone. Because of this, we had to double and triple check that we had everything perfect before the pour.
Find more info and pics from Morgan’s journey on instagram @morgan.homebuild


Page Contents
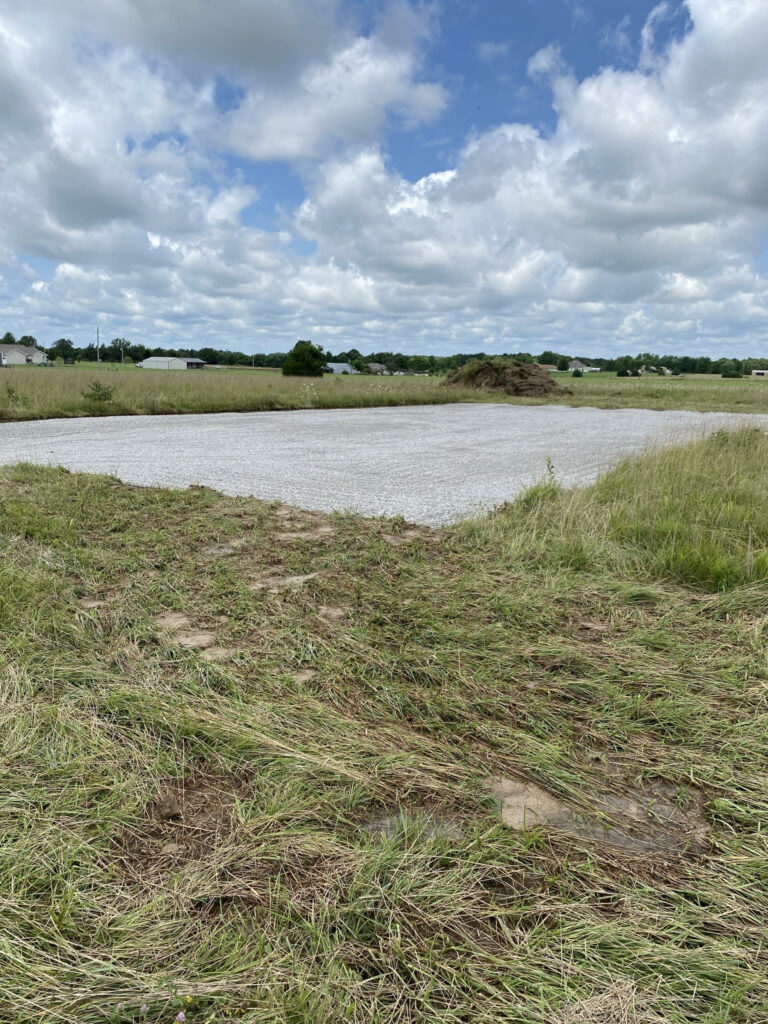
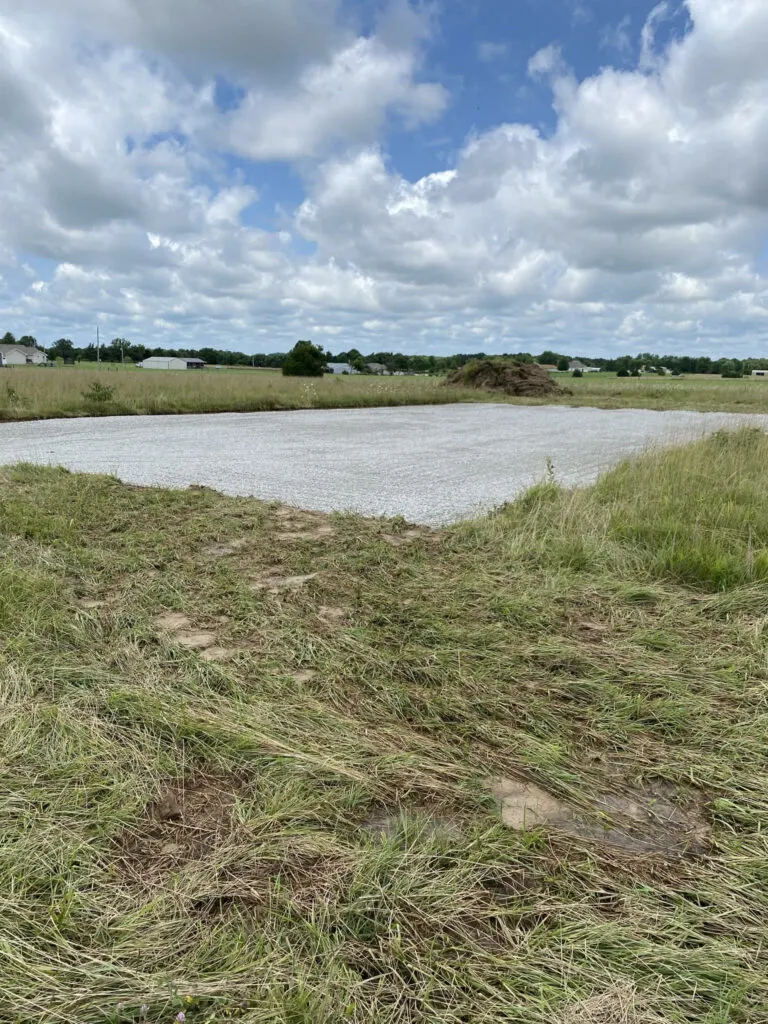
Slab Foundation: First Steps
This may just look like a gravel rectangle, and well, that is what it is. However, there were so many steps that brought the project to this stage. Some of these were land surveying, drafting, finding the perfect spot and position for the house, and of course, excavating. For more information on this step in the process, navigate to our part 4 article titled “Breaking Ground.”
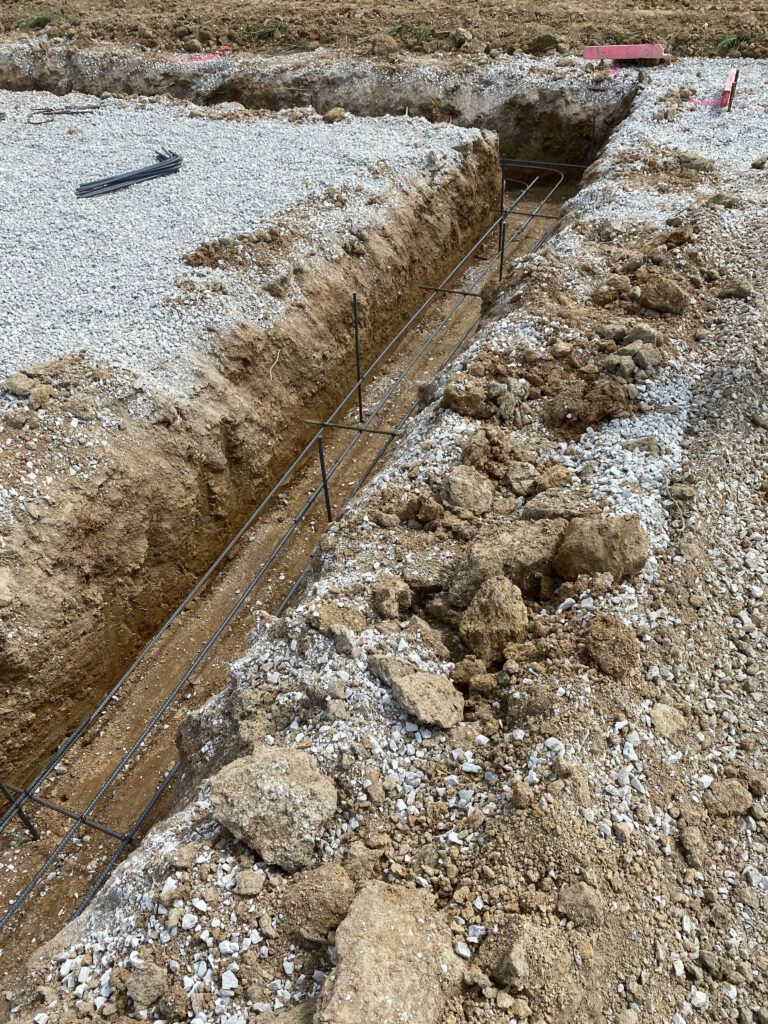
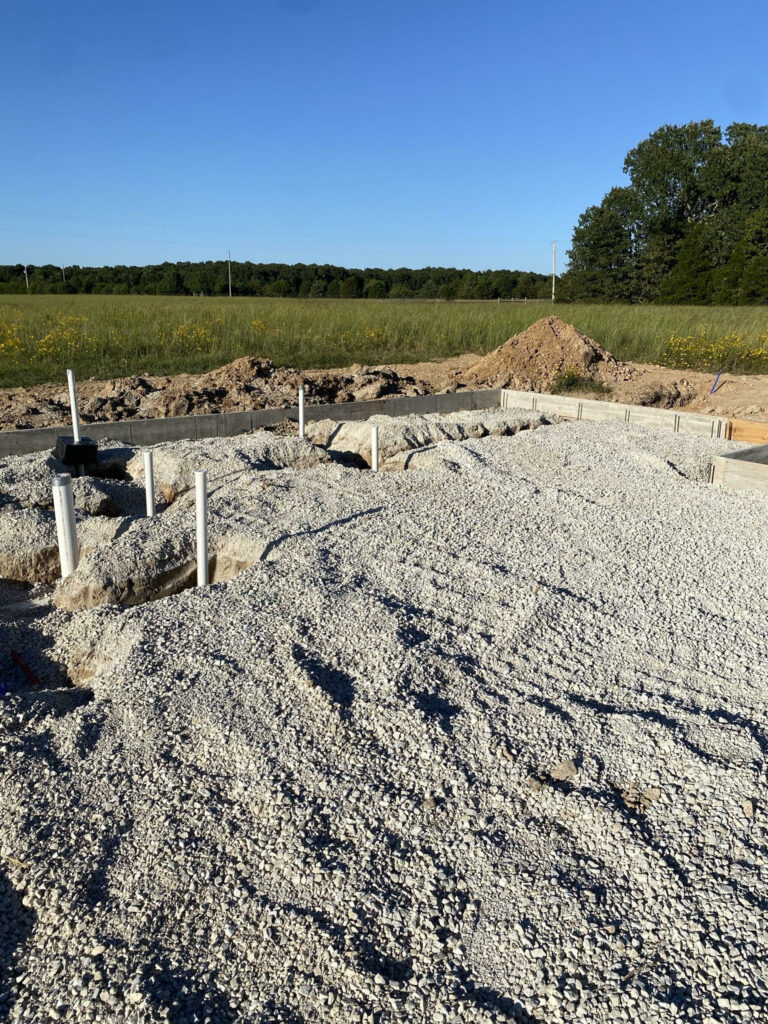
Slab Foundation: Digging and Pouring the Footers
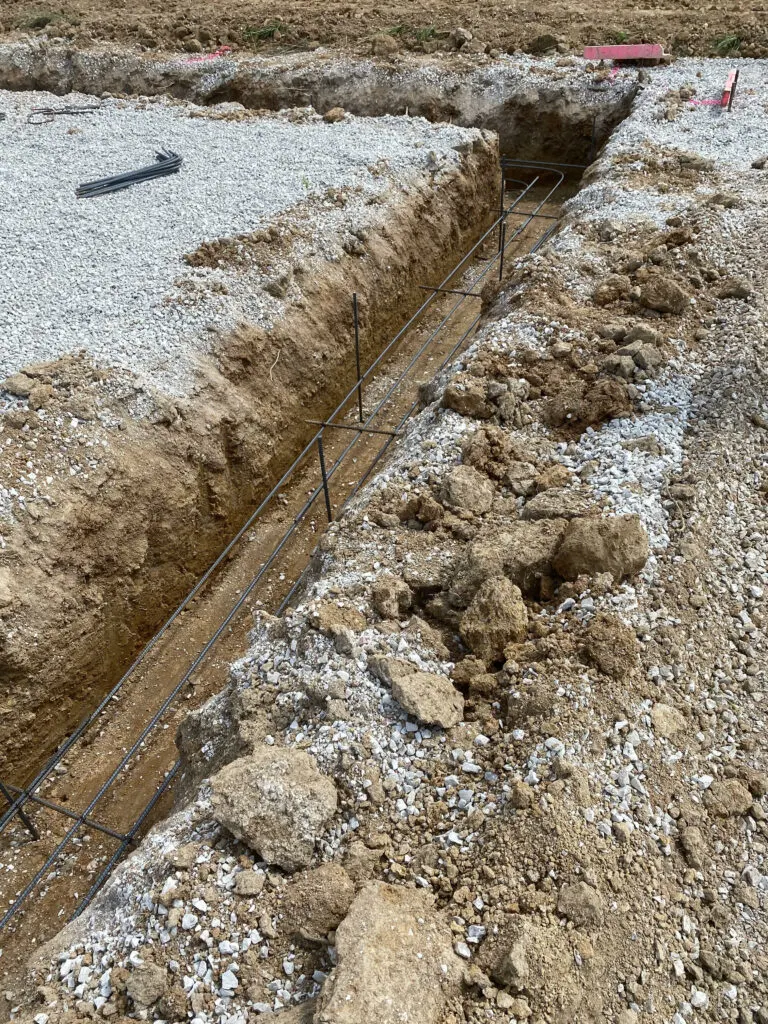
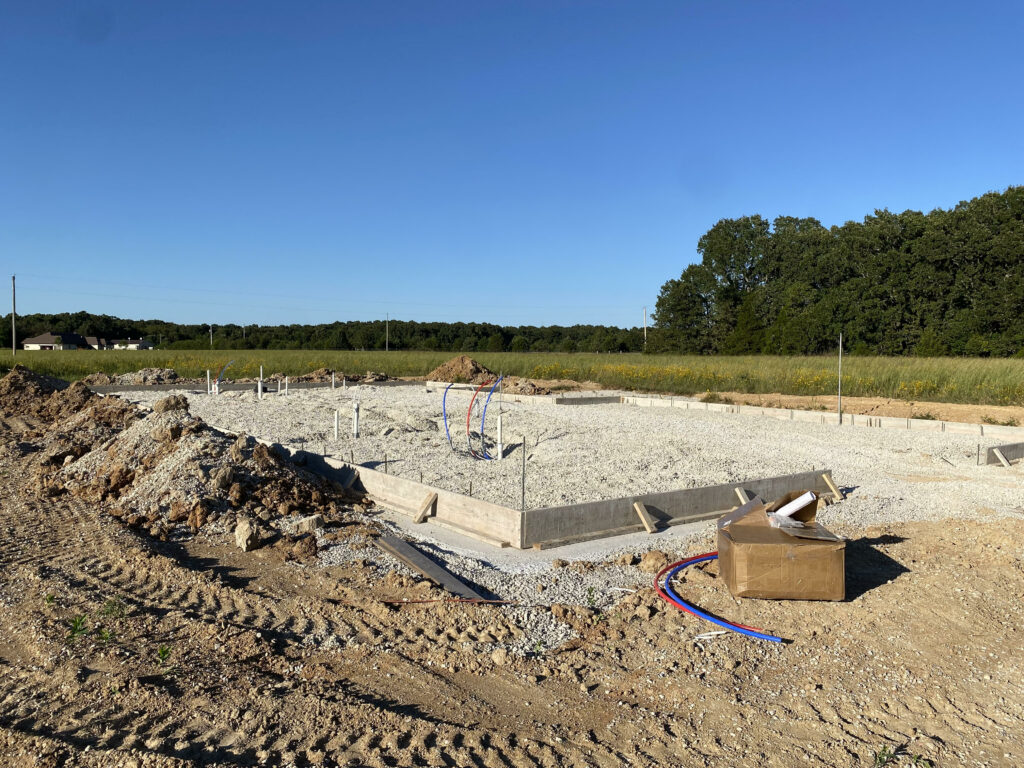
Who knew they had to dig so deep to lay a slab foundation? I didn’t! As with every kind of construction project, there are different ways to achieve a similar result. In our circumstance, we are in a county very near to the large (ish) town of Springfield, MO. Because of this, our county has more substantial regulations for all construction projects. One of these regulations is deep footers with rebar for slab foundations. Its important to find contractors who are familiar with local building codes. This helps your county inspections to go smoothly.
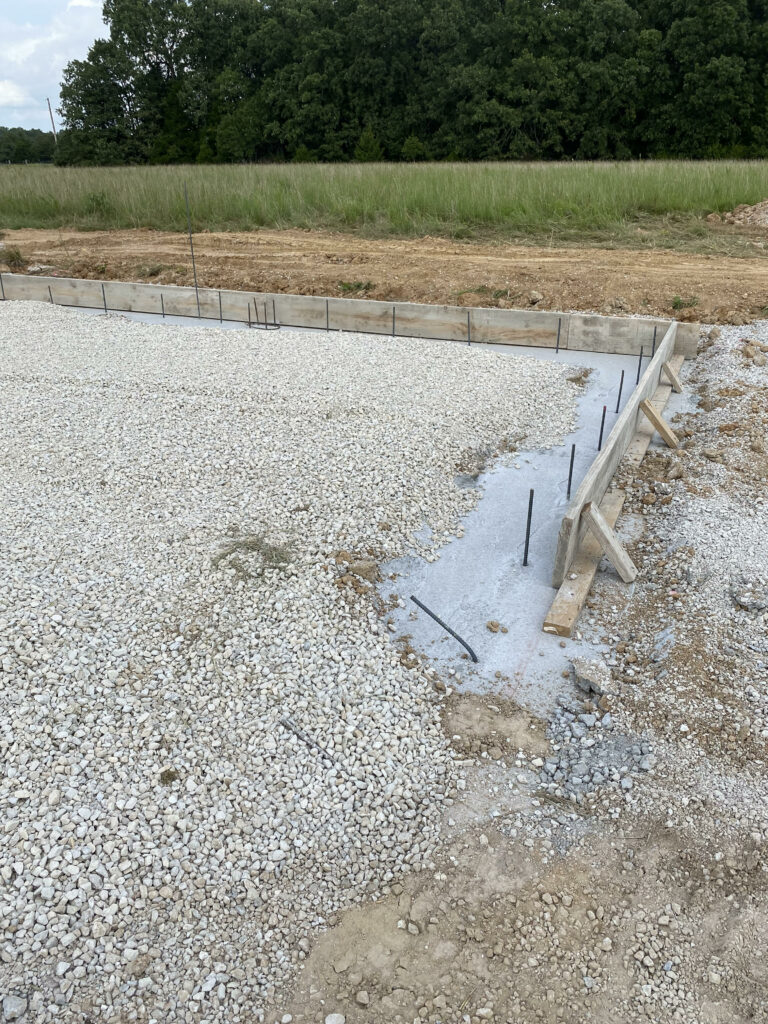
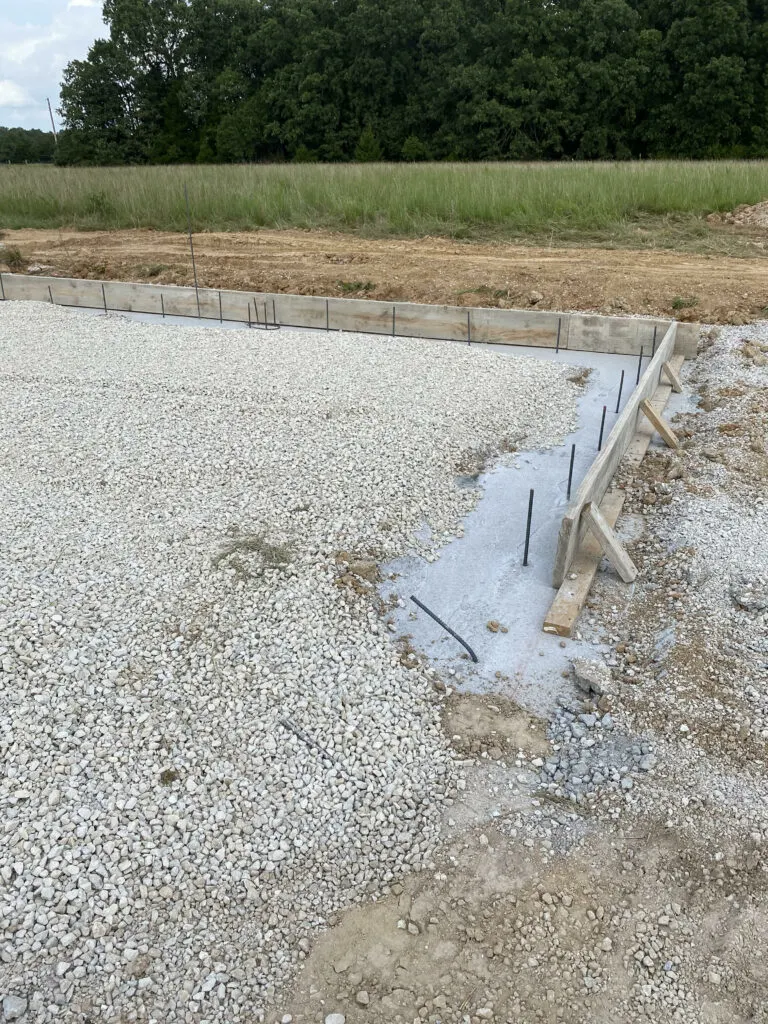
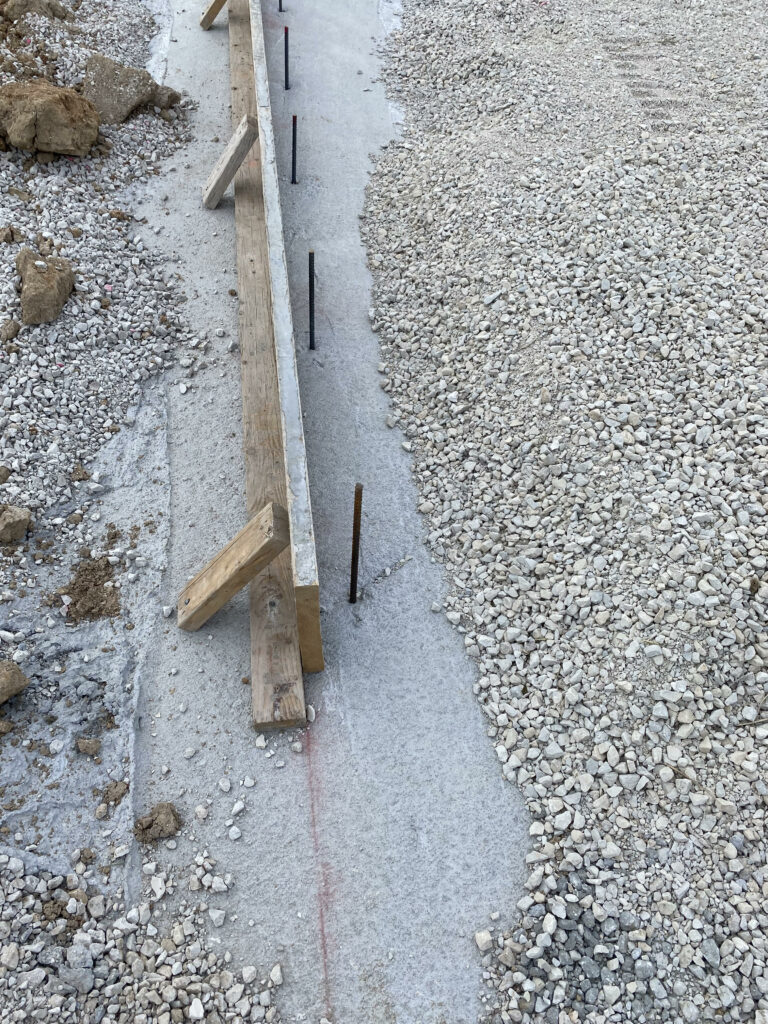
After digging the footers, adding rebar, and placing our electrical box, concrete was poured over the trenches. They then put the forms up (wood) so that our plumber could be exact on his measurements for rough-in plumbing.


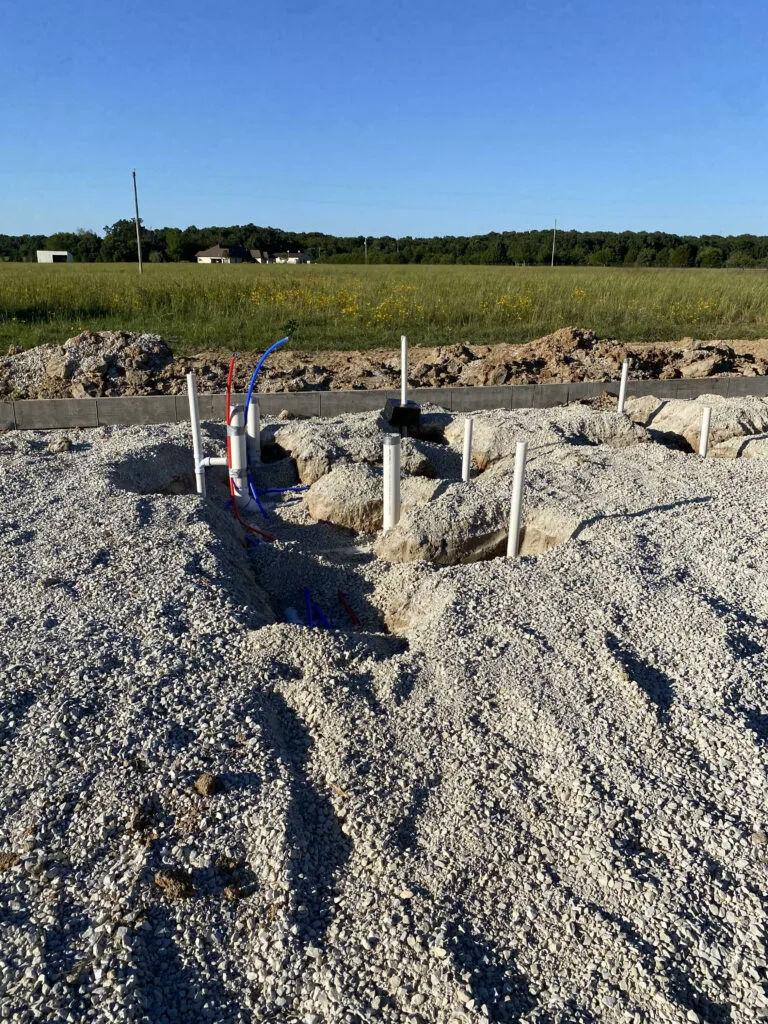
Slab Foundation: Rough-in Work
At this point in the process, our electrician and plumber came out to route all of the conduits and pipes that needed to be ran under the slab. This was definitely the most stressful part of the slab foundation work, simply because everything needed to be perfect. After the slab is poured, it is nearly impossible to relocate plumbing on the main floor. We wanted to make sure that it was done right the first time.
For us, this portion was mostly plumbing. We had to run pipes for two bathrooms, a laundry room with a sink, our kitchen sink and dishwasher, and a plumbing and drain for the mechanical room in the garage. We also had our electrician come to run a conduit for our outlets and garbage disposal which will be located in our kitchen island.
Timelines for this portion got a little tricky. We had one company doing all the prep work and pouring the concrete, so when they were finished with the footers, we had just days to get our electrician and plumber out to do their work in order to keep the project on track. Well, that didn’t happen. So we worked with some delays, but in the end, we didn’t bust our timeline too much, and since we were working with such great people, everyone has been very understanding. Sometimes in construction, that’s just the way it is!


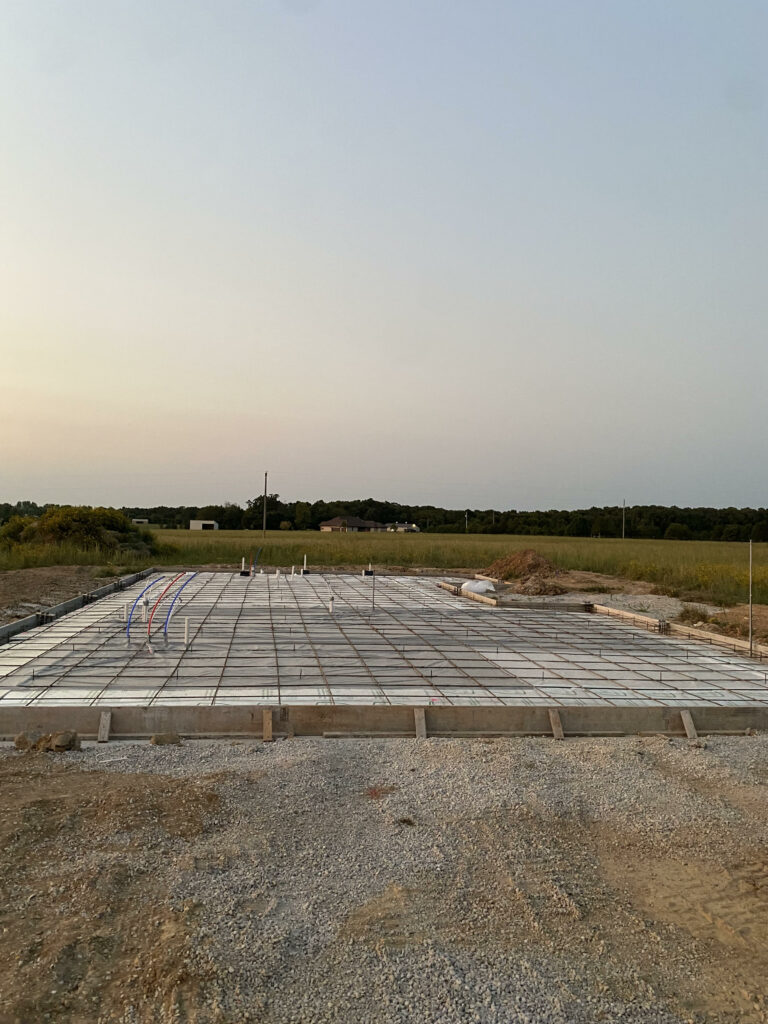
Slab Foundation: Insulation and Rebar
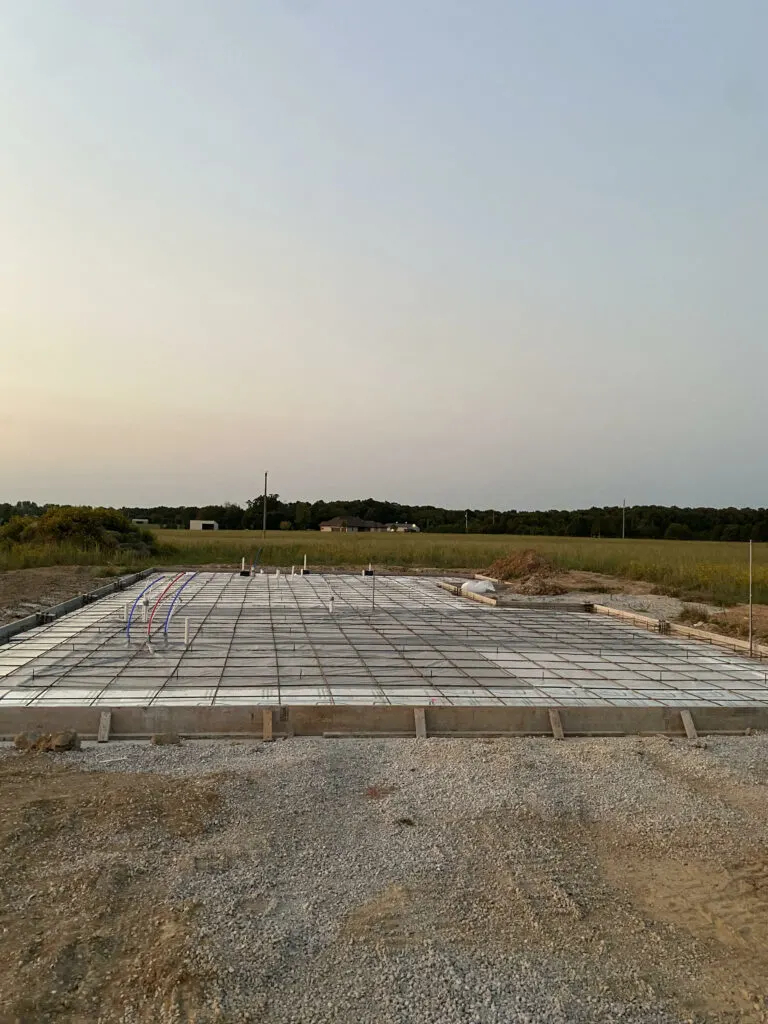
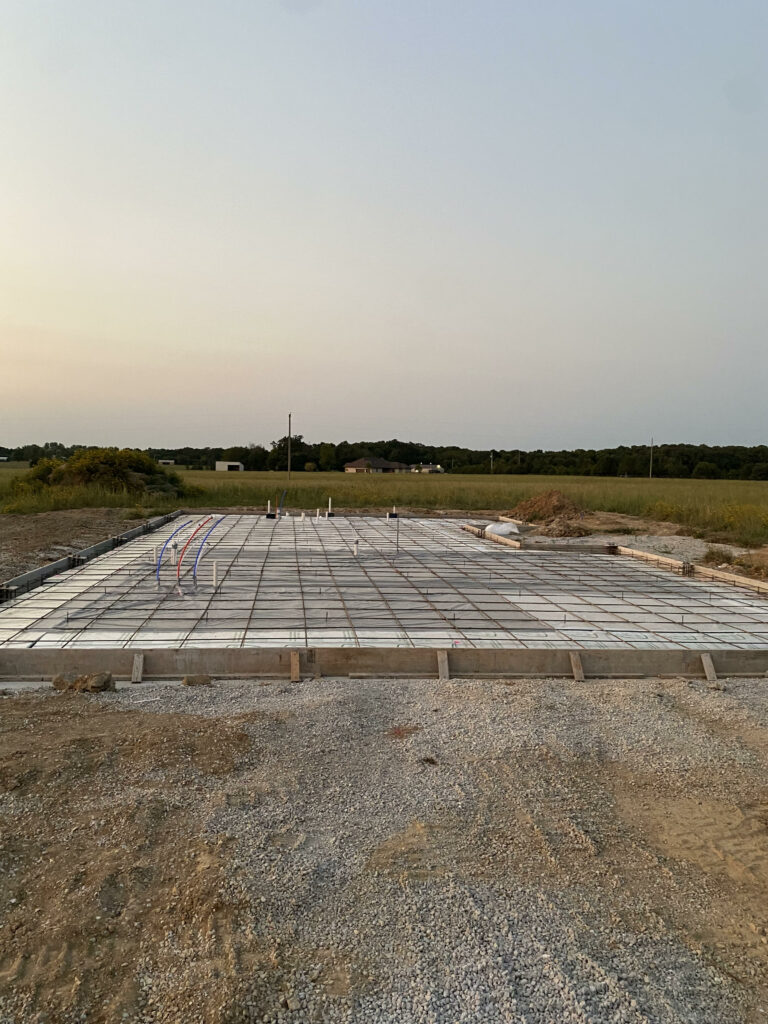
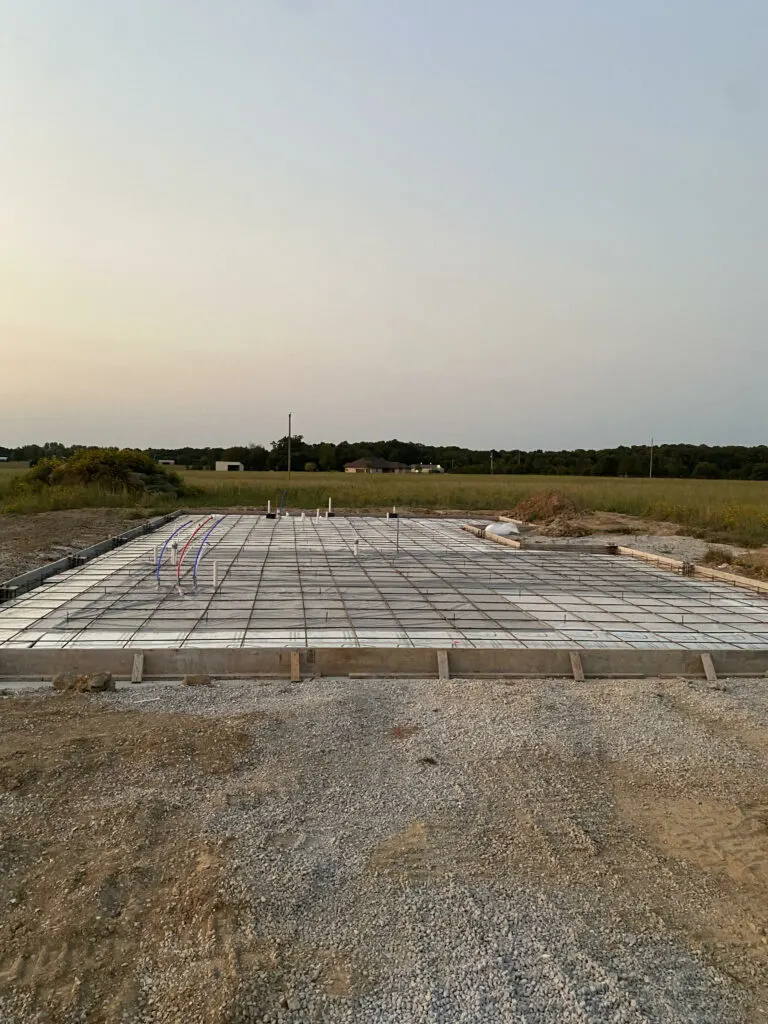
In just a day after our plumbing was finished, our concrete crew came back out to finish prepping for our concrete to be poured. During this stage, gravel was backfilled to level out the pad. We chose to have a foam board placed around the edges of the slab in order to insulate for more energy efficiency. Studies show that the key to temperature control in a slab is the edges. So, we had our crew lay a four foot insulated board around the edges of the slab.
After the foam board, the crew laid a plastic vapor barrier for moisture control and then rebar. The pictures of this stage is so satisfying for me. After all of the digging and pushing gravel around for a couple of weeks, it was nice to see everything to organized and in its own place.


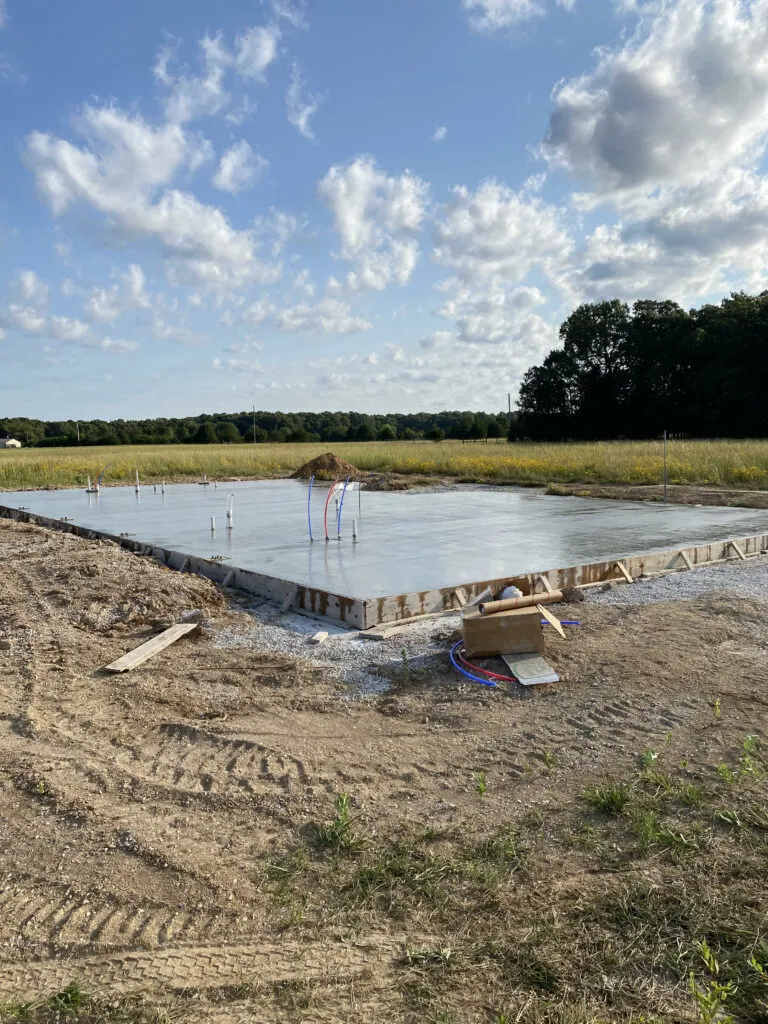
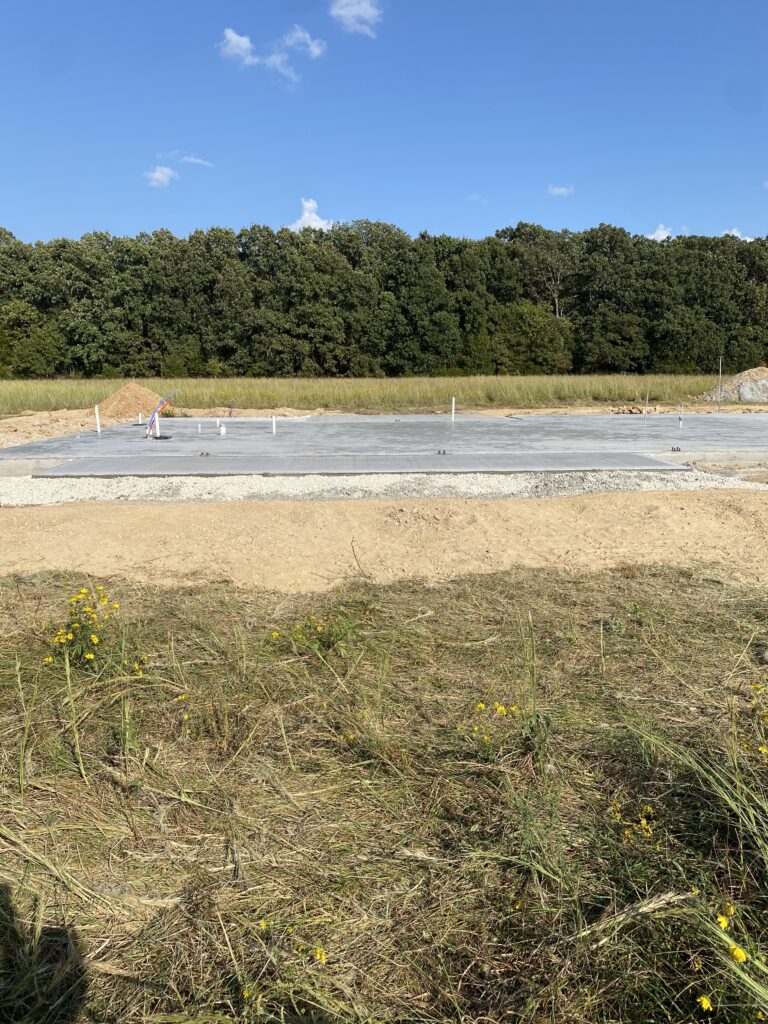
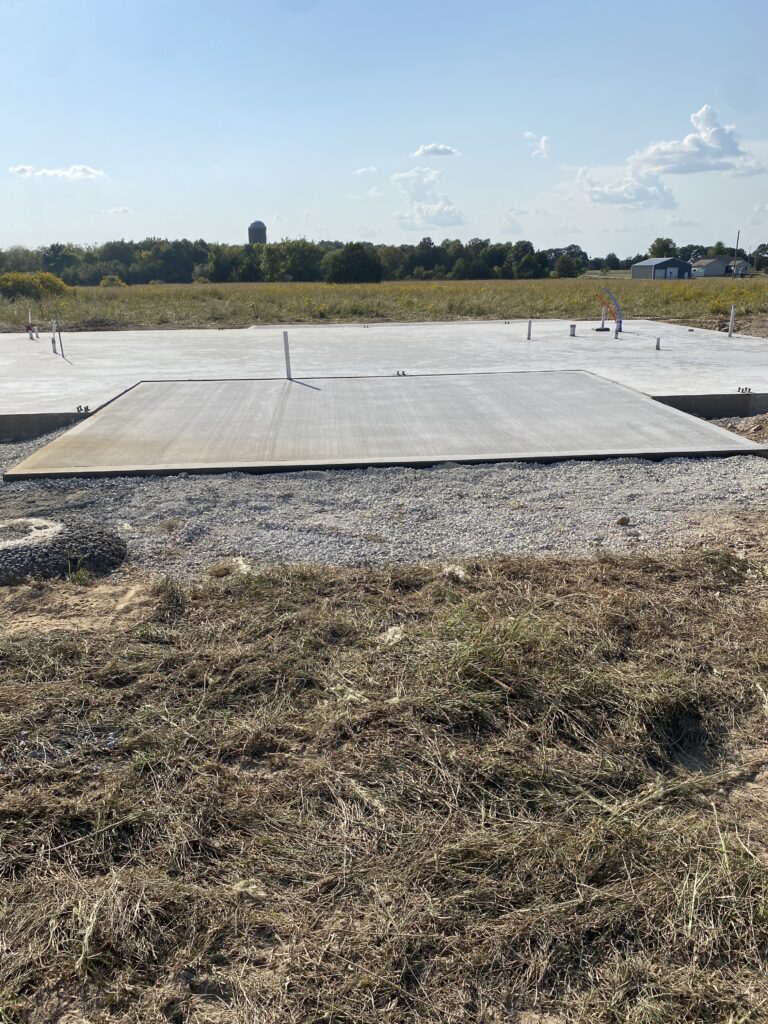
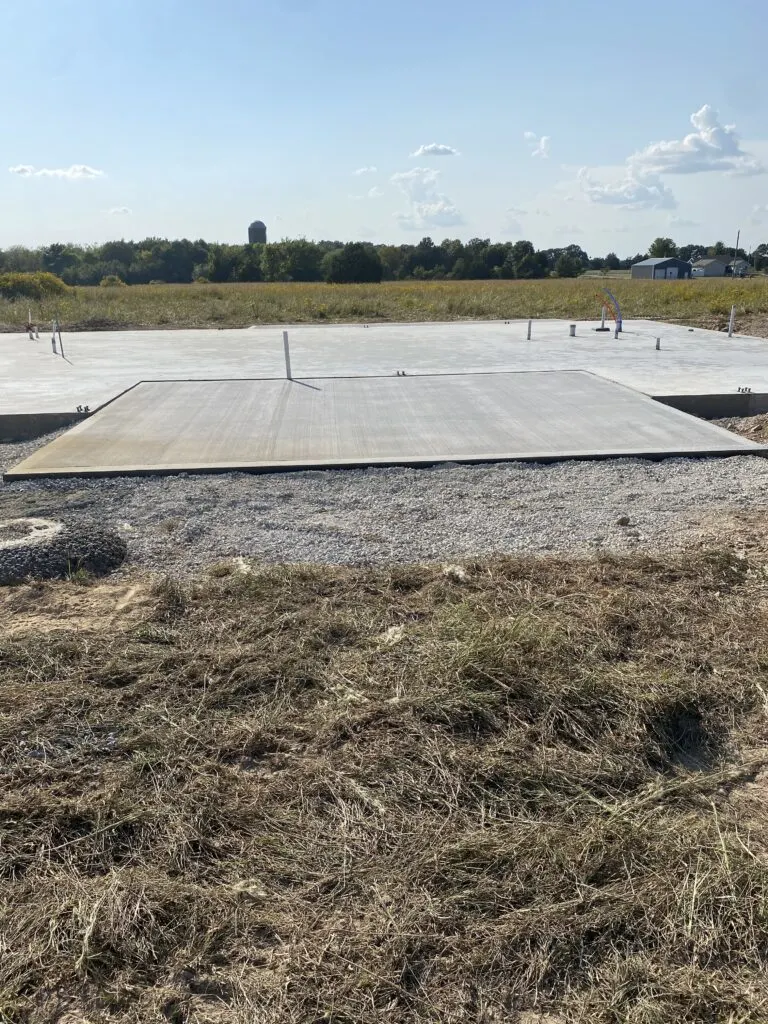
Slab Foundation: Final Product!
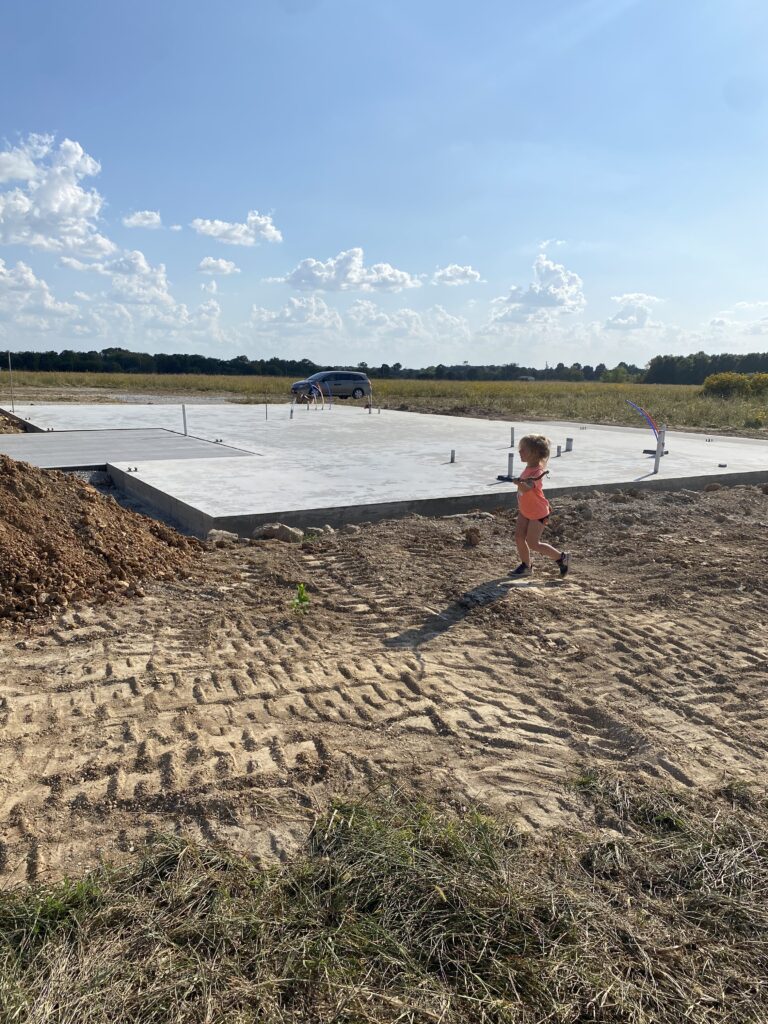
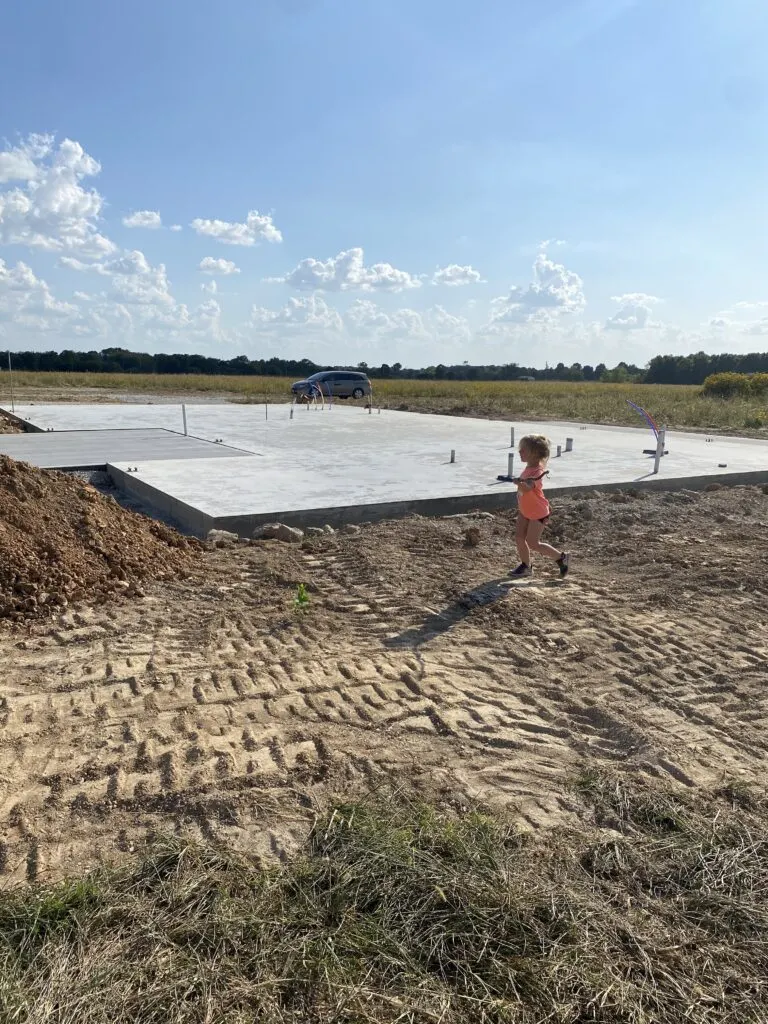
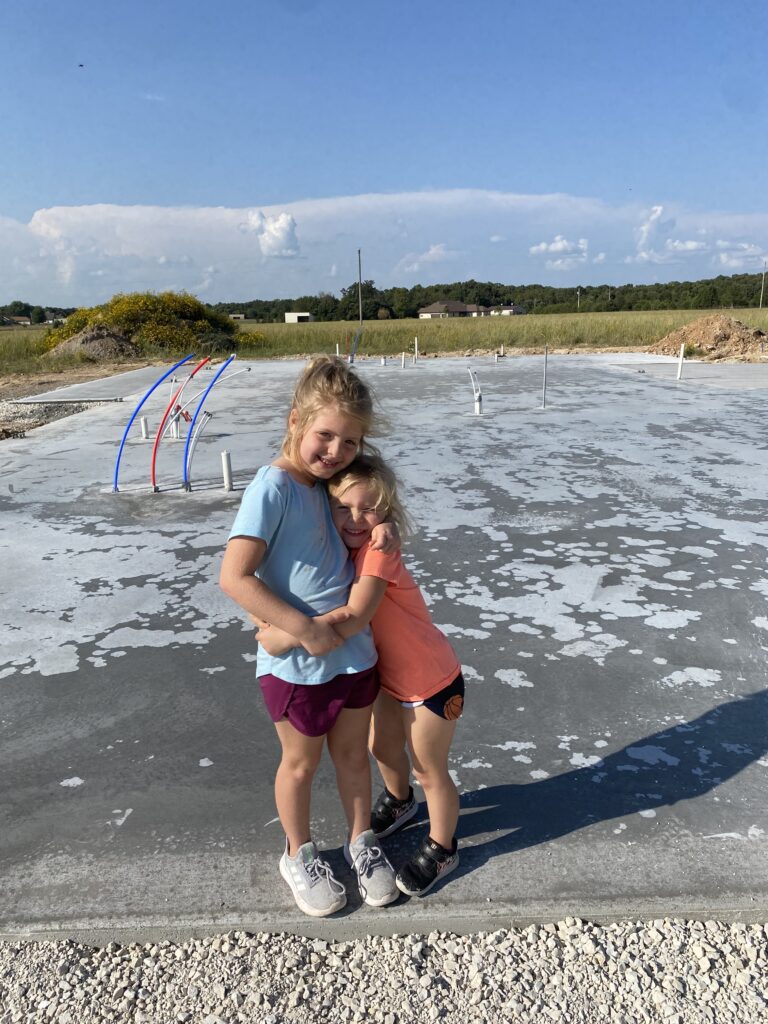
The concrete was allowed to dry with the forms up for at least 24 hours before the crew took the forms down and went ahead with pouring the front and back porches. The concrete for the house and garage was finished super smooth with a trowel, but the porches were given a broom finish. After the forms were taken off, we pushed gravel up to the edge of the garage area and in front of the porches to alleviate a big step off of the slab.
I can’t tell you how relieved I have felt now that this stage of the build is complete and we are moving on. Stay tuned because part 6 is all about our metal structure!
My daughters were as excited as I was to finally have a solid surface to run around on!


Check out the other parts in the series as well:
Our DIY Barndominium Part 1: Introduction to the Series
Our DIY Barndominium Part 2: Benefits of a Barndominium
Our DIY Barndominium Part 3: Finding the Best Floor Plans
Our DIY Barndominium Part 4: Breaking Ground
Also find us on Instagram @morgan.homebuild