
Working on interior finishes at the end of your build is an exciting and stressful job. We so badly wanted to move in and finish everything later, but alas, many things had to be finished before we moved all of our things in.
I once had a builder say “you are halfway done once you finish drywall” and honestly, that was confusing and frustrating to me. Drywall is halfway? So much has been done through drywall, how long can it really take to install cabinets and trim, am I right?
Well, it can take longer than you think. For us, once we finished drywall, it still took about four months to move into our home, and we still had several finishing projects when we moved in. Let’s take a deep dive into interior finishes to understand the process of finishing out your barndominium.
Find the most recent articles in the series:
Part 13: Spray foam insulation and Drywall


Page Contents
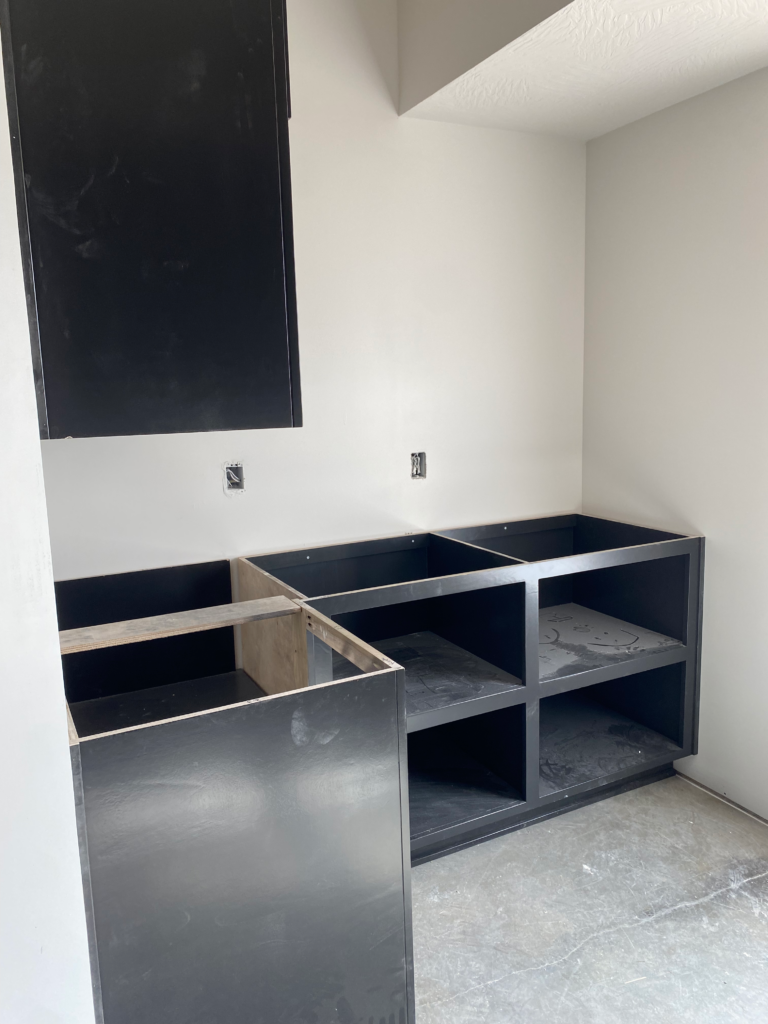
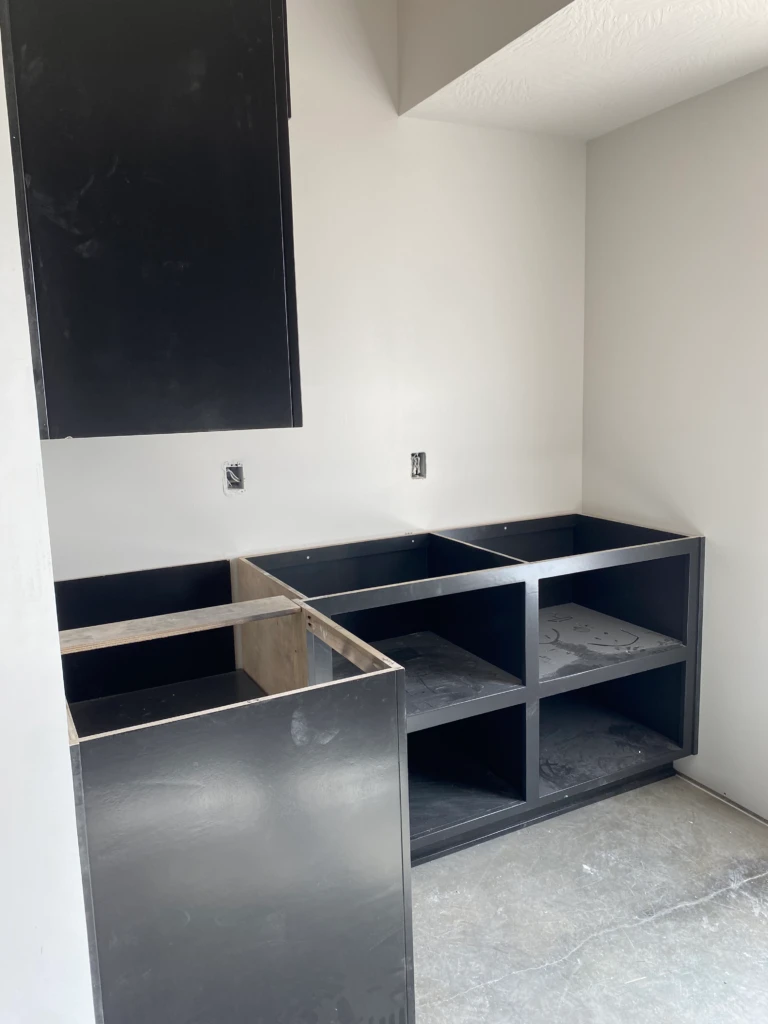
Interior finishes: Cabinets:


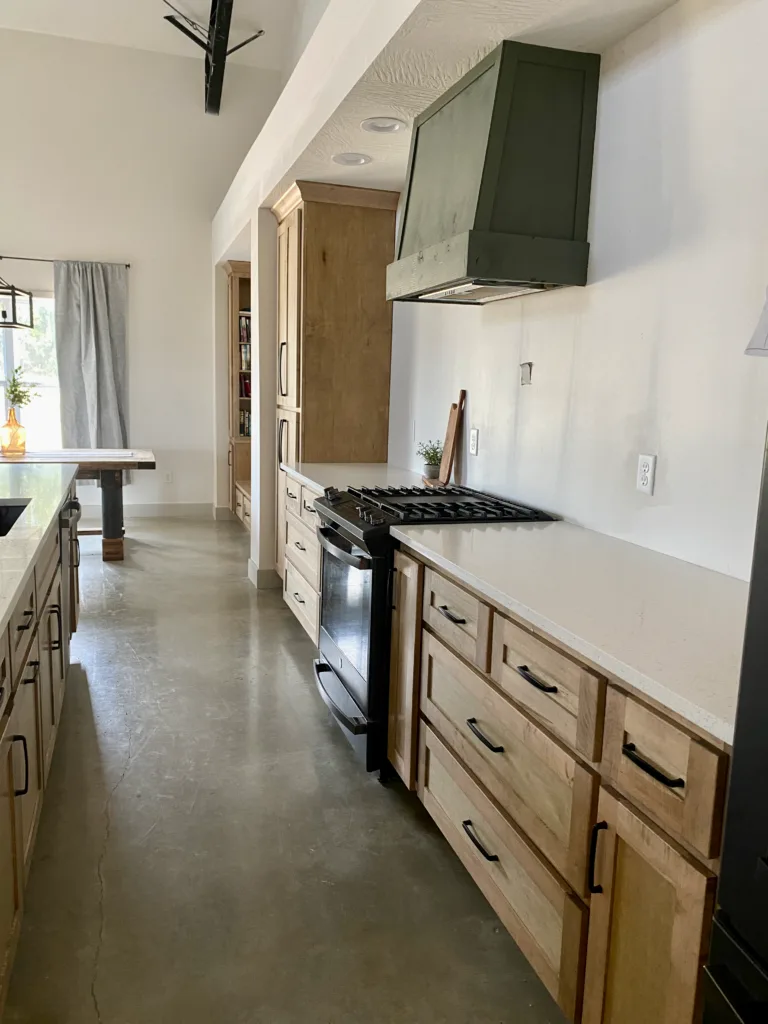
The first big project after painting the drywall was getting our cabinets installed. We wanted to make sure that the paint was completely finished (at least in the areas where cabinets will go to avoid any potential paint splatters or spills on our splurge-worthy cabinetry.
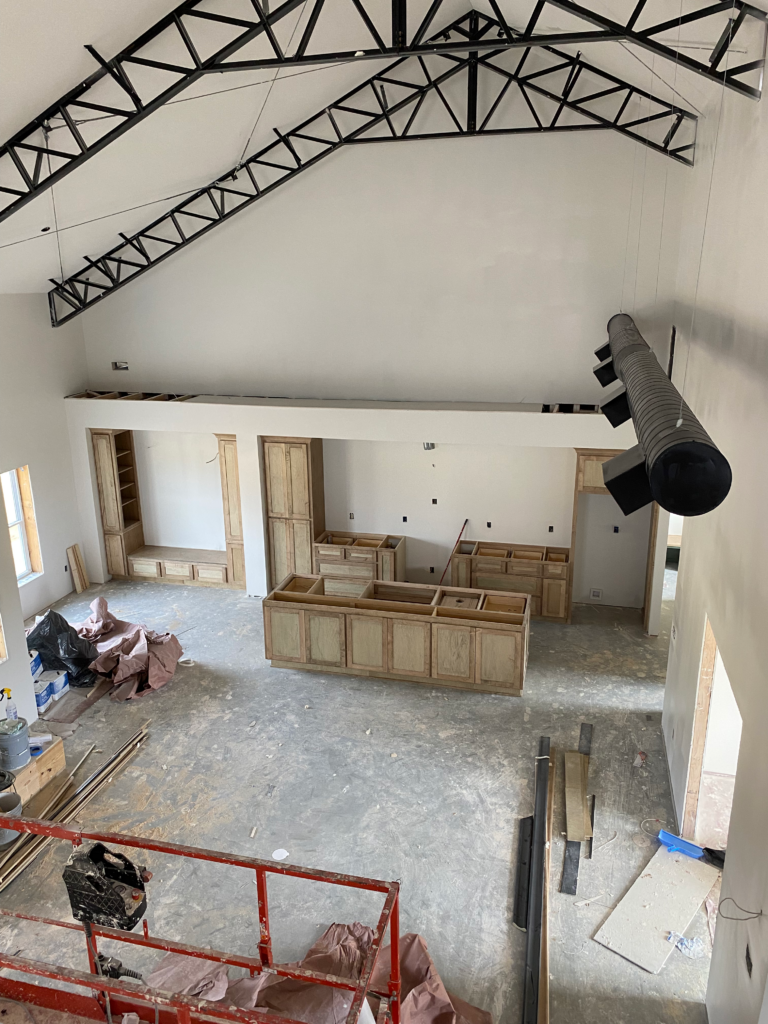
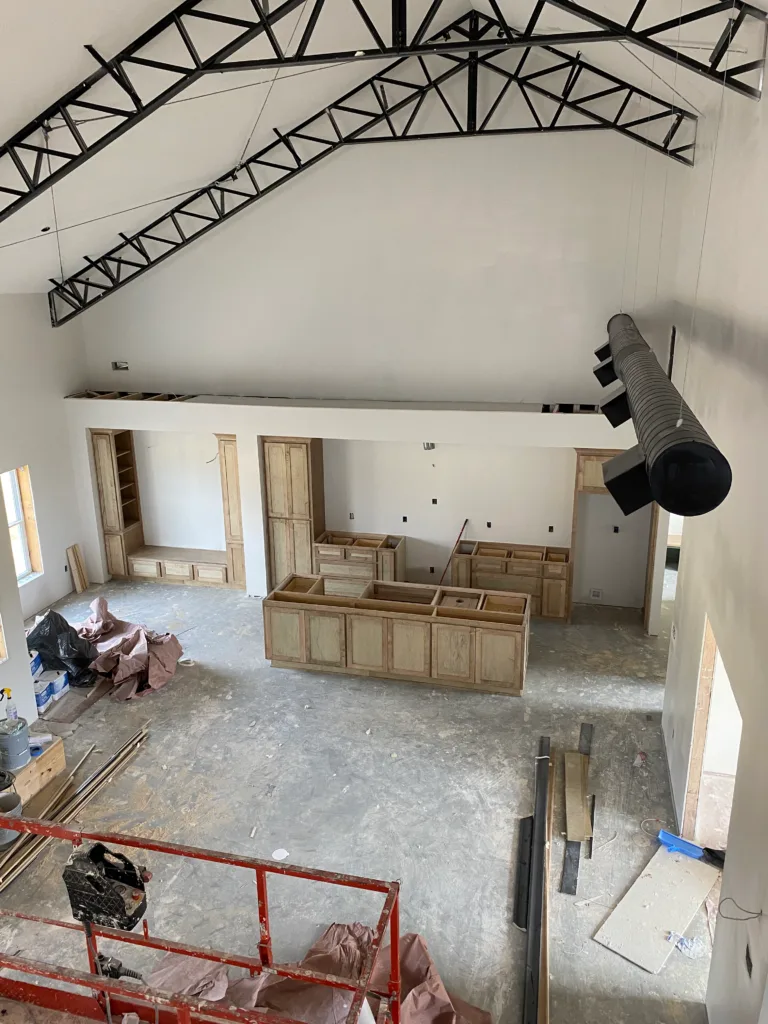
One of our biggest splurges during our build was our custom cabinetry. We spent more money on cabinets during construction than I ever thought (around 6% of our total cost was cabinets). Although my husband and I had a tough time “pulling the trigger” on this decision, we are so, so happy with our cabinets. And working with a local cabinet maker was so convenient and easy for us. They did all of the cabinets, finished them, installed them, and even came to install all of the hardware. We would use locally sourced, custom cabinets again in a heartbeat.

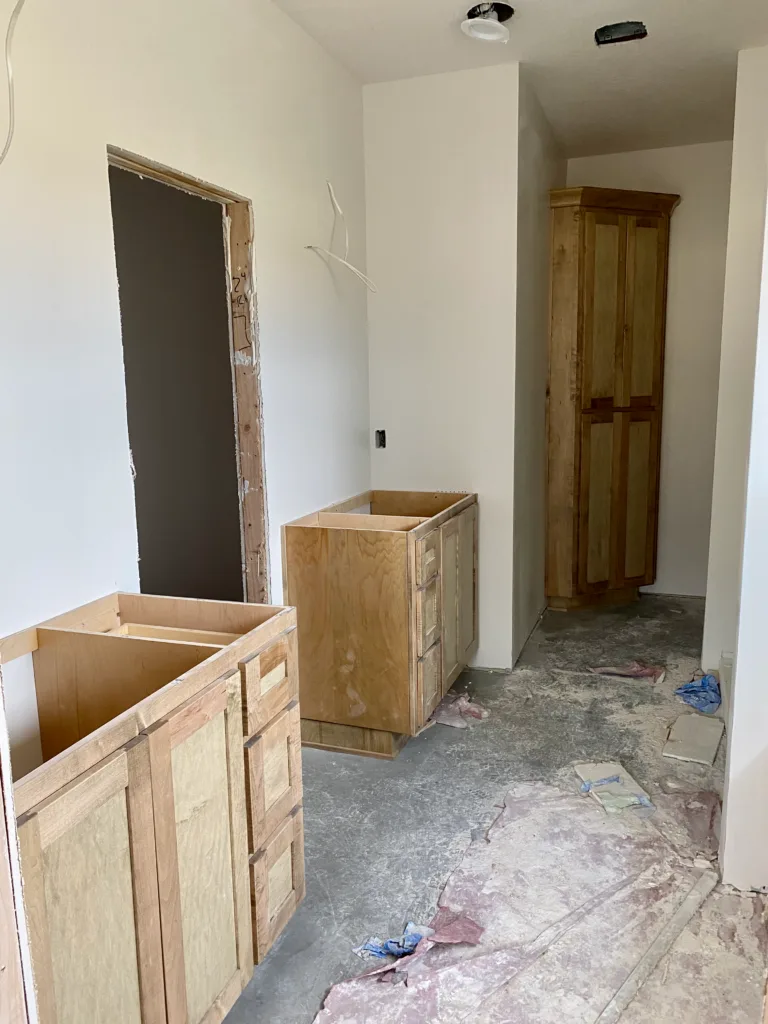
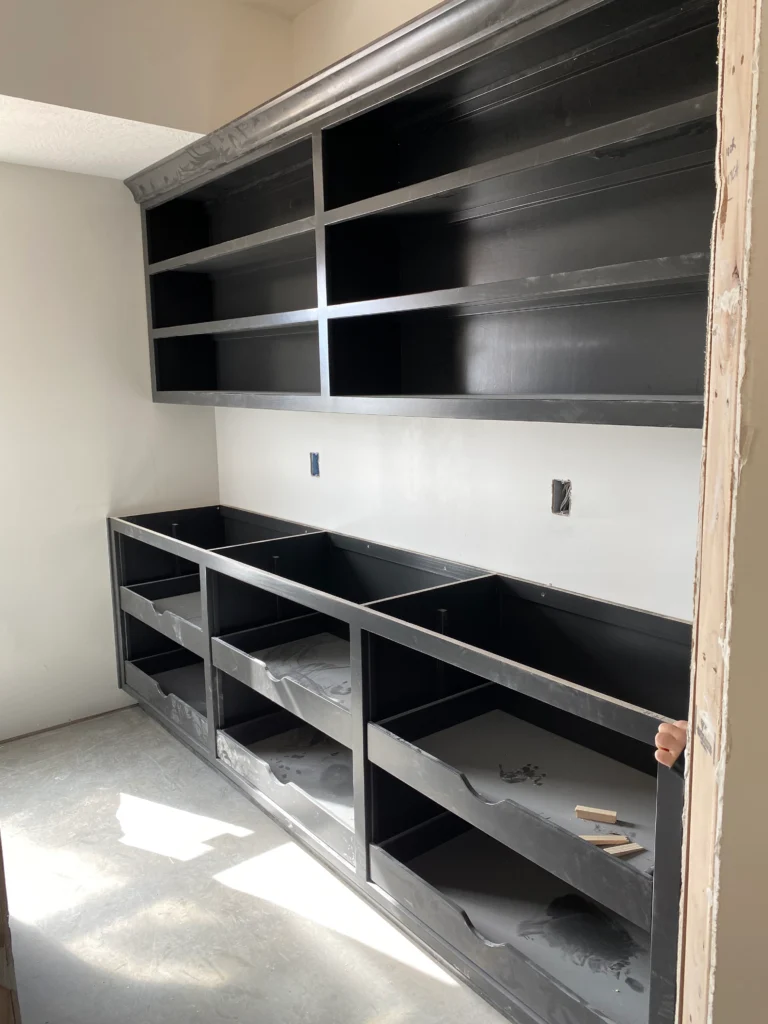
In order to save some money, we opted for mostly open cabinetry in our walk-in pantry area, with some large pull-out drawers, which were more effective than traditional drawers or cabinet doors.

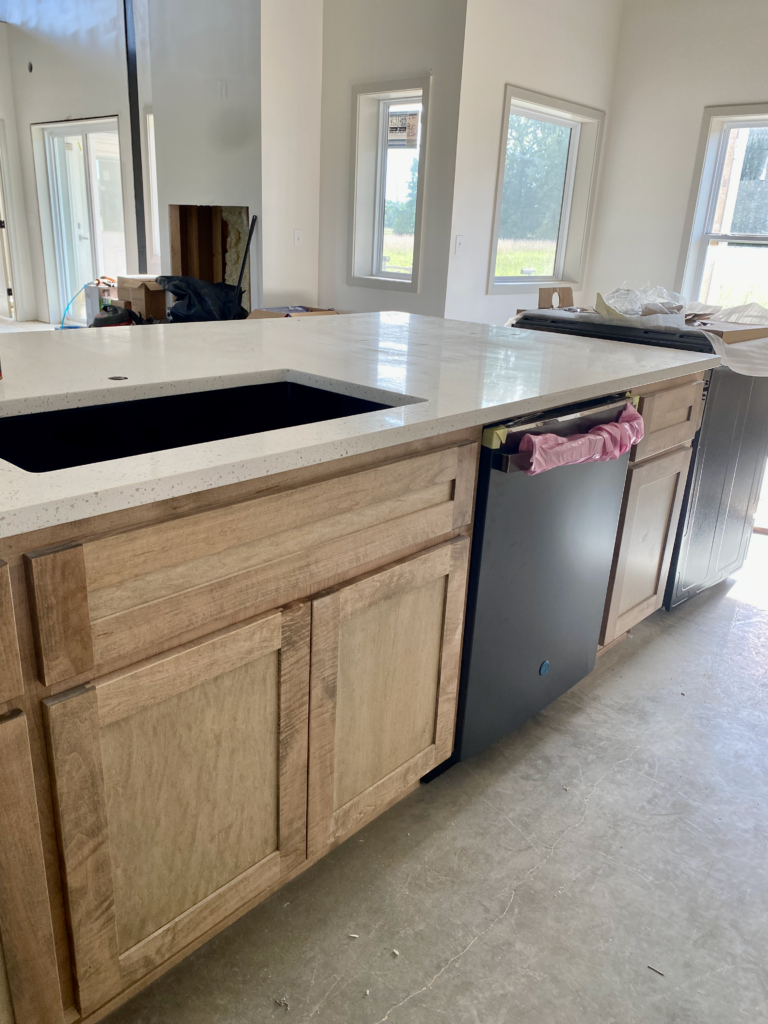
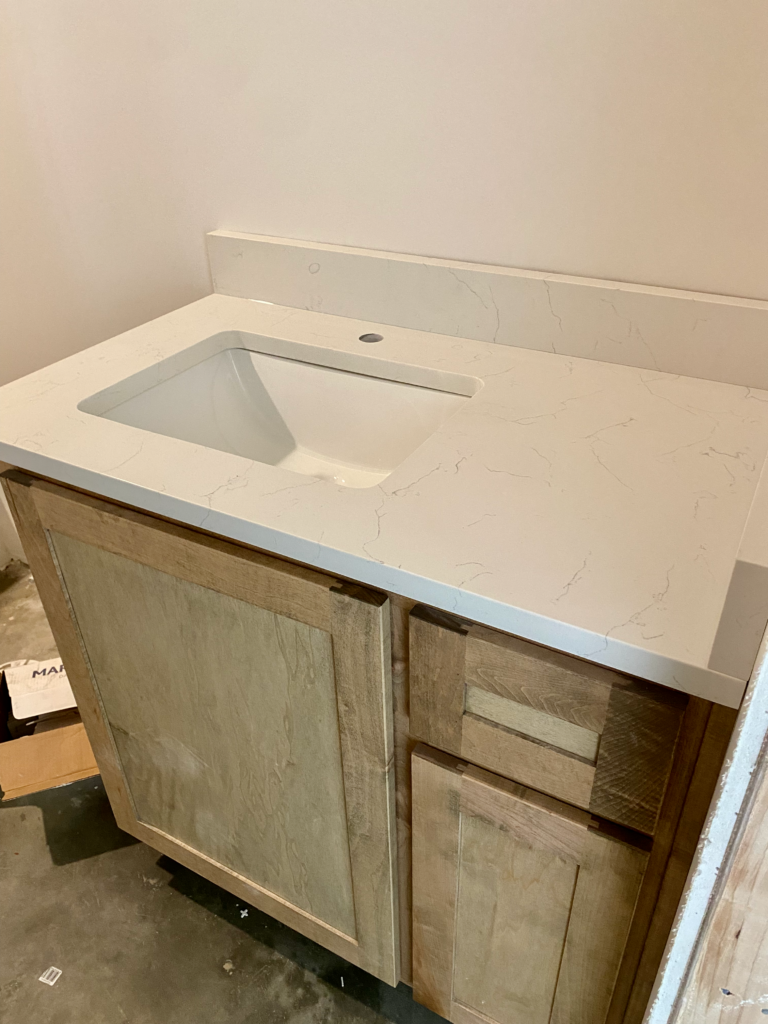
Interior finishes: Countertops
The process for countertops caused us a bit of a delay due to templating requirements. Even though we picked out our countertops months in advance, the supplier must wait until the cabinets are installed in order to come measure and template for the counter install. This meant that we waited six weeks in between cabinets and countertops.
Ultimately, these six weeks gave us time to finish out some other projects before moving in, so it all worked out in the end. We were able to save money on all of our bathroom vanity countertops by choosing remnants instead of cutting them from a whole slab. Any business that installs the countertops are going to have excess pieces and generally will sell the excess at a lower cost per foot. If you are interested in this money-saving hack, just ask your local granite/quartz supplier about remnant options.


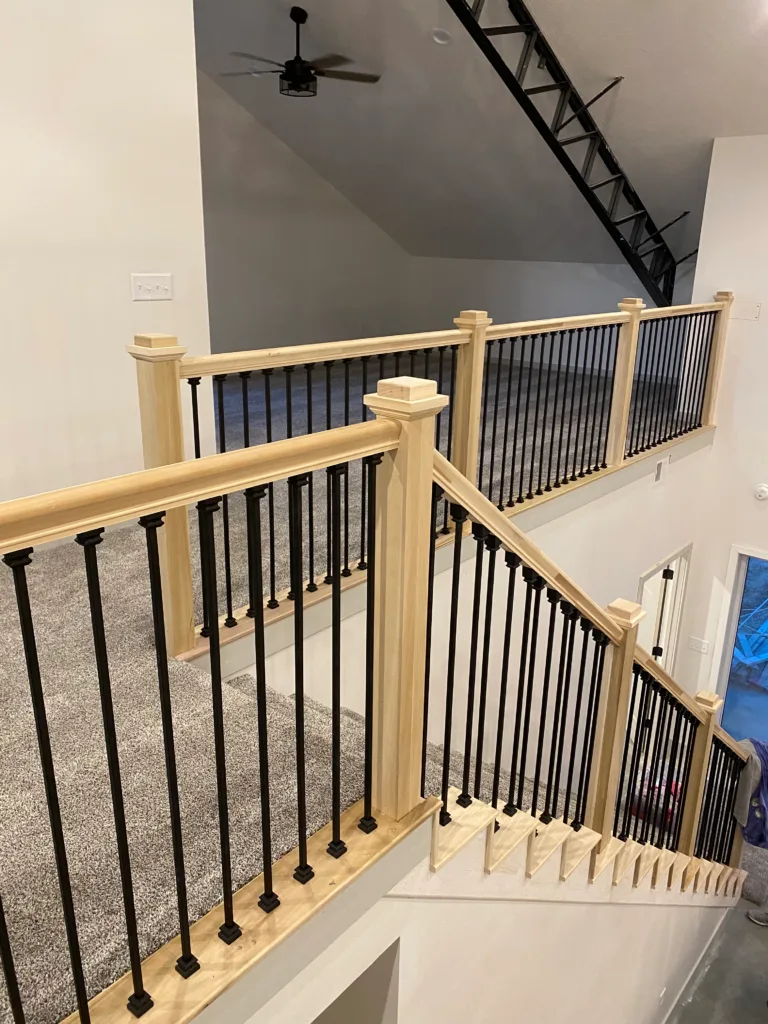
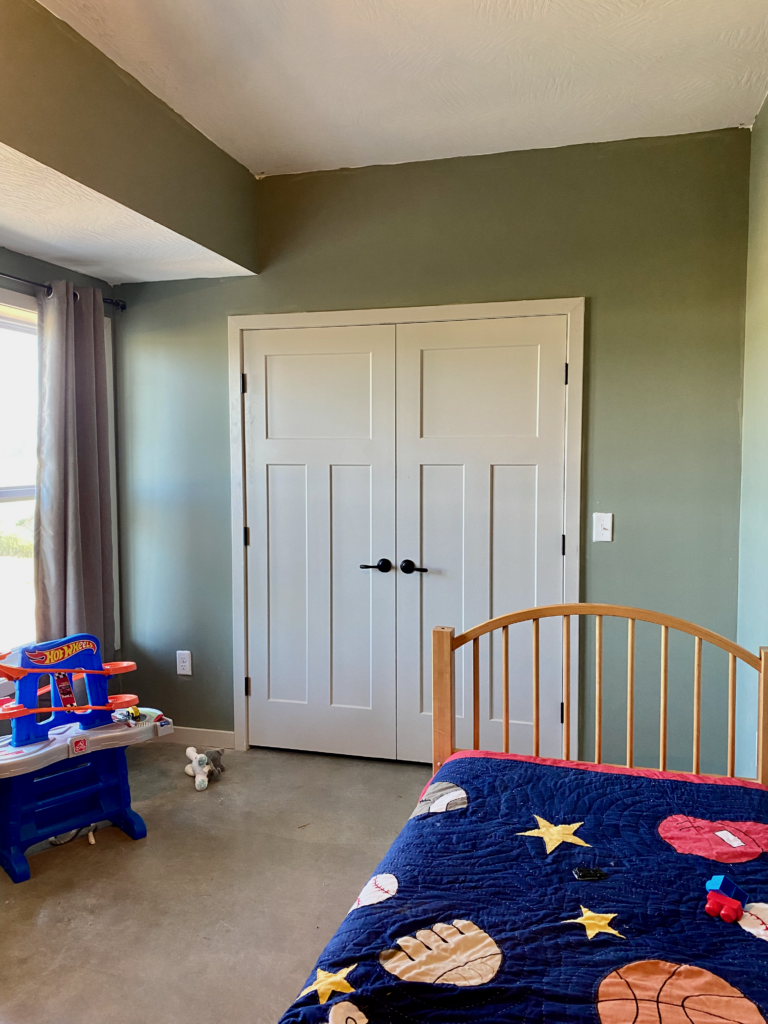
Interior finishes: Millwork: Stairs, doors, and trim
Throughout our build, we planned to source stair railing materials, doors, and trim ourselves and install them to save money. As we got closer to the end of the build and felt comfortable with our all-in budget, this was a project that we decided to hire a professional for.
Honestly, I think we could have installed the doors and trim well, but we are so glad we decided to have a pro create a vision for our stair railing and install it himself. He sourced beautiful poplar newel posts and was able to make sure the railing was very secure and safe for our family long term. The stairs are still unfinished and ready for a top coat, which is one of the many projects on our list still!

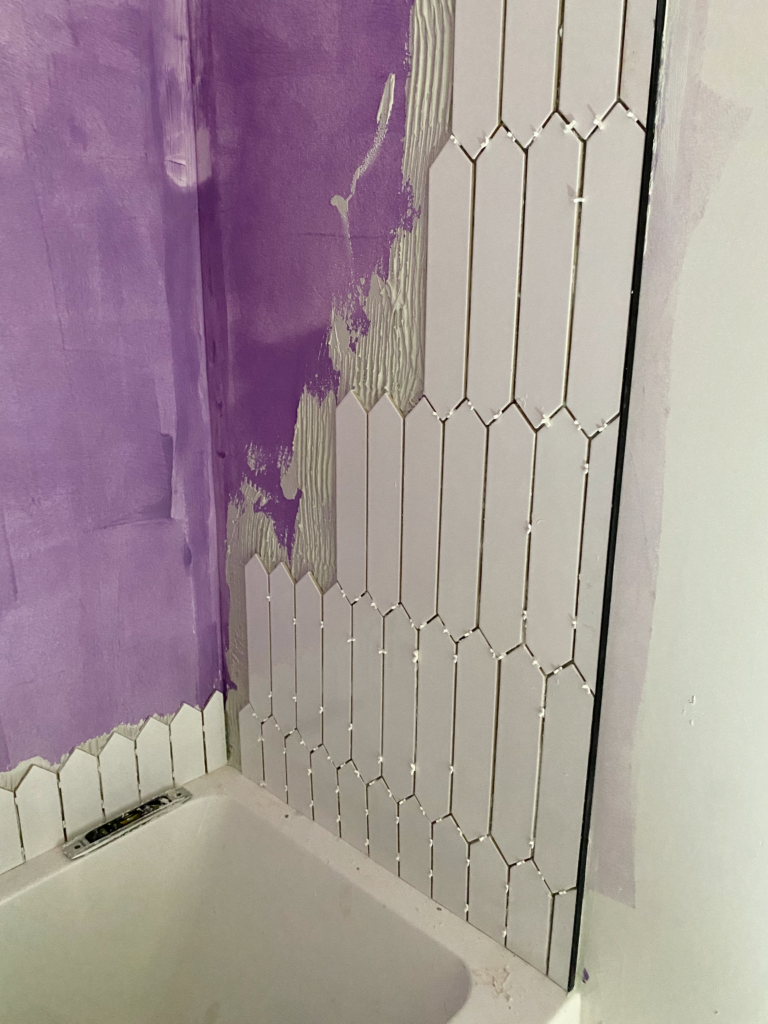
Interior finishes: Tile
One of the largest DIY projects that we decided to tackle at the end of the build was tiling our shower and bath areas in our bathrooms. This was a BIG, tedious job, and I would say it is about a 7/10 on the DIY difficulty scale. Attempt at your own risk! We are satisfied with our showers, and feel confident that they are solid, but also know that with professional help, they would definitely be more perfect!
Looking back, we would have chosen more simple shapes instead of geometric ones, and we DEFINITELY would have done more prep work to cover our baths and floors to protect them from the mortar and grout, which ended up being very difficult to clean after the fact.
*Stay tuned for article 15, which will have finalized pics for all of these areas!

Finishing Touches
After finishing some of the bigger projects, we worked on some finishing touches as we prepared for our final inspection and move-in day. Some of these projects included our DIY vent hood project, which turned out amazing! We painted it with our new favorite Sherwin Williams color, Evergreen Fog.

Other finishing touches include installing light fixtures and plumbing fixtures, hanging bathroom mirrors, and bricking our fireplace. More on those finishes in the final article in the series!
Don’t miss out on our final article, which will show off all of the (mostly) finished products as our family finally moves into our beautiful, new barndominium after ten months of construction!
Find Morgan on Instagram @morgan.homebuild
If you would like more guides like this one, check out the rest of BarndominiumLife.com. There, you will find more helpful tips and tricks from the pros.
You will also find featured barndominiums, stock barndominium house plans, custom barndominium house plans, and information on financing and insurance.
Just starting out? Check out the Barndominiums Made Easy Program. It has our “How to Build Guide”, 120+ House Plans, and the Bid and Budget Tracker. Knowing as much as you can will help you get the best results for your dream home.