
Throughout our building journey, many people have swooned over thinking about the drywall phase. “When you have drywall up, your house actually looks like a home!” Needless to say, with getting our insulation in and drywall up, this has been a big, exciting stage of our journey, and it has helped us to start thinking about finally moving in! Let’s get into the details.
Don’t miss out on the most recent articles in the series!
Part 12: Barndominium Rough-in Work
Find more info and tips from Morgan on Instagram @morgan.homebuild

Page Contents
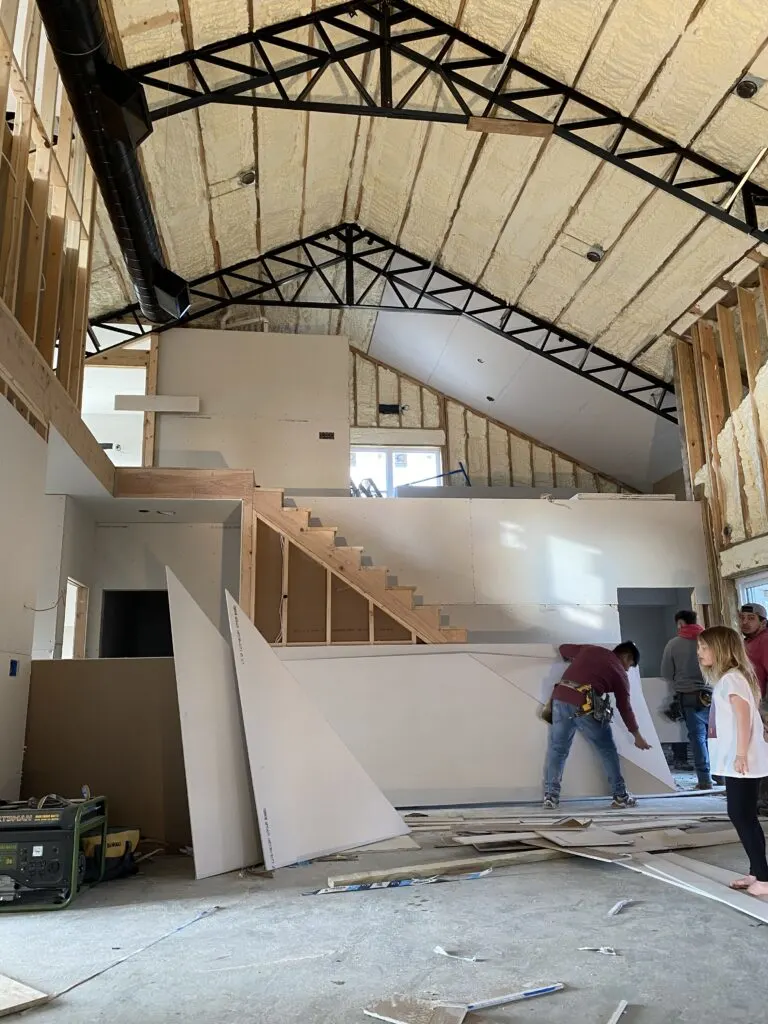
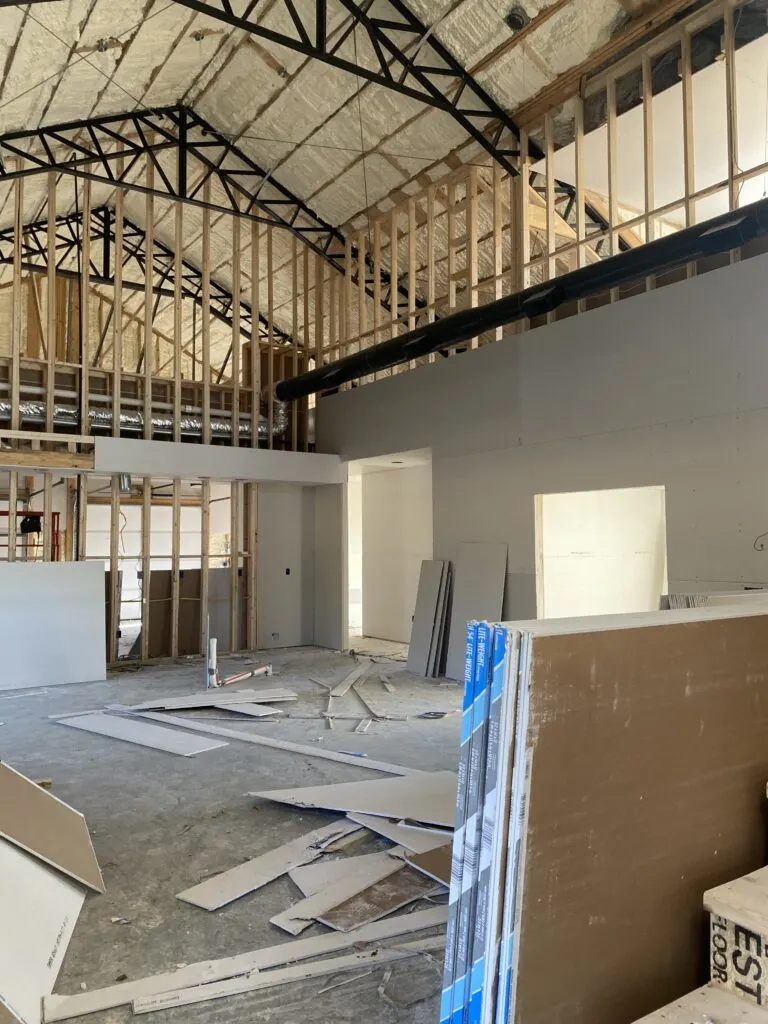
Spray Foam Insulation
For our barndominium build, we decided to go for spray foam instead of traditional batt insulation. Many contractors along the way suggested to us that since we are building a barndominium, we should definitely consider spray foam. Below are some of the benefits of spray foam and reasons that encouraged us go that route.
- Superior insulating qualities
- Noise reduction
- It lasts longer
- Pest prevention
Ultimately, most agree that spray foam is the superior insulating option, but it does come at a cost. The old adage, “You get what you pay for” rings true when it comes to insulation. We decided to make sure our forever home as efficient as possible.

Finding a Contractor and Choosing a Bid
Finding a quality subcontractor (if you are acting as the general contractor for your build) can be extremely daunting considering how much money this portion of the house will cost.
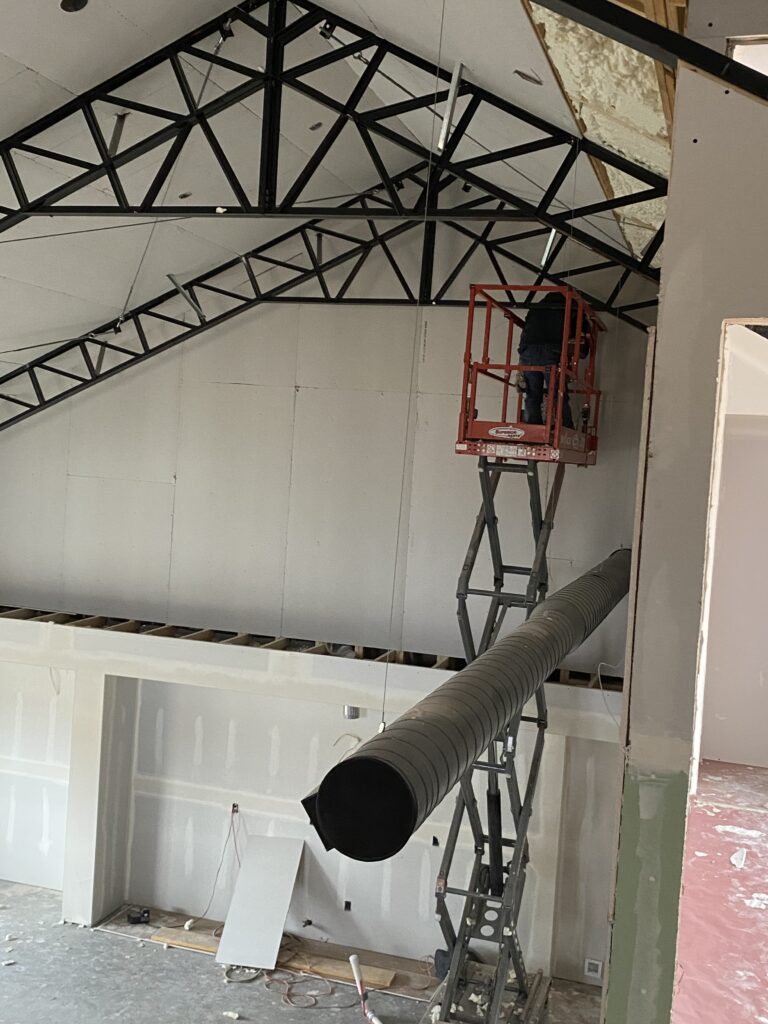
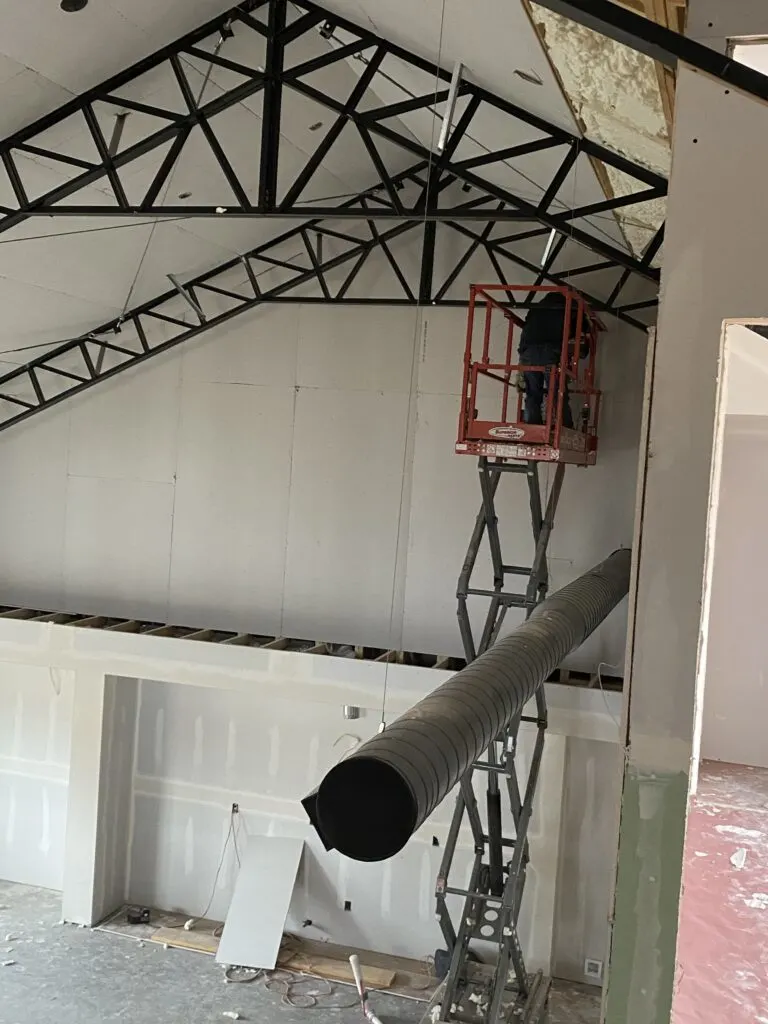
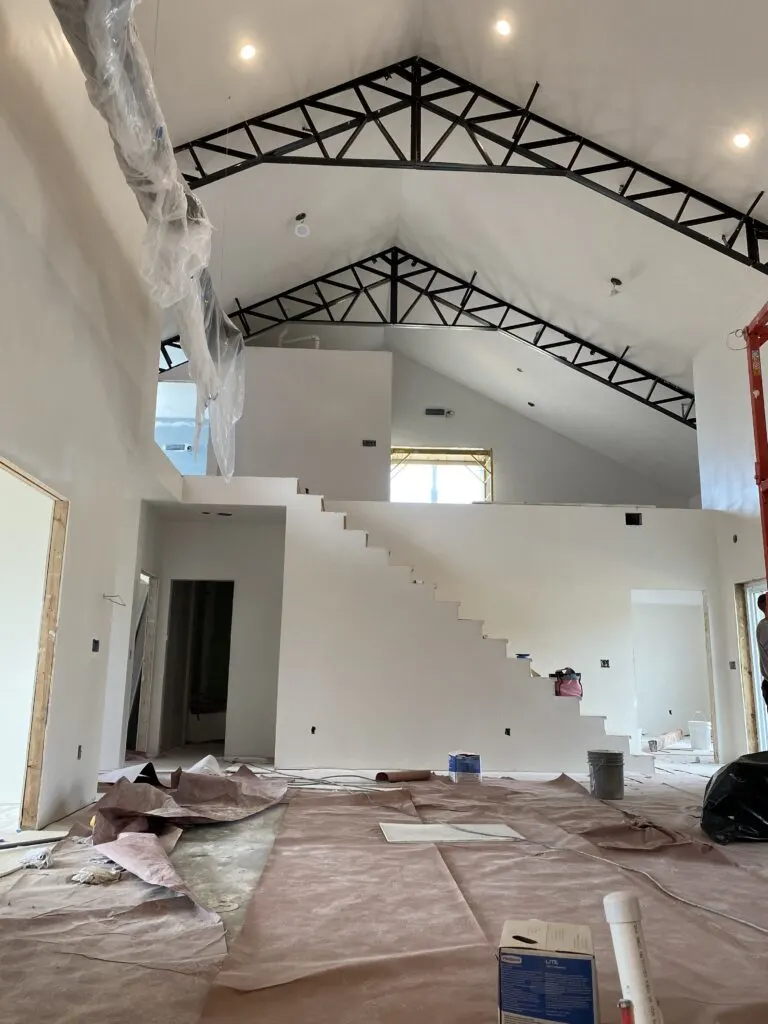
Most likely, you will get several bid for the project and then, once the framing is up, a final hard bid before the crew comes out. In our situation, the second bids shot up significantly. This is due to how difficult the drywall work is around the exposed trusses and our massively vaulted ceilings.
On the flip side, you could potentially choose to DIY the drywall, but the project would be very labor intensive, time consuming, and the finishing work does take a decent skill level and some practice to do it well.
In fact, if you are considering trying to DIY at this stage, I would recommend considering hanging the drywall and painting at the end, but then hiring someone to come in and finish after you hang.
This could help you save some money and not be responsible for the finished product looking DIY.
Reasonable Cost
The cost for drywall seemed astronomical to us whenever we first started to budget it in.
However, it is a big, important part of the process.
In order to calculate how much it will cost, you will need to contact a materials distributer in your area. They will either give you an estimate based on your plans or come to measure if you are that far along in the process.
Our materials came in at around .50 per drywall square foot.
**NOTE: Square feet of drywall does NOT = the square footage of your living spaces
How many square feet of drywall you need will be significantly more than your home square footage, and will be impacted by factors such as ceiling height, vaulted ceilings, garage size, how many rooms/walls you have etc.
For example sake, lets say that your material distributer estimated that you will need 13000 square feet of drywall. This would bring your material cost to $6,500.
When it comes to labor costs, you will also use the same square footage number.
The drywall contractor that we worked with charged us $1 per square ft of drywall.
Given our example, the labor cost would be $13,000 to hang, finish, and texture the drywall (does not include painting).
For reference sake, some of our labor bids went up to $2.50 per square foot, so I am certain that we got an excellent deal.
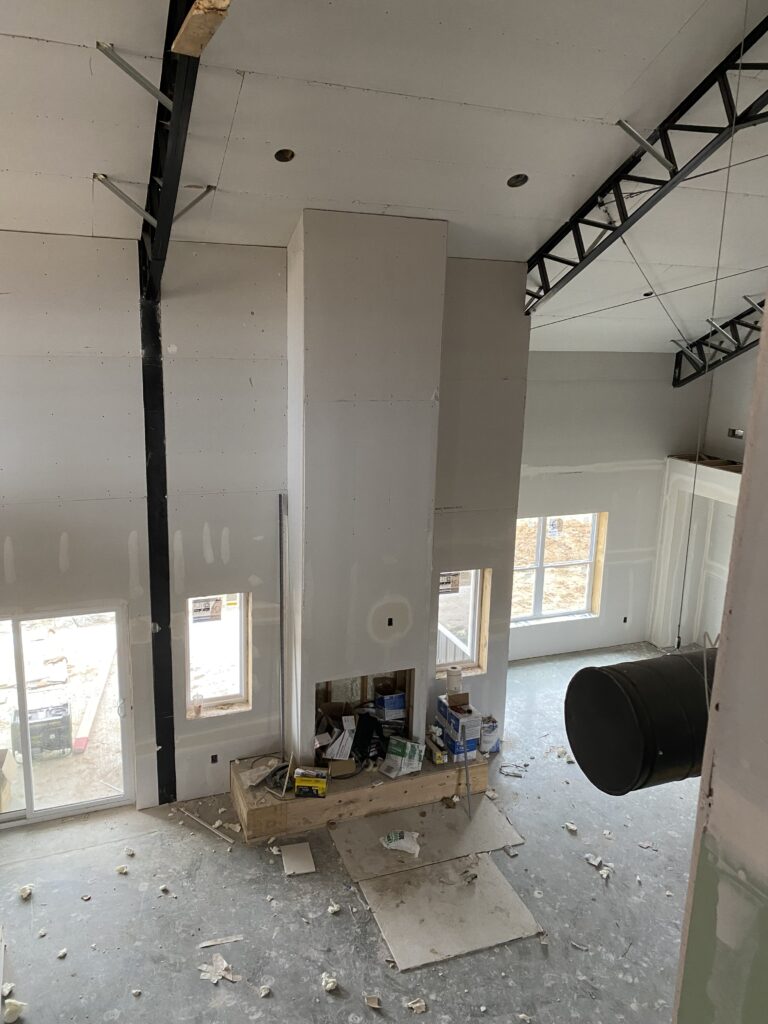
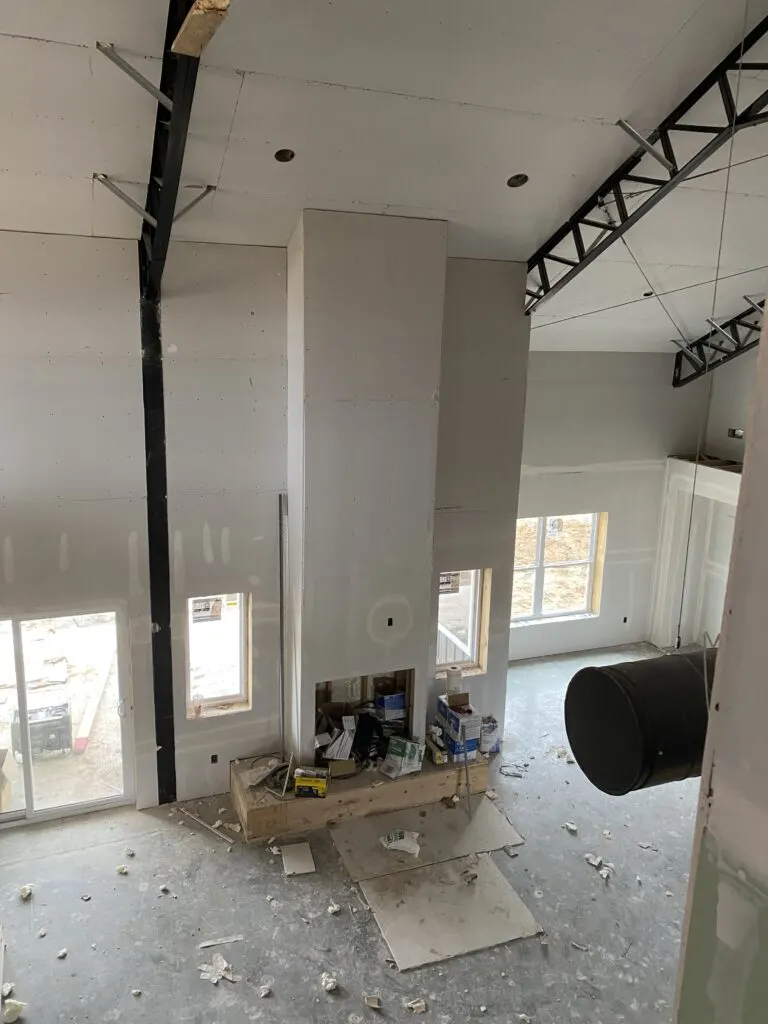
Hanging
The hanging crew was speedy, and was able to get all of the drywall hung in a matter of days. We rented a scissor lift that would reach to at least 18ft in order to make sure that our crew was ready with everything that they needed. This stage really did make the home “come to life” in a way.

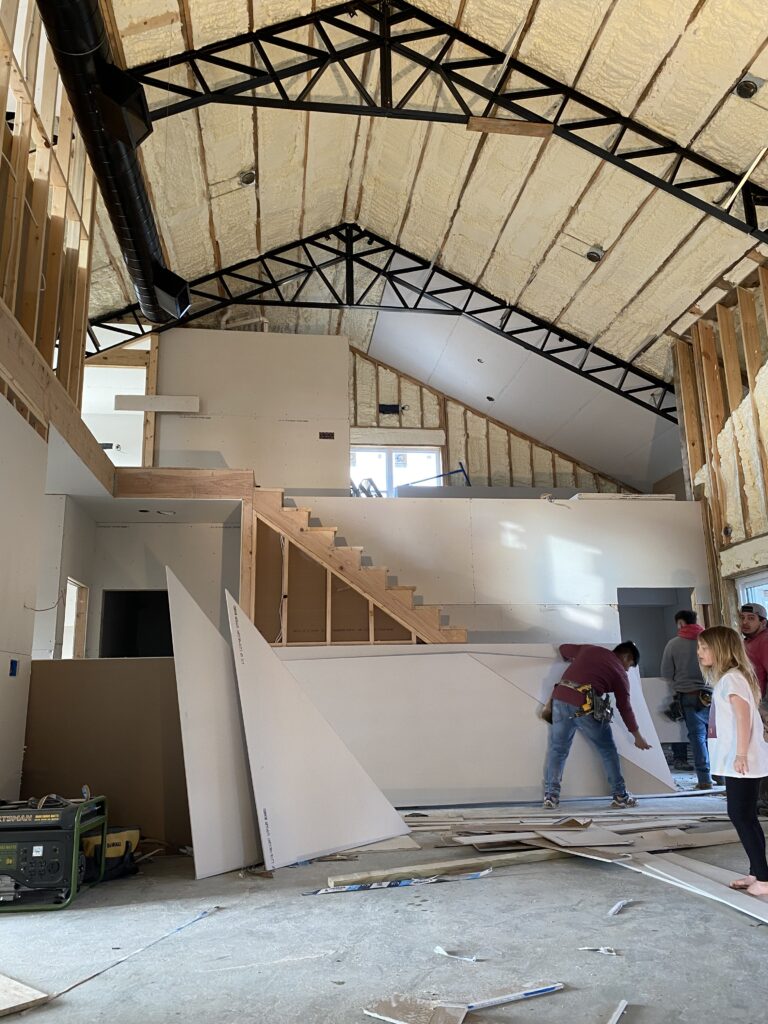

Finishing and Texturing
Finishing and texturing the drywall did take significantly longer than hanging it did. The process behind finishing can be broken down into many steps and requires a great deal of skill and patience.
For us, a crew of 5 spent two full weeks on finishing and texturing the drywall.
Painting

After the drywall was finished, it needed to be painted. My husband and I opted to do the painting ourselves, which was daunting at first; however, we are very glad that we took on this DIY project and were able to save some money in this area.
In order to paint effectively and efficiently, we decided to purchase a Graco Magnum X7 paint sprayer to spray all of our primer and paint for the walls, doors, and trim.
The paint sprayer is a purchase that I 100% would recommend to anyone who is considering DIY-ing a paint job. We saved at least 10k by painting ourselves, and we were able to complete all of the painting in under a week with just two people. Worth it!
What’s Next?
Next up on the list of projects to tackle is finish work! Cabinets, tile, and other interior finishes coming right up! Don’t forget to reach out to Morgan on Instagram @morgan.homebuild.
Don’t miss out on the most recent articles in the series!
Part 12: Barndominium Rough-in Work
Or start from the beginning by going straight to part one of the DIY barndominium series.
Find more info and tips from Morgan on Instagram @morgan.homebuild