
In today’s update, watch our barn transform from a metal skeleton into a home because of interior framing. After our exterior was completed, we hired a two-man crew to come in to do our framing. In just one week, our home went from totally empty to having rooms and spaces, stairs and storage areas. During this update, we are going to jump into interior framing week one and show you what this first framing stage is all about.
Don’t miss out on the most recent articles in the series!
Part 9: Completing the Barndominium Exterior
Page Contents
Find Morgan on Instagram @morgan.homebuild

Barndominium Interior Framing: Materials and Hiring
Preparing for interior framing certainly didn’t begin on the day that our framing duo arrived on scene. Months before that we decided on which building materials supplier we would work with and received a quote that took our breath away (and not in a good way). Originally, we were quoted when lumber prices were staggeringly high (May. 2021), but were elated when we were given a final estimate which was a fraction of the cost due to lumber going down significantly by the end of 2021. We also took on the task of doing our hiring for our home build, so we compared bids and found a framer who we trust to get the job done right.

Interior Framing: Prep Work
For us, there was quite some time between the finishing of our exterior work and the beginning of interior framing. Because of this delay, we had time to think about how to prepare well for this next stage of construction. We decided that we wanted to go ahead and seal our concrete floors now so that we didn’t have walls in the way whenever we were going to lay the sealer.
For those of you who may be unfamiliar, exposed concrete floors are very popular in barndominiums due to the cost savings and because of how they add to the “barn” look. We plan to leave our floors uncovered, so we decided to go ahead and seal them now instead of later.
Sealing the floors required several rounds of cleaning and scrubbing in order to seal over totally clean floors. These floors have been in the elements and under construction for a couple of months, and they were caked with dirt and mud. Cleaning and sealing helped us to get everything looking great and ready for framing.


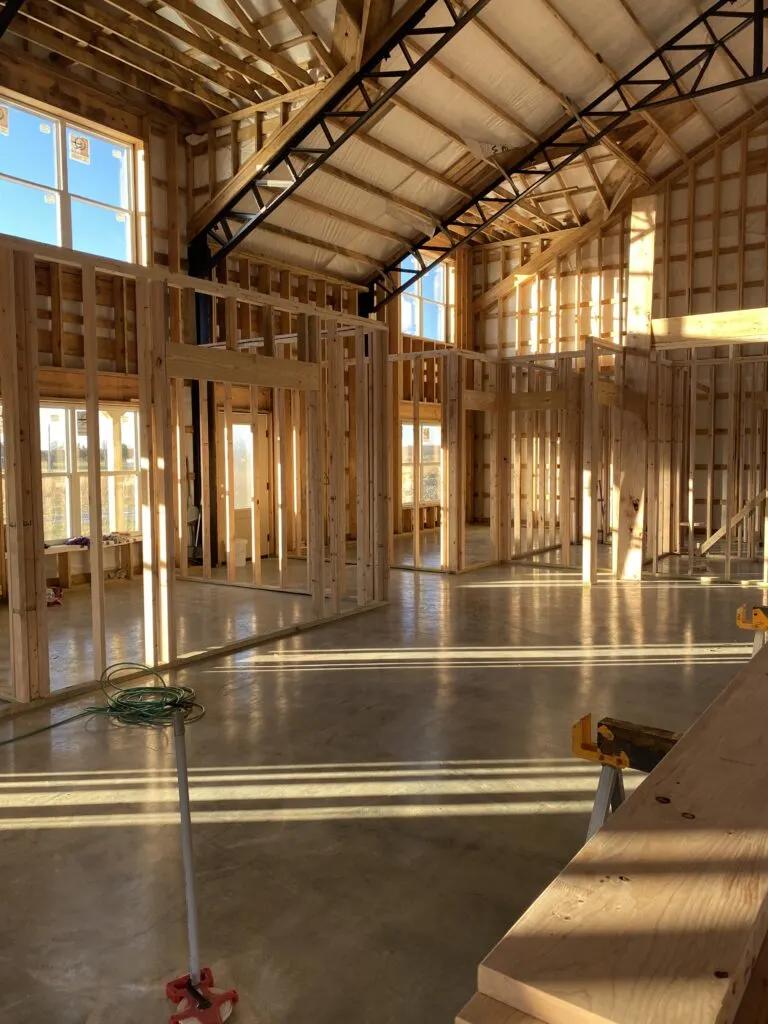
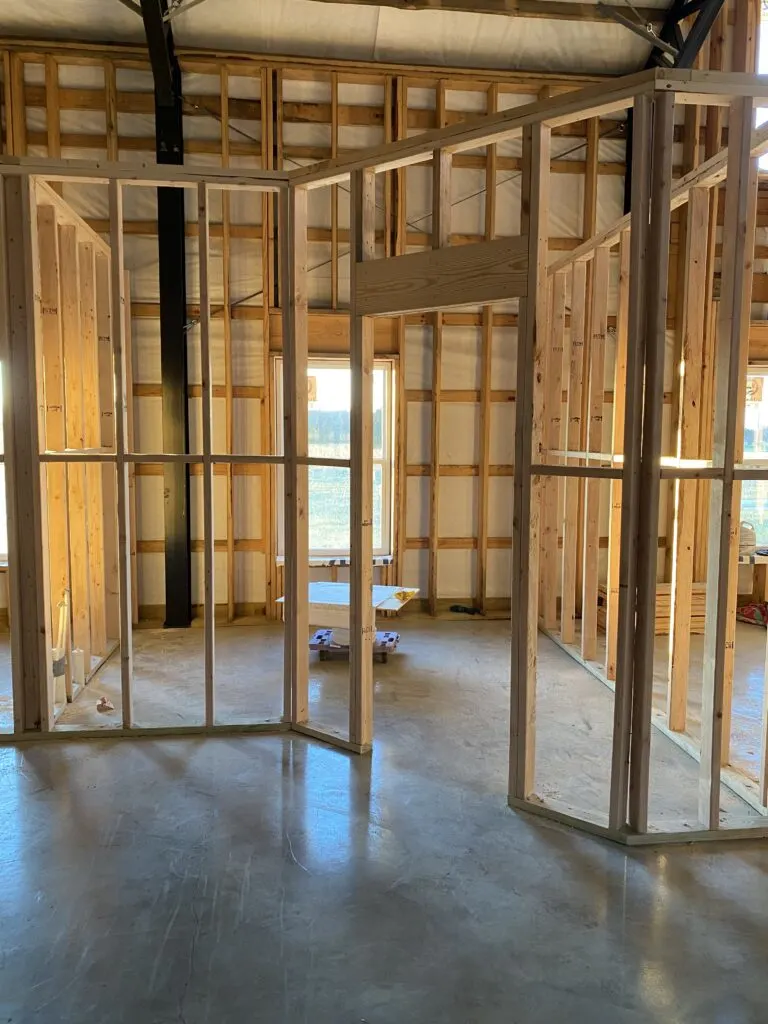
Interior Framing: The Work Begins
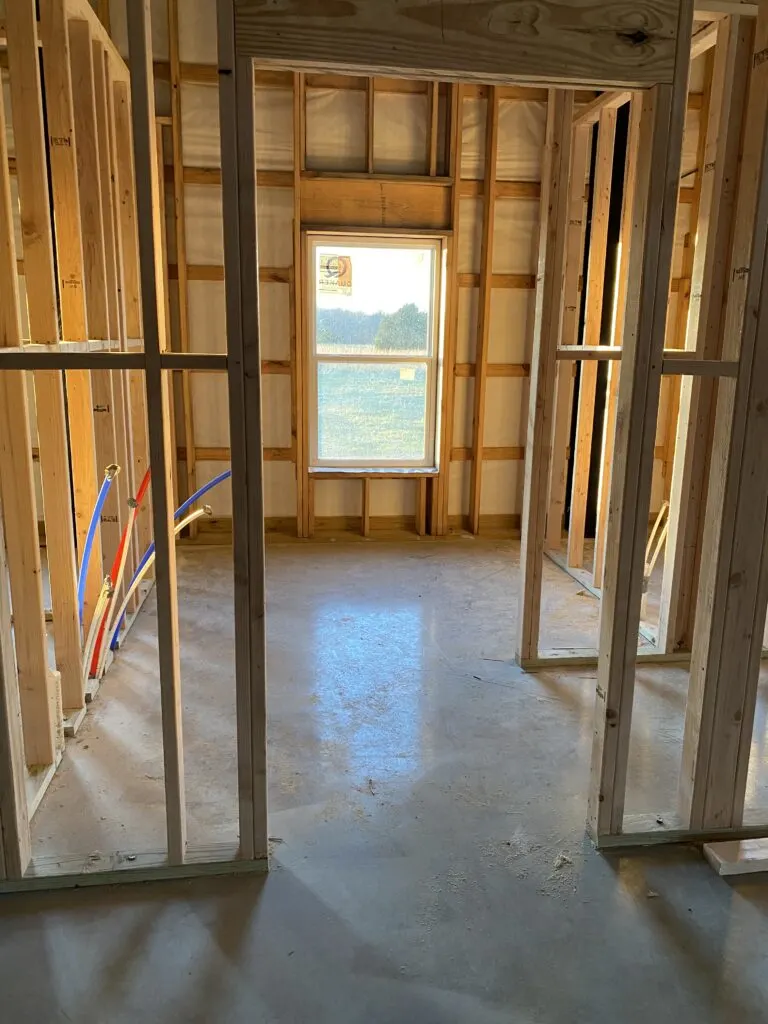
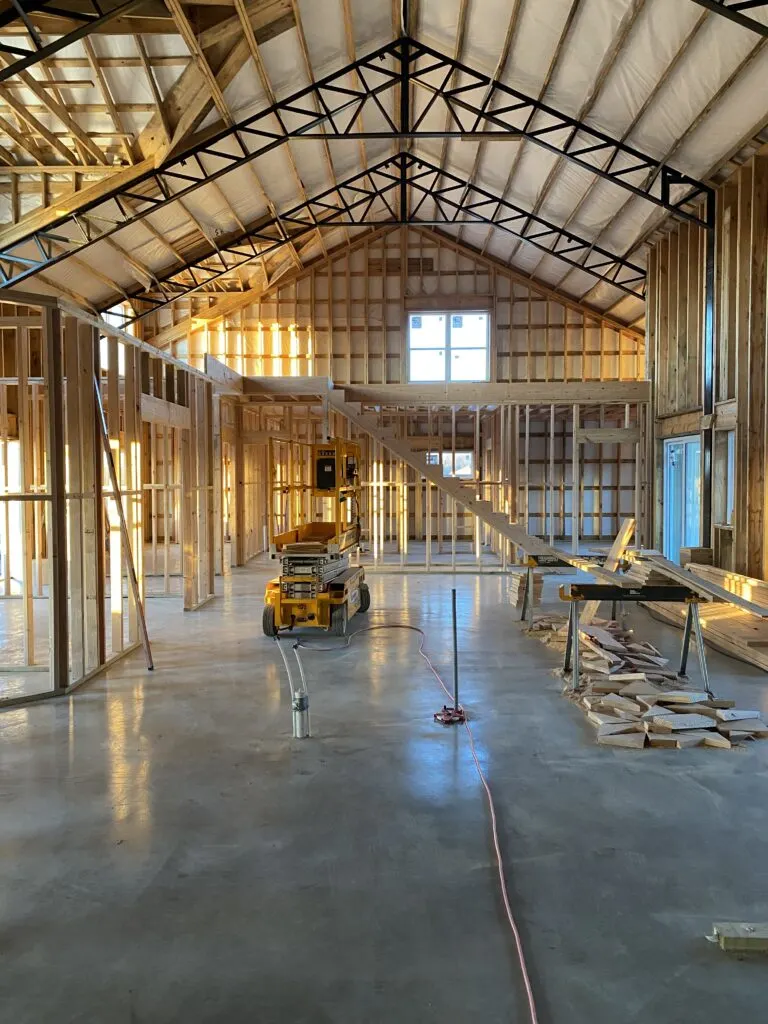
With only a few things to discuss, two men were able to move quickly through framing our 2000 square foot main floor. The rooms they tackled downstairs include our master suite, one other bedroom, a second bathroom, an office, pantry, laundry room, and stairs with a coat closet. The stairs are not completely finished, but the men were also able to completely frame out the ceiling/floor joists that will separate the first and second levels.
Our home will have a second level above all of the rooms framed out on the main floor, but our kitchen, living room, dining room, and garage will all be vaulted to the ceiling. Because of this, we were able to have vaulted ceilings AND save money because our second level is easily supported by the floor below it.
Because of the very high vaulted ceiling, we had to rent a 19ft scissor lift for our framers and have it ready for them to begin. This piece of equipment has been handy throughout framing, and we plan to keep it through the finishing stages, so that we never have to worry about how we are going to reach the ceiling.


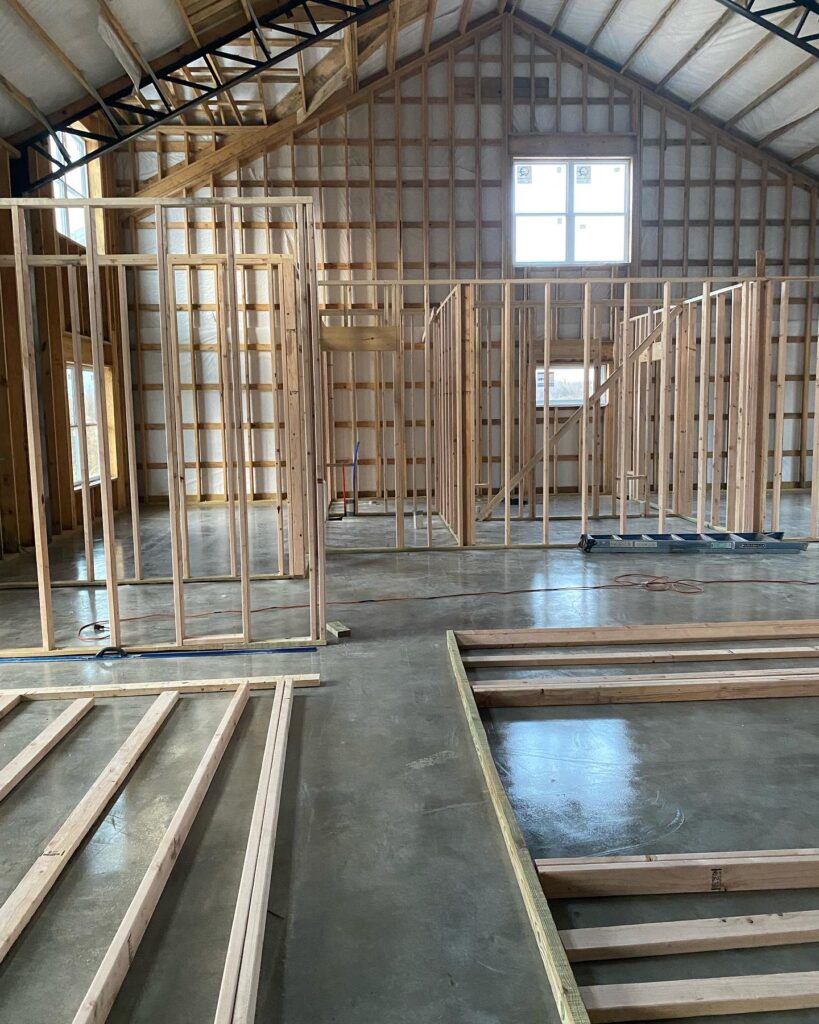


Interior Framing: Pantry and Laundry Rooms
Time to get up close and personal! These rooms are what I have been most excited to see play out in the framing stage so far. In our previous houses both our pantry and laundry options have been far less than desirable, and in this home, I wanted to make absolutely sure that these rooms would suit us in the long haul. Framing these rooms out has helped us to be able to think practically about design and where everything in each room will go.
Both of these rooms have an interesting shape and design to them. The pantry has a sort of “L” shape to it and we have plans of including some custom cabinetry and butcher block counter tops for appliance storage as well as plenty of open shelving. The laundry room is also doubling as a mud room with lockers for each of our four children. To say that I am giddy about these rooms taking shape is an understatement.


Interior Framing: What’s Next?
Next week, our framing crew will continue by finishing the stairs and attacking the second floor. Upstairs we will have two bedrooms, a bathroom, a loft area, and a large storage area with access to the garage. Additionally, the crew will tackle framing the wall between our garage and living space (which vaults to 18 feet) and our fireplace. I am excited to write a second article of updates when that stage is finished!

Don’t miss out on the most recent articles in the series!
Part 9: Completing the Barndominium Exterior
Or start from the beginning by going straight to part one, here!