
This final reveal is sentimental for me for many reasons. It is hard to even believe that I am sitting here, in my very own barndominium, writing to you right now. As I have shared my barndominium online, many, many people have commented that everything looks so easy and smooth! While I loved sharing the exciting news the most, I felt that I often would share the difficult parts also. Sometimes I think it’s just hard to see how difficult things can be behind the images on a screen.
Though this journey had its twists and turns, we feel very fortunate to have the opportunity to live in our home, and very much feel that this journey has been worth it. We are in love with our barndominium.

So without further ado…
Page Contents
Final Reveal: Kitchen
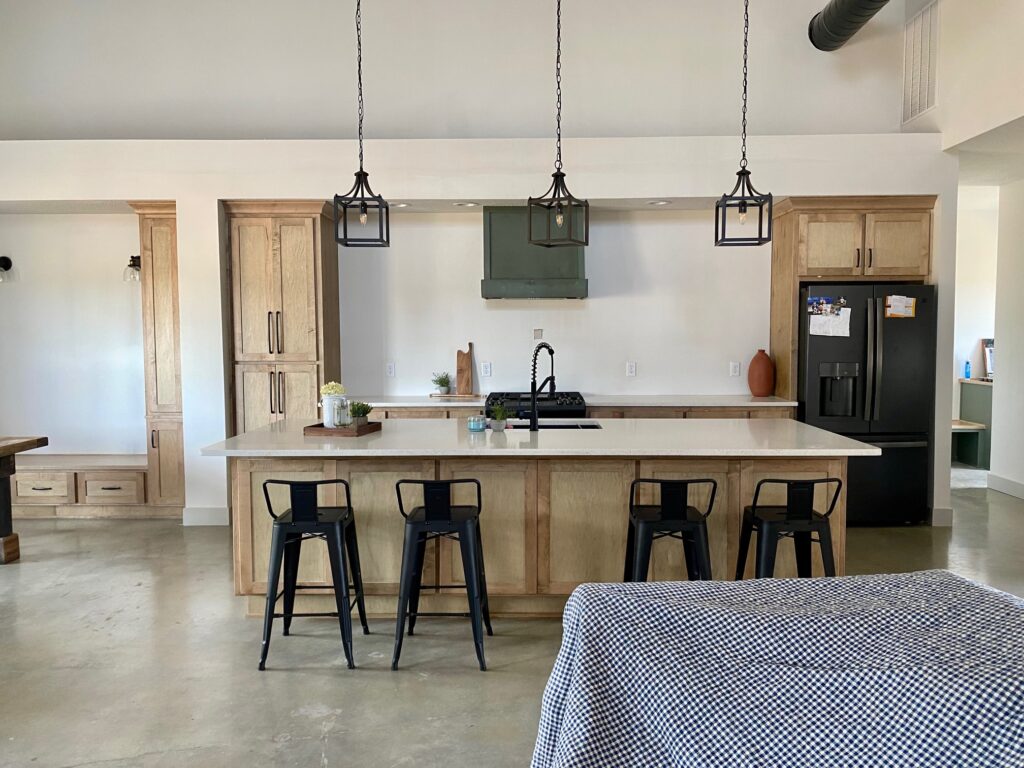


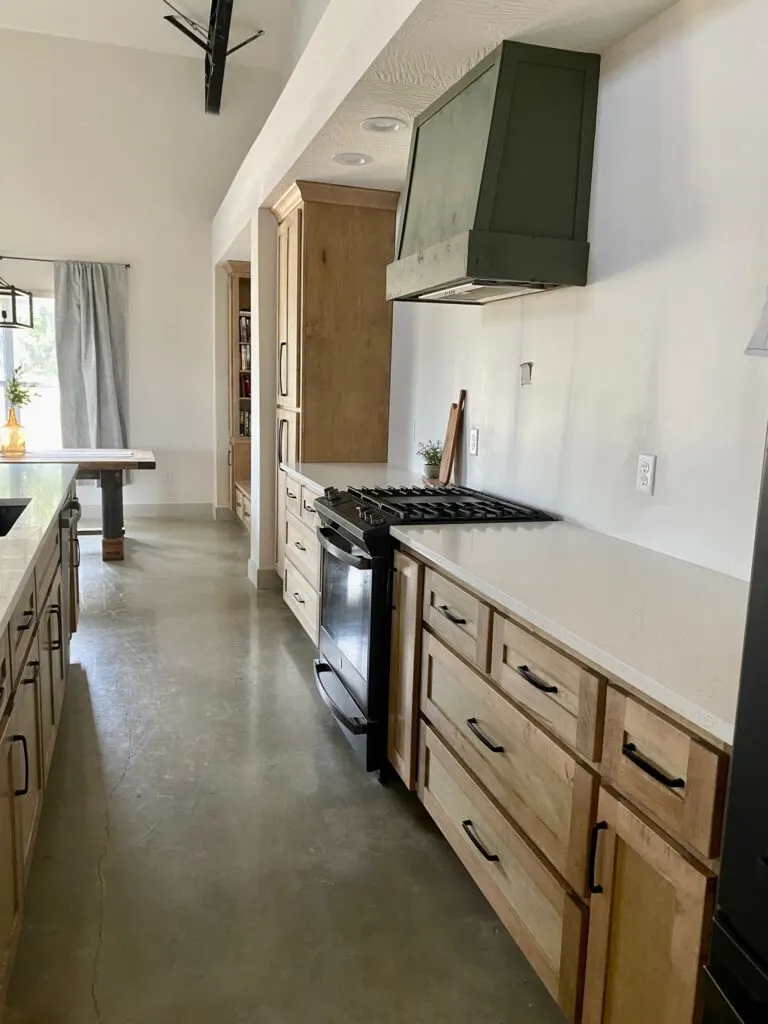
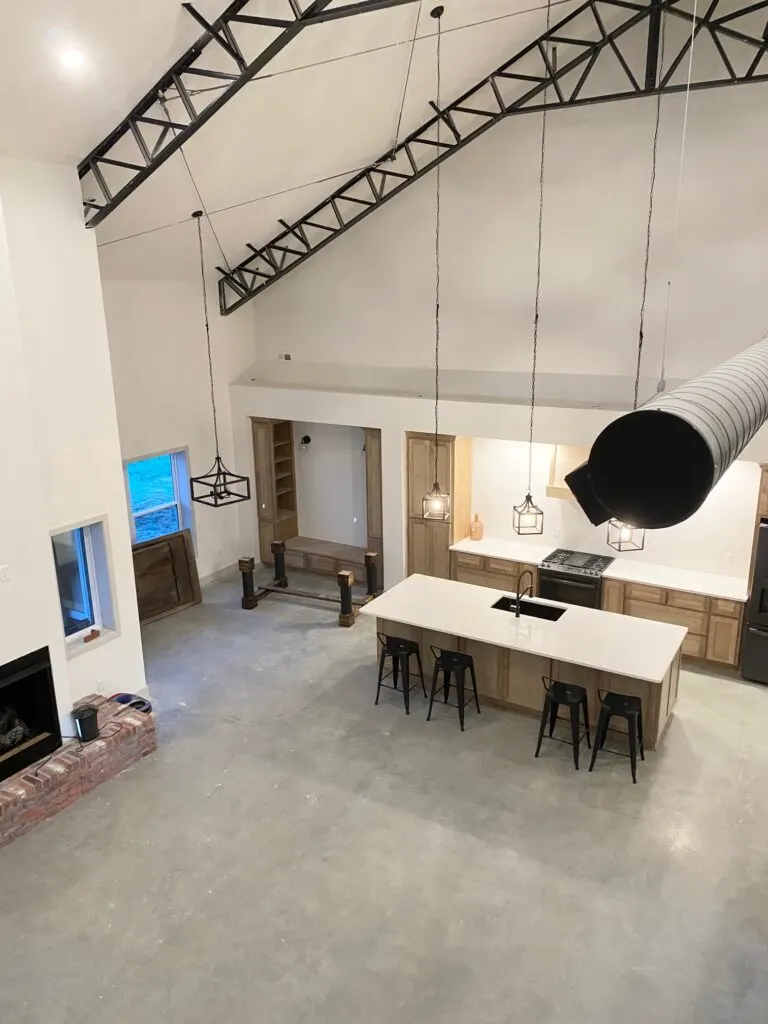
The open kitchen, living room, and dining space was the most important area to us as we planned and constructed our home. We were confident that most of our time as a family would be spent in this area, so many of our splurges landed here, in the space we will all share.
Some of these splurges included our 18ft vaulted ceilings with the exposed black trusses. Both of these elements were part of the construction of our home, but it did cost money to have ceilings this high. Another splurge item was our custom cabinetry. Although we ended up forgoing some of our cabinetry in the laundry room and simplifying some cabinets in the pantry in order to fit in budget, we certainly allocated more money to cabinets than we had hoped. However, we made that decision confidently knowing how often we use our cabinets and that it would be difficult to upgrade those down the road.
We saved money in these areas by choosing concrete flooring instead of LVP, and by choosing middle of the road fixtures and appliances. You probably also noticed that we are missing a backsplash and some open shelving. That project is coming up soon!
Find the most recent articles in the series:
Part 13: Spray foam insulation and Drywall
Or start from the beginning at part 1!
Final Reveal: Dining and Book Nook

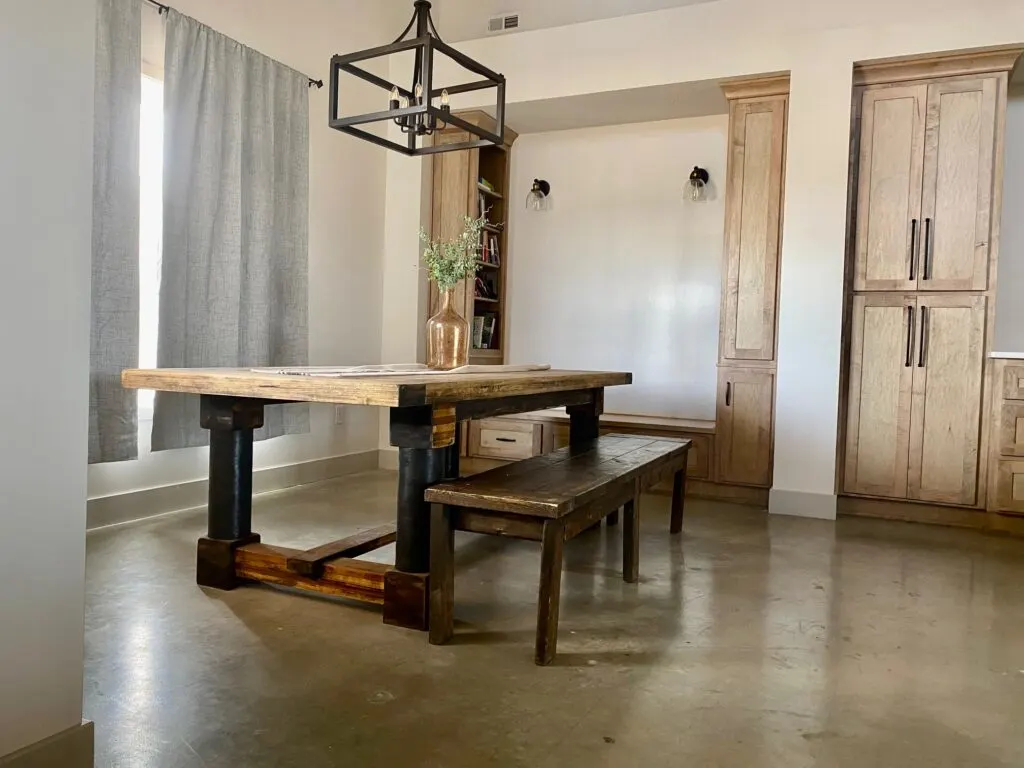
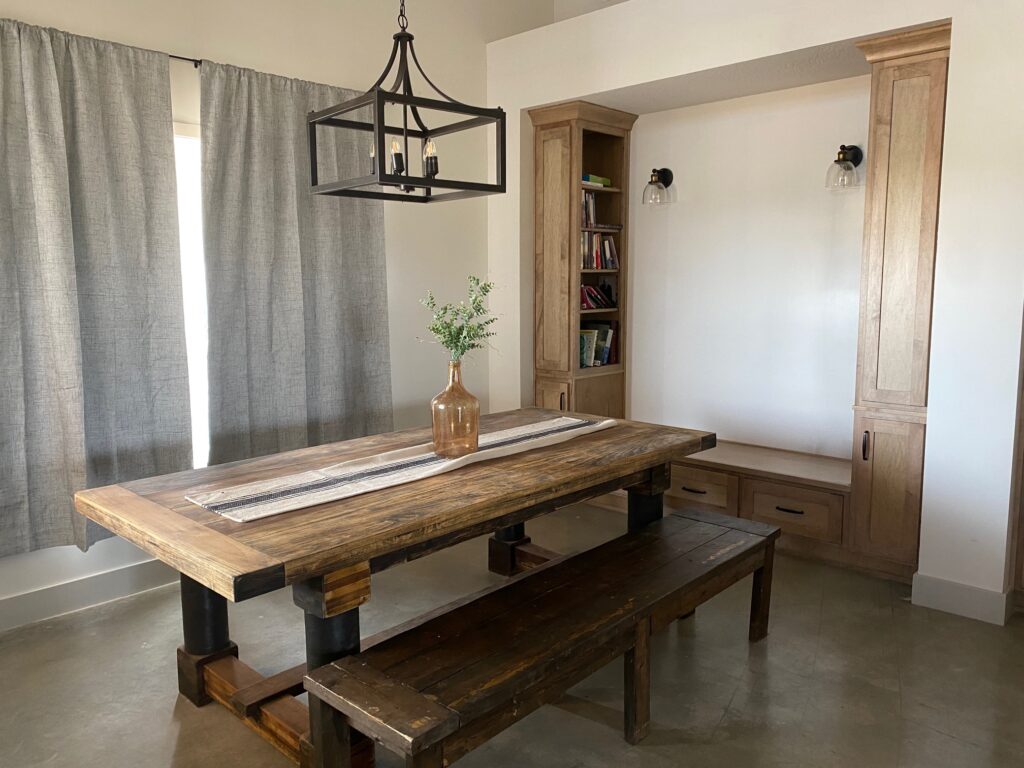

One of our favorite areas of the home is our reading nook which is tucked away in our dining area. This extra cabinet area offers us lots of needed storage where we keep board games, extra books, and art supplies.
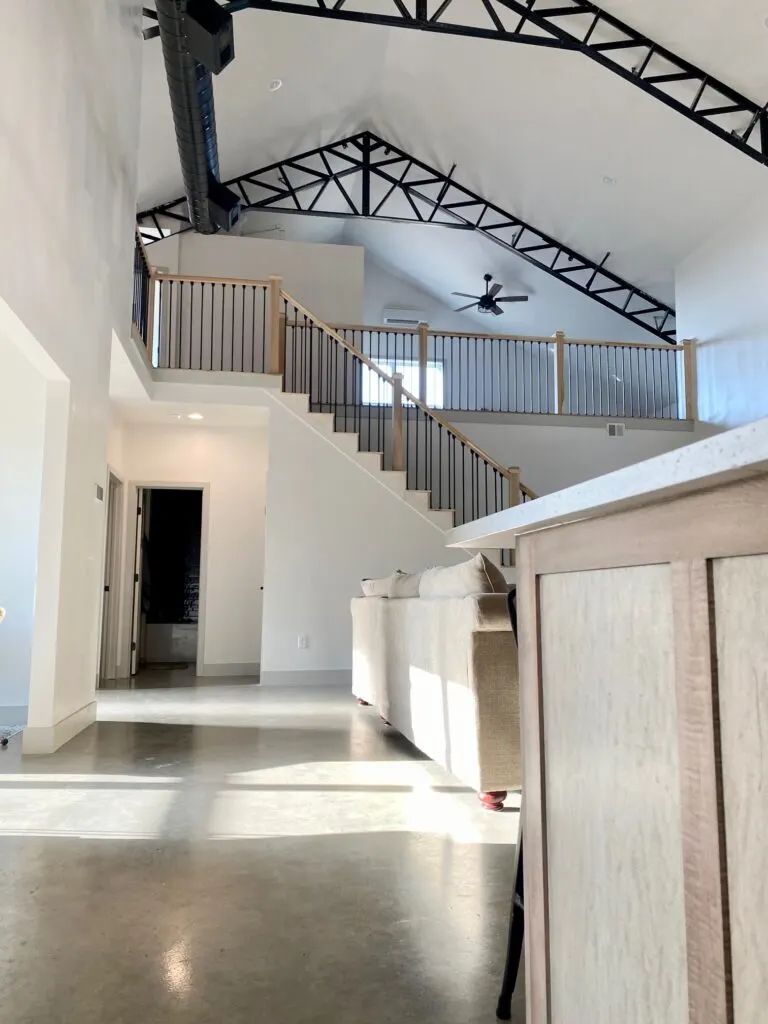
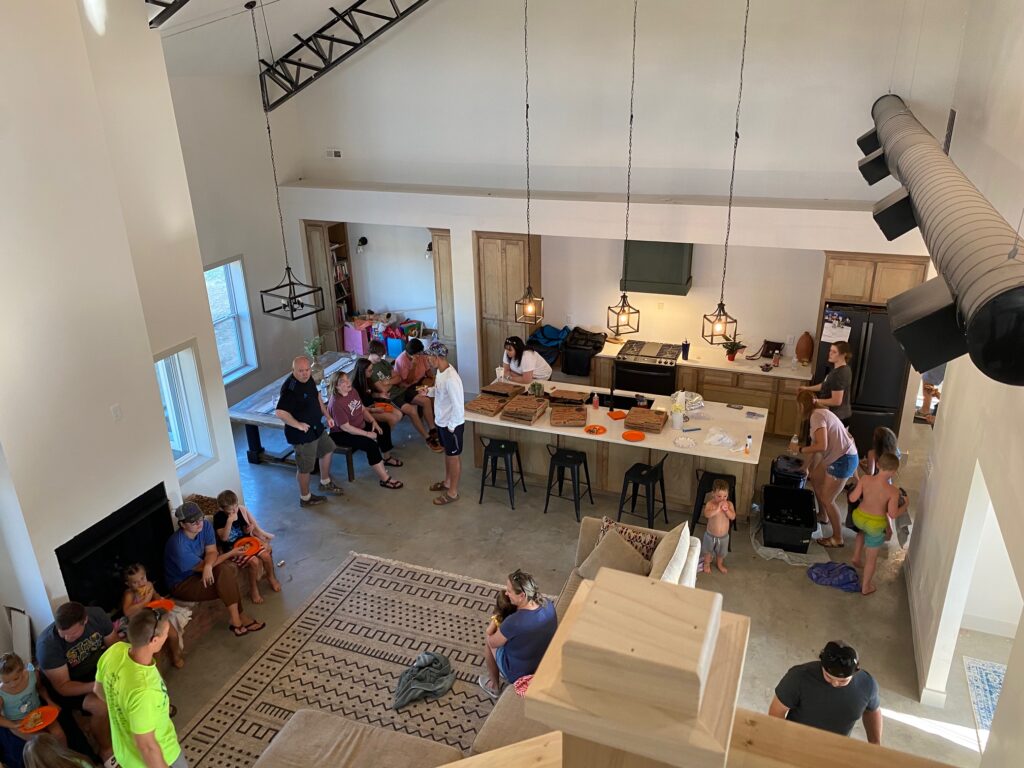
Final Reveal: Open Concept Living Space
Having a wide open living area was exciting for me because we love to have people over to celebrate all kinds of occasions. The last photo in this series was so special. One week after moving in was my daughter’s birthday. Even though we had to rush to get things put away, it was amazing to finally get to show off what we had been working so tirelessly on for the last year. Our open space lets us have over 30 people at our home comfortably at once.


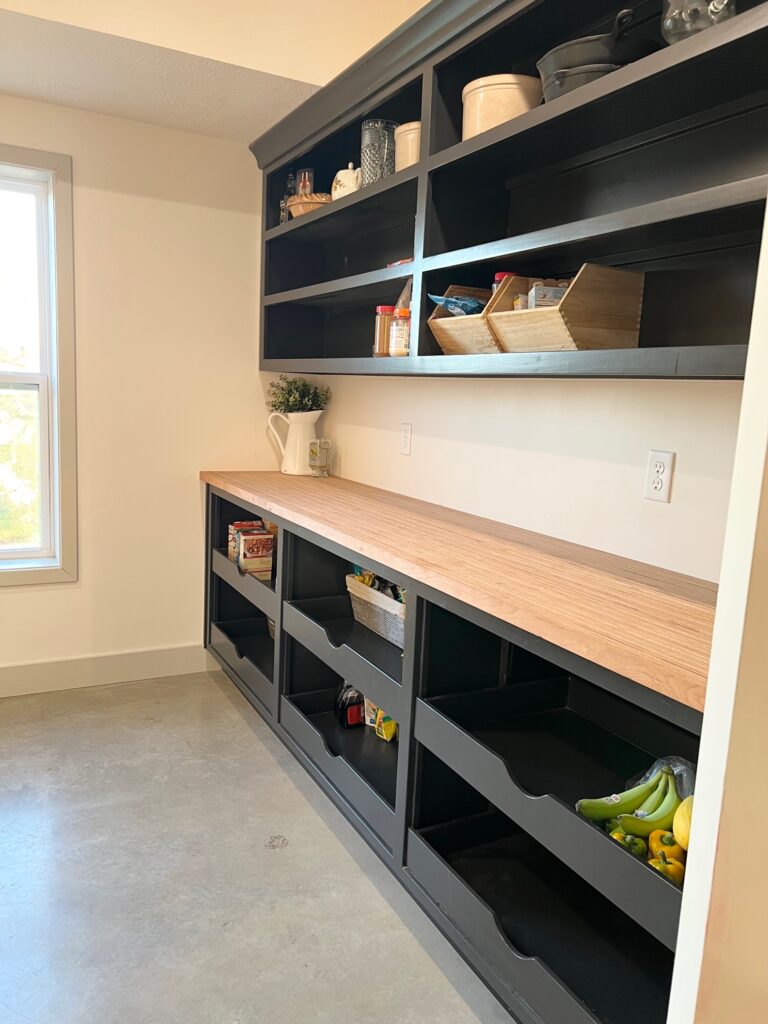
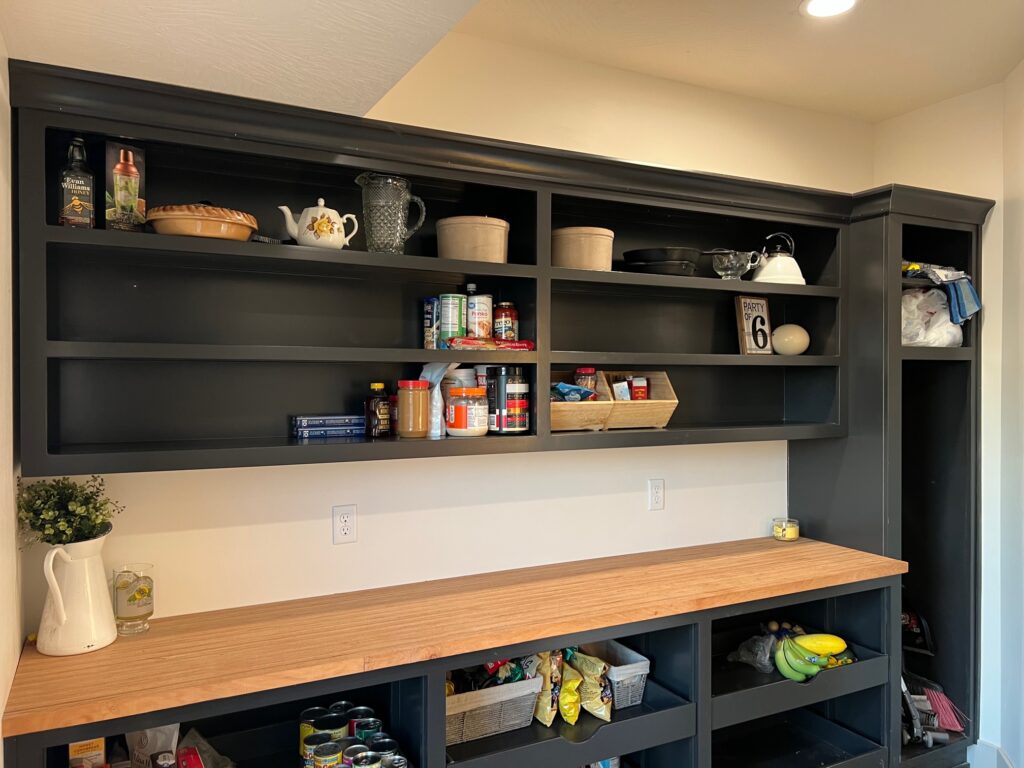
Final Reveal: Pantry
We designed our pantry as the control center of our home. Of course, I knew that my pantry had to be able to store food like canned goods, snacks and baking items, but as I discovered in my previous homes, I have always wanted more storage for small appliances, a coffee bar, bulk storage for paper towels and toilet paper, as well as a place for cleaning supplies and brooms.
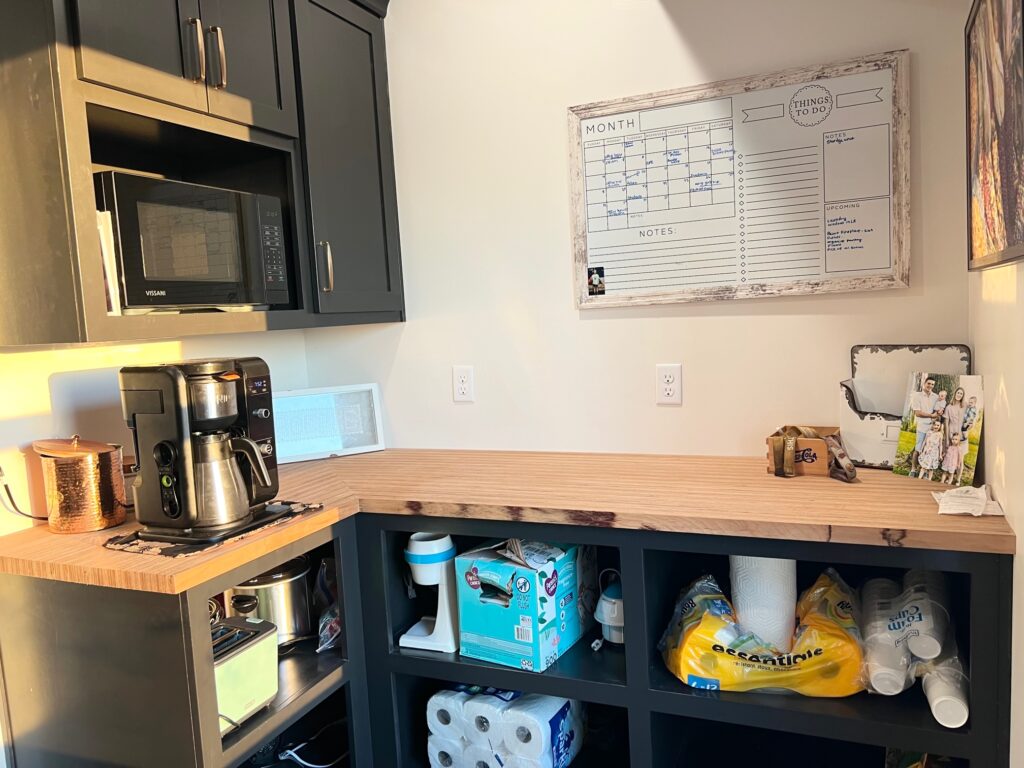
Along with storage, we also have our microwave in our pantry and a family calendar and organizer for mail and keys. I love that I don’t have to gather things on my kitchen counter, but I do have a place for them to sit for awhile until I know if they are trash or not (do other people do this too? Ha).


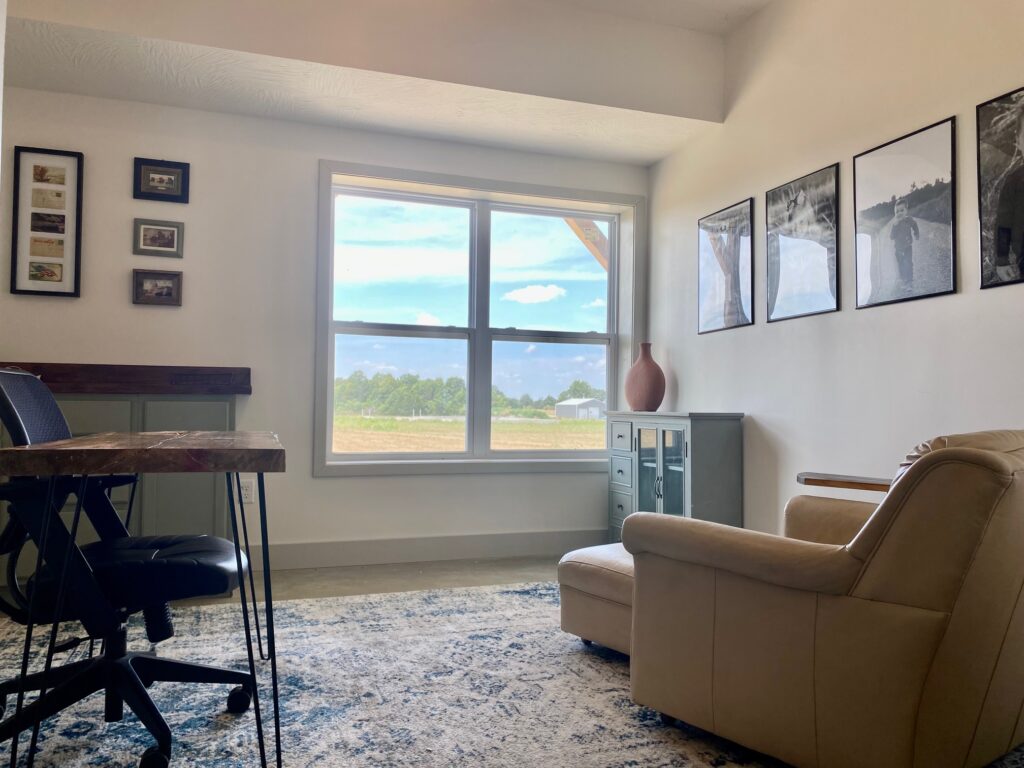
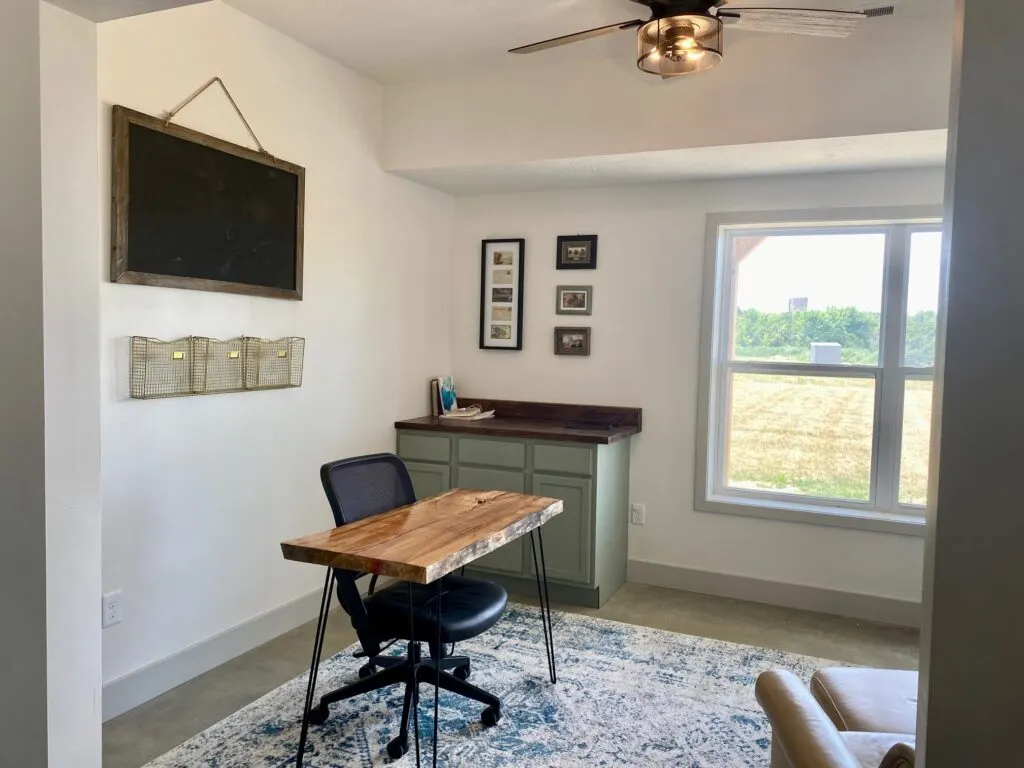
Final Reveal: Office
Currently our office is functioning as a place for extra seating and a quiet place to get some work done. We also loved the option of having a 5th bedroom down the road should we ever need it. We made sure to choose a large, colorful rug to this room to bring in a cozy, creative feeling.


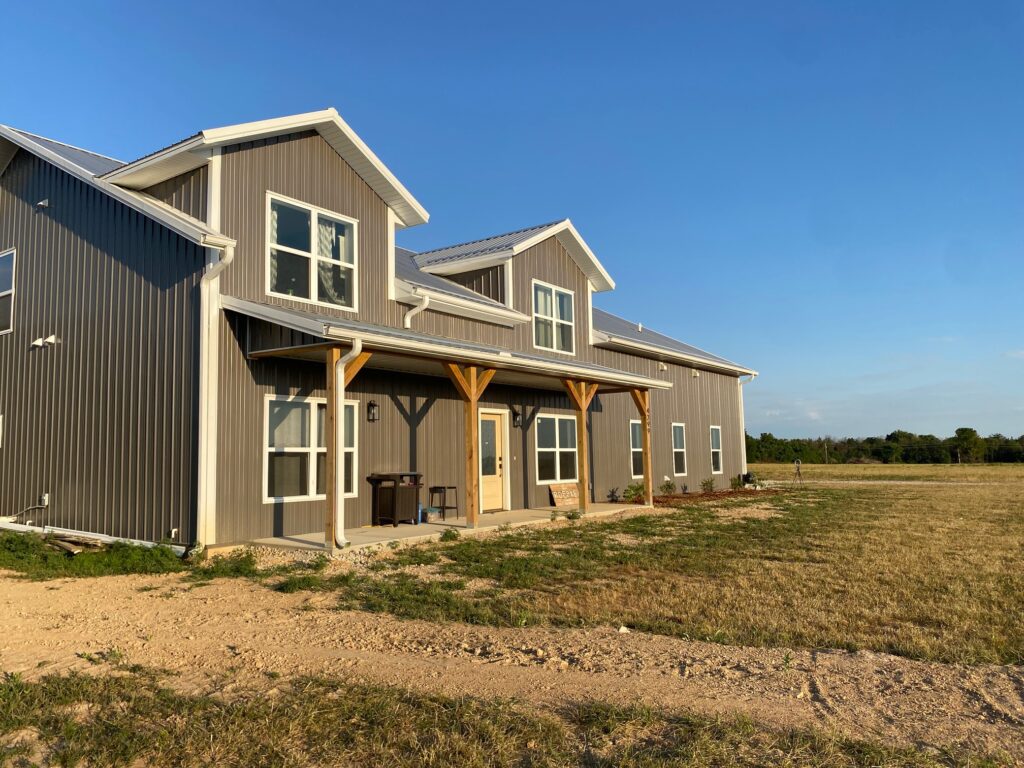
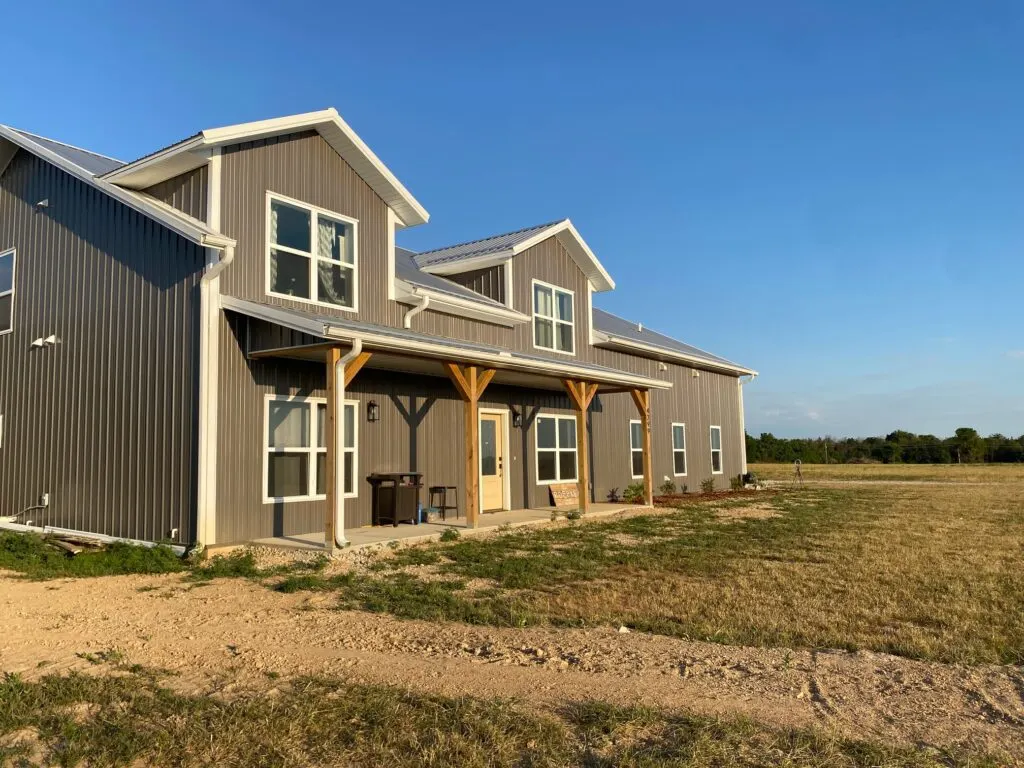
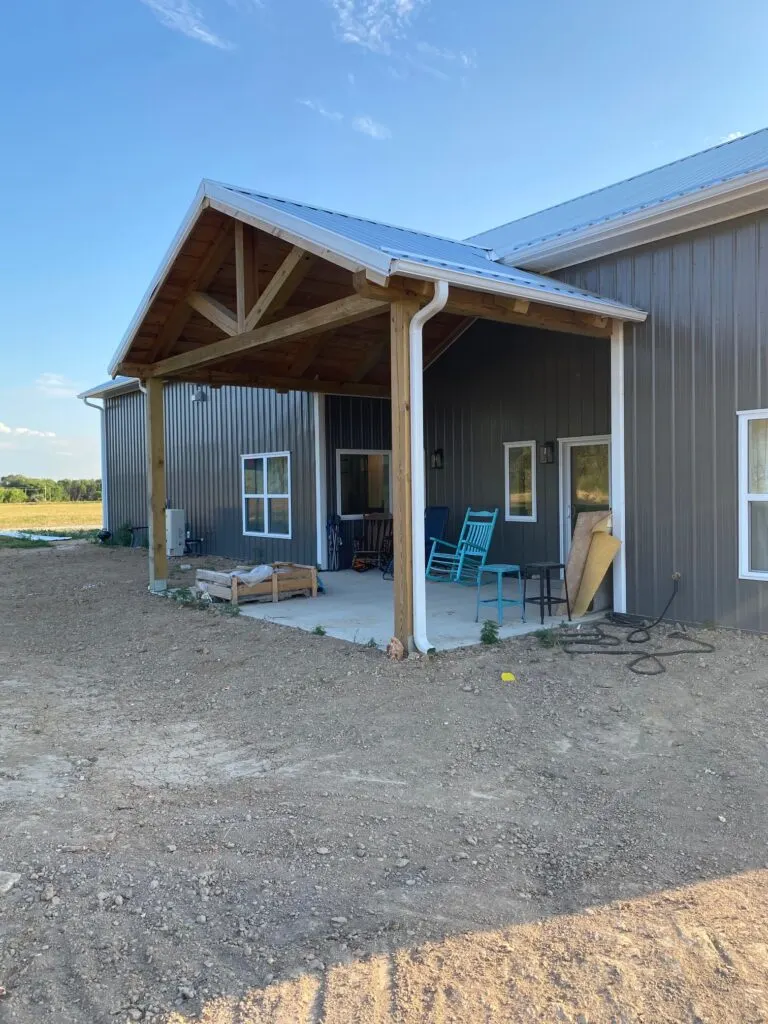
Final Reveal: Exterior
Finally, we have a finished home. As any homeowner knows, the work is never done. Outside, we are still working on landscaping, a place for a grill, outdoor furniture and decor, as well as finishing our concrete work. Due to my husband and I acting as our own contractor, we were able to decide what to wait on and what to tackle during the build. This was a blessing (financially) but also a curse (because it left quite a few projects).

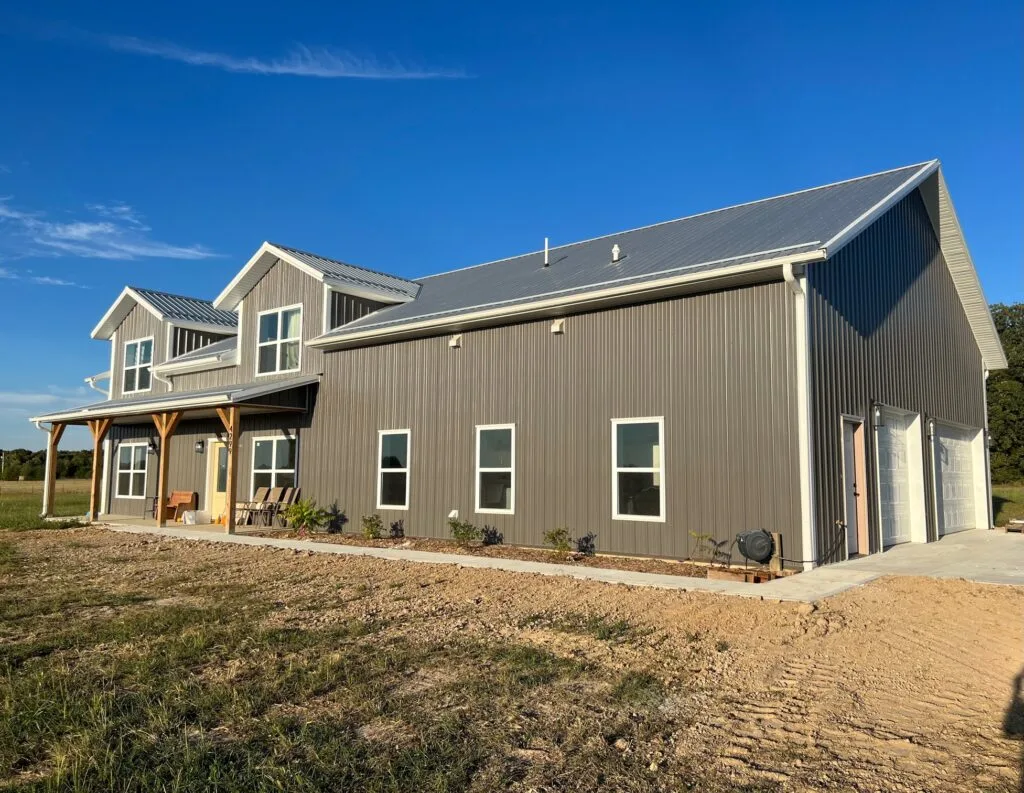

All in all, it took us around 11 months to build our barndominium after breaking ground. We have a 2800 square foot, 4 bedroom, 3 bathroom home with an 800sqft garage area. We are proud of the work that has been put in over the last year. I have a ton of respect for general contractors and homeowners during a build, but I also know that if we had to start over, we would take a similar path.
If you have been following the Our DIY Barndominium series, I just want to say thank you for joining me. The support and encouragement of the barndominium community has helped us through our journey, and I hope these articles helped you in some way also.
Find Morgan on Instagram @morgan.homebuild