
Building a barndominium tends to cost less compared to building a standard residential home. The project costs even less when you handle most of the construction yourself, including framing the interior.
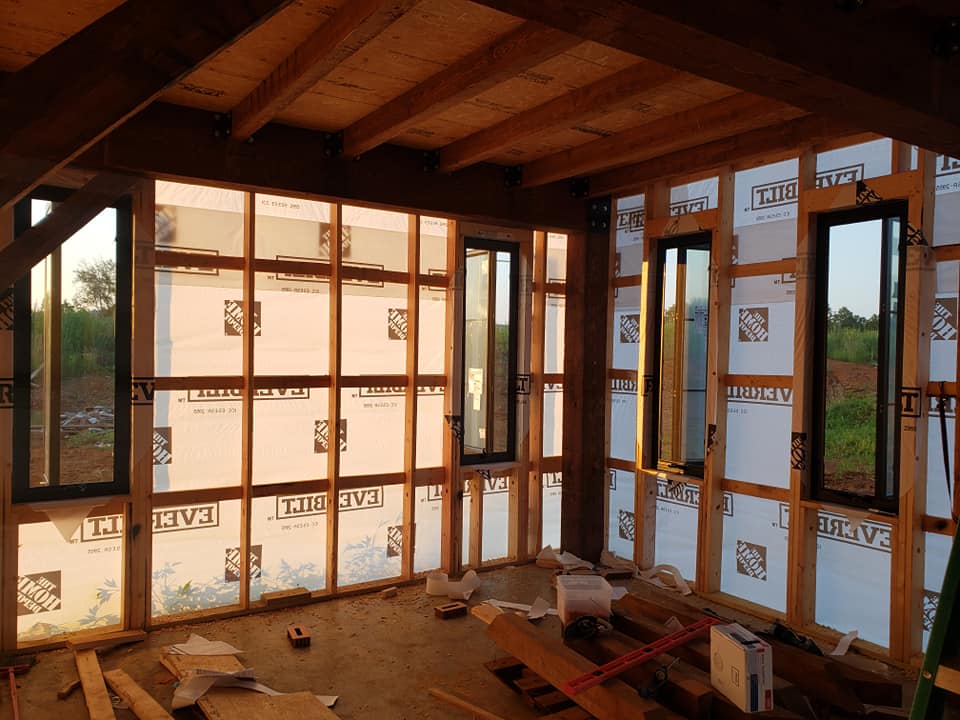
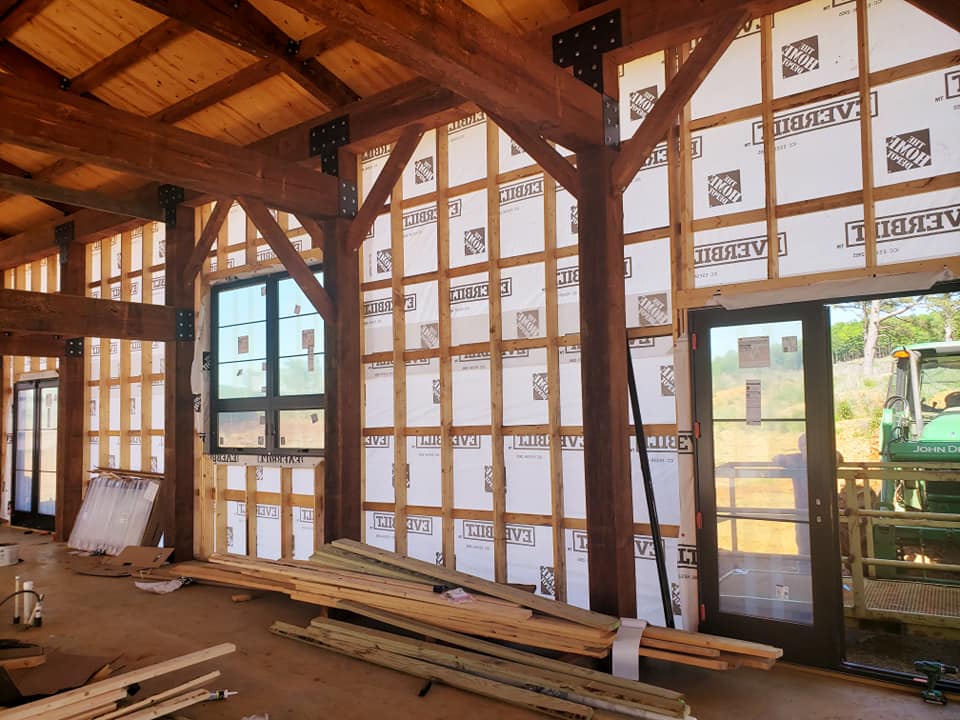
When you frame a barndominium interior, it involves a lot of work, but it is not the most complex construction job. However, you should finish the exterior walls before starting on the inside. Finishing the exterior first allows you to add insulation without the interior frame getting in your way.

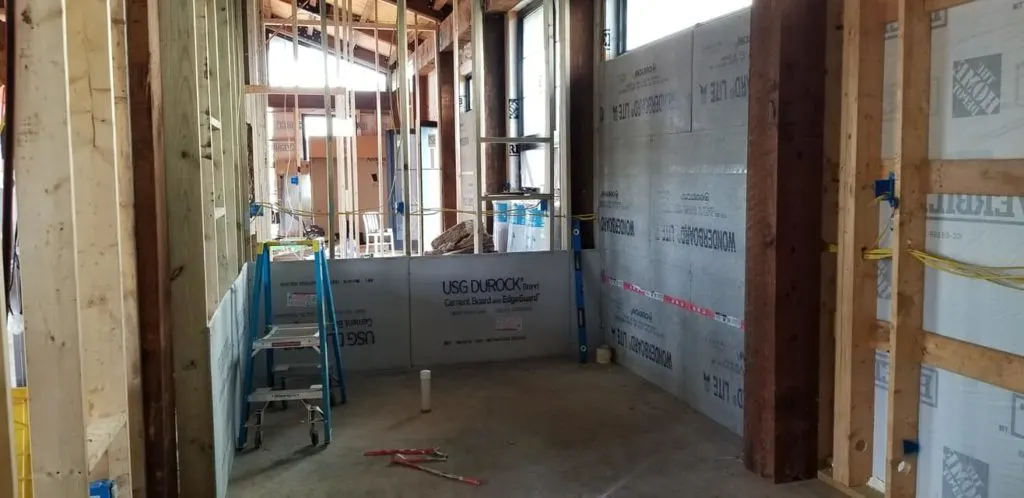
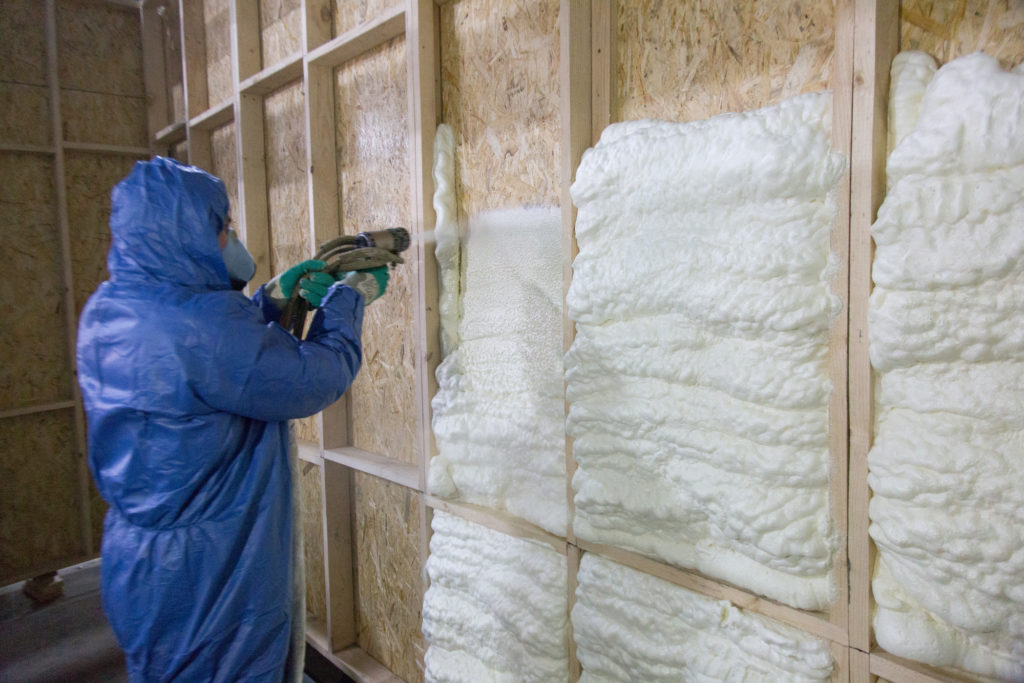
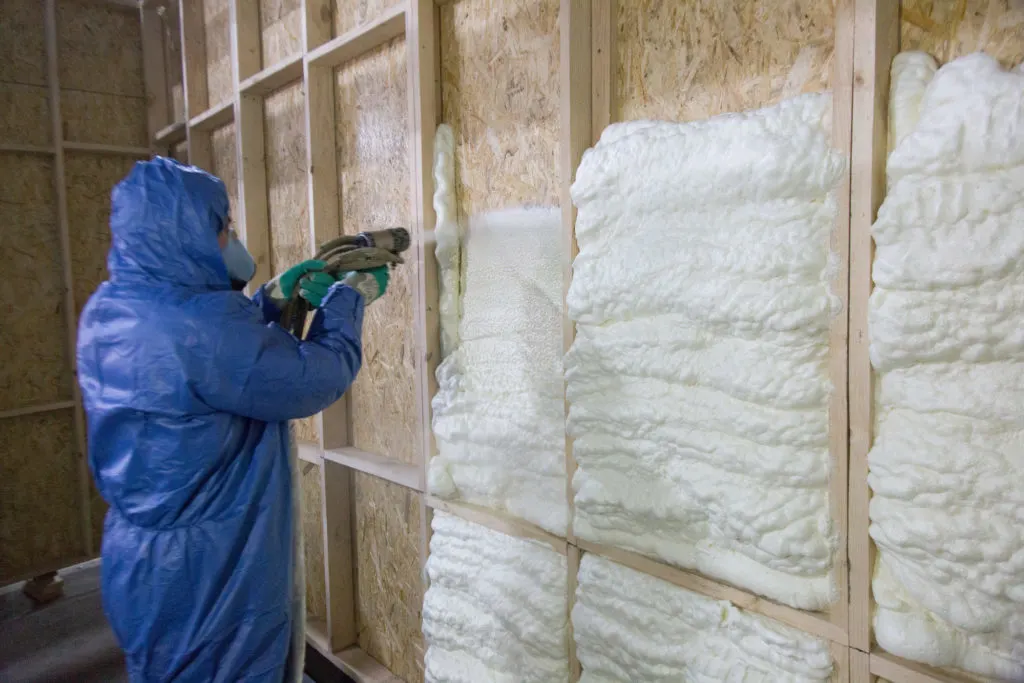
Spray foam insulation is one of the most common options for insulating a barndominium. It provides superior coverage as it can fill corners and partially obstructed areas. With the exterior complete, you can move on to the interior. If you want to ensure that your new walls hold, take the time to learn how to frame a barndominium using the following steps:
Page Contents
Step 1: Design the Layout for the Interior
After setting the exterior frame of the barndominium and completing the exterior walls, it is time to frame the interior. Framing a barndominium is one of the most important steps of construction, as it sets the layout for the rooms and hallways. Before starting, you will need to decide on the floorplan.
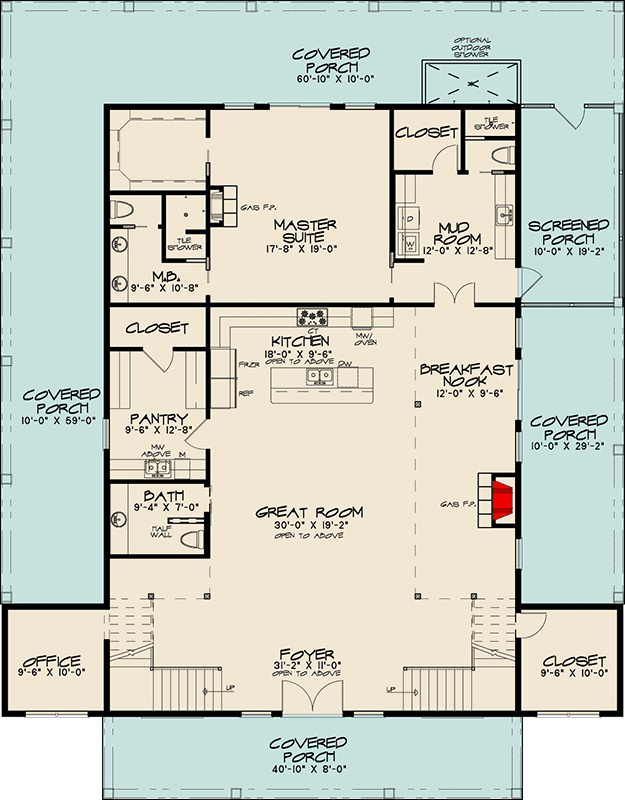
There are several ways to choose a layout:
- Find barndominium blueprints online
- Hire an architect to design the layout
- Work with a barndominium contractor
- Plan the entire layout yourself

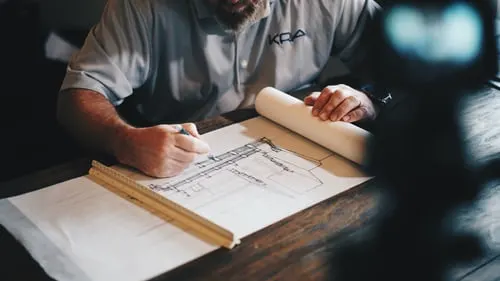
When you frame a barndominium, you may want to avoid planning the layout from scratch on your own, unless you have architectural experience. There are many technical details to consider that may impact the overall structural stability of the design.
If you still prefer the do-it-yourself (DIY) method, consider using blueprints that you find online. You can also modify a blueprint to fit your specific needs, such as increasing or decreasing the sizes of the rooms. DIY framing projects require you to consider building codes. Start by checking local regulations for your city or county. You should then review any state codes, which are available on government websites.
Examples include minimum dimensions for bedrooms and the height of windows from the floor.


Working with a contractor or an architect can help you avoid some of the challenges of designing the interior framing. However, these options also cost more. Whether you design the layout or hire someone, think about the number of rooms that you want and the size of each room. You may want to start with the central areas of the barndominium, such as the living room and kitchen.
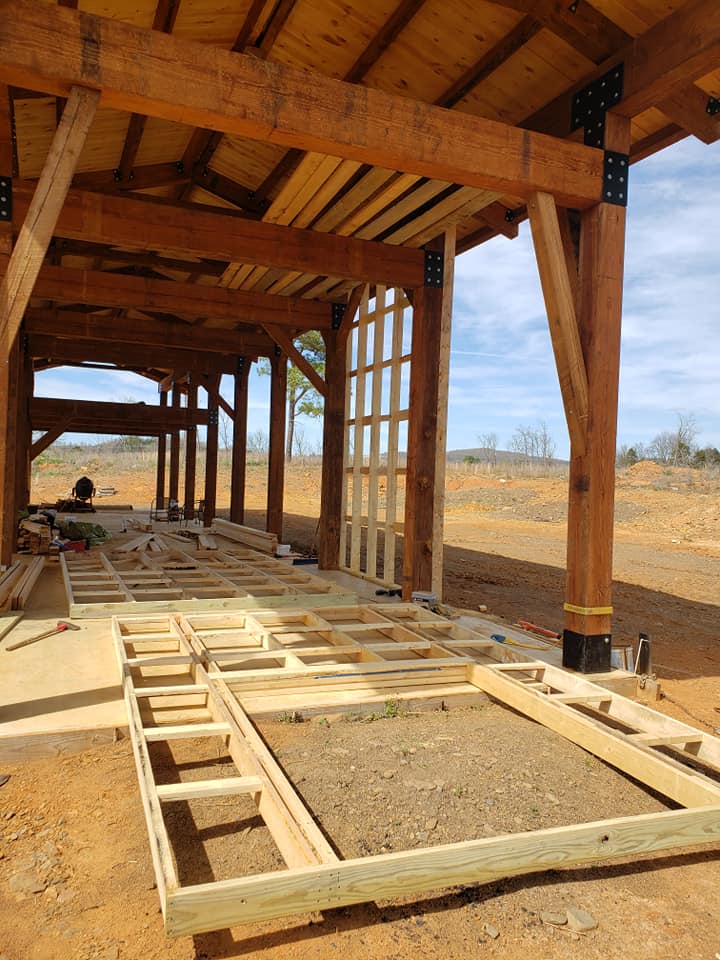
Step 2: Build the Frame of the Walls
Building an interior frame is not overly difficult. Start by building the outer frame of one wall using 2x4s. It is easier to build the frames on the floor and then erect them as this ensures that the frame is vertically level.
The frame of the wall is simply a rectangle built with four 2x4s cut to the length and height of the wall. The height of each frame should match the planned height of the ceiling. Build one frame and move on to the next three steps before returning to this step to frame the next wall.
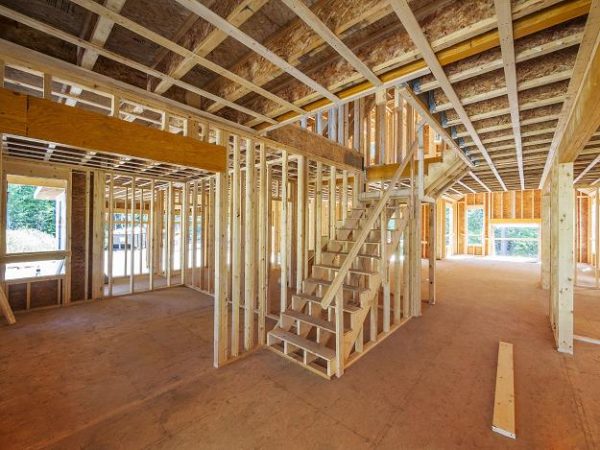
As a side note, if you are building a two-story barndominium, start with the ground floor. You will need to add the ceiling and the subfloor above it before working on the second floor. You should also start in one corner of the ground floor and work your way around the rest of the layout. Begin with a frame that connects with an exterior wall to provide support as you begin erecting the rest of the frames.
Step 3: Add Studs to the Frame
Each wall frame should include studs to improve the stability of the frame and provide support for hanging drywall. Studs also provide a stable surface for hanging fixtures and wall décor. Wood wall studs are traditionally spaced 16 inches apart and run vertically. They should fit snug between the bottom and top plates of the wall frame. Use three-inch nails to secure the studs to the frame.
Along with studs, some homeowners choose to add blocking. Blocking involves adding sections of 2×4 horizontally between the studs. This reduces the risk of the studs buckling over time, increasing the stability of the frame. Blocking is often installed three to four feet from the floor.
Step 4: Add Frames for Doors and Windows


Some of the interior walls will have doors or windows, which need to be framed. Use 2x4s to build the frame of each doorway and window. As most doors and windows are wider than 16 inches, you will likely need to cut one or more studs to accommodate the door and window frames.
Keep in mind that you are unlikely to add many frames for windows as most of the windows are going to be found on the exterior walls. However, you will have doorways and arches throughout the interior that link the various rooms. When building the frames for a room that has closets or other wall structures, start with the outer walls of the room.
Step 5: Raise the Wall Frames
You can now raise the completed wall frame and secure it to the ground. If the floor is concrete, you will need to use masonry nails. Choose a length that can penetrate the concrete at least one inch. After raising one wall frame, return the second step on how to frame a barndominium to complete the next wall frame. Continue building and raising wall frames until you have framed the entire layout.

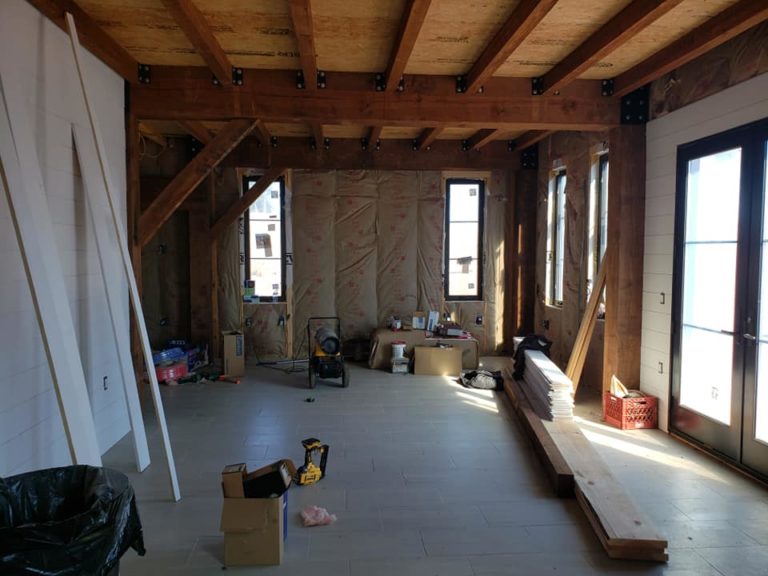
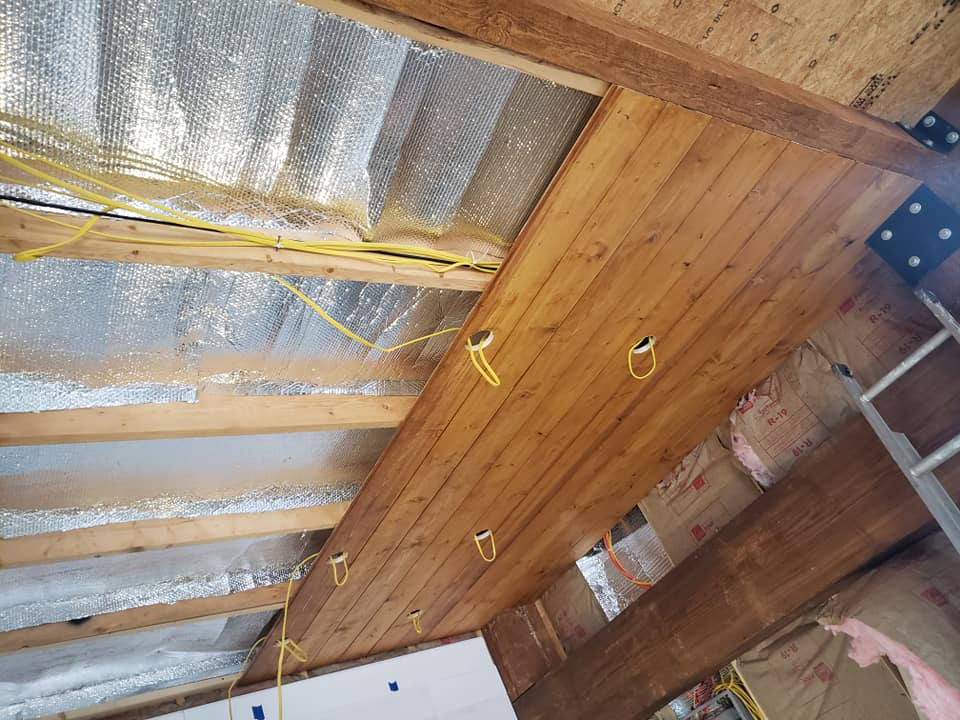
Step 6: Add Ceiling Beams to the Frames
With the entire layout framed, you can begin installing the ceiling beams and joists. Some regions require the use of two 2x4s for the joists. However, using three boards nailed together provides increased stability for the second floor or attic.
The joists are installed horizontally across the length of the wall frames. The typical spacing is 12 inches when using two 2x4s. Ceiling joists are installed perpendicularly to the joists with a typical spacing of 16 to 24 inches. As with the studs, you should start at one end and work your way across to the other side.
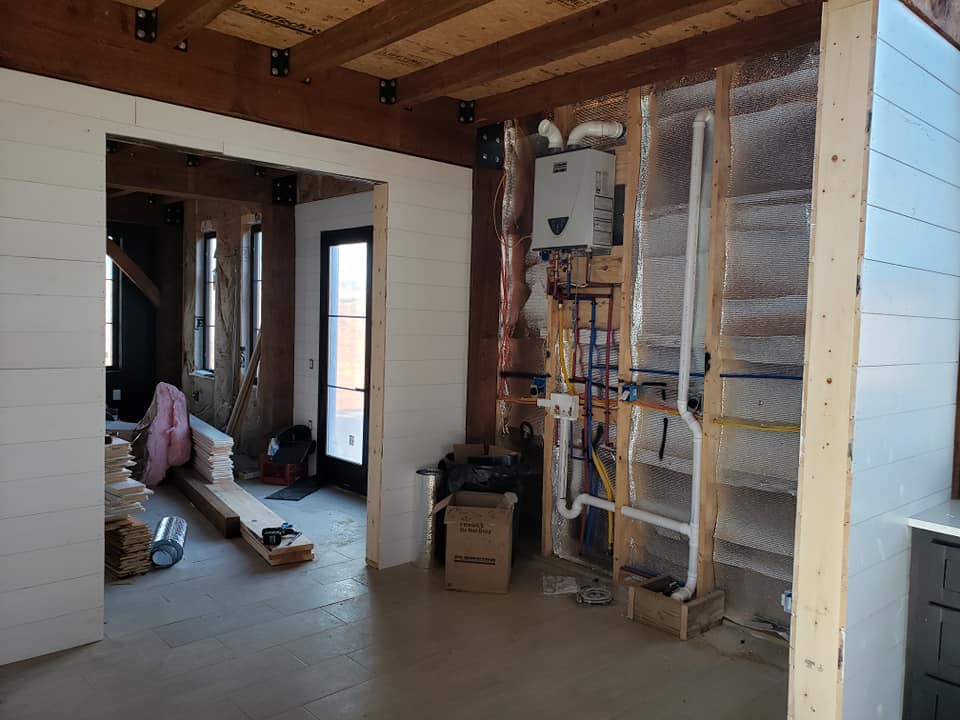
Step 7: Add Fittings for Electrical and Plumbing
The next step is to add fittings for the electrical and plumbing work, such as electrical boxes and plumbing fixtures. Some states and municipalities have specific building codes for the placement of outlets and electrical lines. This is another area where you should review the building codes for your local area and state.


Common building codes include ensuring that no point along the floor line is more than six feet from an outlet. Many building regulations also require an outlet in any wall that measures more than two feet wide. The maximum height for electrical outlets and light switches is typically between 48 and 54 inches. The height of the outlet does not typically matter, but they are typically installed 12 to 18 inches above the finished floor.
After adding electrical boxes and choosing the placement of plumbing fixtures, you need to add the actual electrical lines and plumbing. In most areas, electrical work needs to be completed by a certified electrician. You may be able to install the plumbing on your own but check local regulations before proceeding.
Step 8: Add Drywall to the Frames
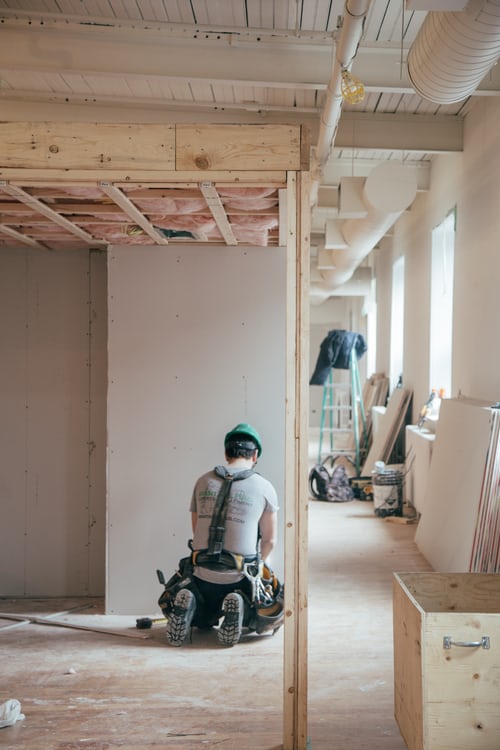

With the electrical and plumbing work complete, you can add the drywall. This is another step that many homeowners choose to outsource. If you decide not to hire a contractor, you may still need help hanging drywall, especially when you get to the ceiling. Drywall is heavy and installing it is a cumbersome task. If you need to complete this project alone, consider renting or buying a drywall hoist.
A drywall hoist is an adjustable metal frame that can support a sheet of drywall, holding it in place as you secure it to the ceiling beams. However, you should start with the walls before hanging the ceiling. Drywall typically comes in 4×8 foot sheets and should be installed horizontally. If you have eight-foot ceilings, you will need two sheets to cover the height of the frame. You should also leave about a half-inch gap above the floor. This provides room for adding the flooring without cracking the drywall.
After adding the drywall, the interior is mostly complete. You just need to paint the walls and ceilings and add any other finishing touches that you want.

Summary
Part of the popularity of building a barndominium stems from the fact that you can build much of the property on your own. If you want to frame the interior of your barndominium yourself, carefully review each of the required steps.
Start by designing the layout. You should also complete the exterior, including adding insulation to the outer walls. With the exterior completed, you can build and erect the interior frames, starting with the length and height of the frames. Remember to add frames for doors and windows.
If you need help with any of these steps, consider hiring a contractor. Sometimes it is better to spend a little more now to avoid spending a fortune repairing mistakes. Of course, you could always hire a contractor for the toughest tasks and handle the rest yourself.